AirPods Lights Meaning
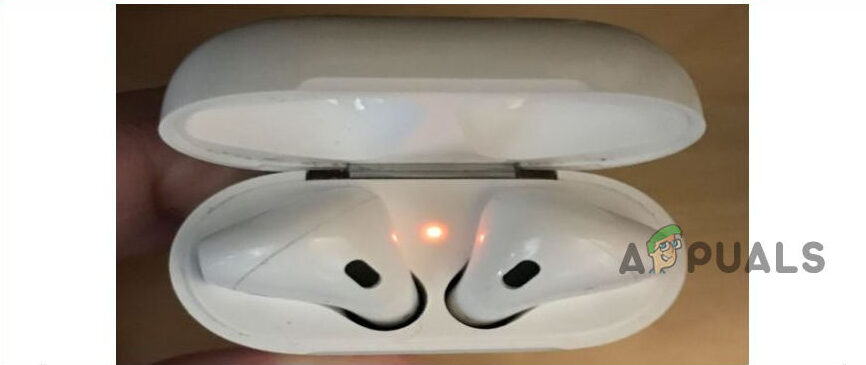
The LED light present inside and outside of the AirPods charging case indicates the status of the AirPods and the AirPod’s casing. Each color produced by this LED lighting has a different meaning. Let’s take a look at each of them.
In the Casing
Green: It indicates that the AirPod’s casing is charged fullySolid Amber/ Orange: Indicates that the AirPod’s Case is not fully charged.Blinking amber/ orange: Indicates the AirPods are not pairing successfully with your iPhone or any other device. (What we will be looking into)Blinking white: This indicates the AirPods are ready to set up with your iPhone or any other device.
Outside the Casing
Green: This indicates the casing has one full charge left for your AirPods.Solid amber/ orange: This indicates the AirPods have less than one full charge for your AirPods.
Now that you have a good understanding of every color produced by the LED light on your AirPods casing let’s dive in and look at how to fix the blinking orange/ amber light. We will look at several methods. Try each of them, and don’t forget to share with us in the comments which worked for you.
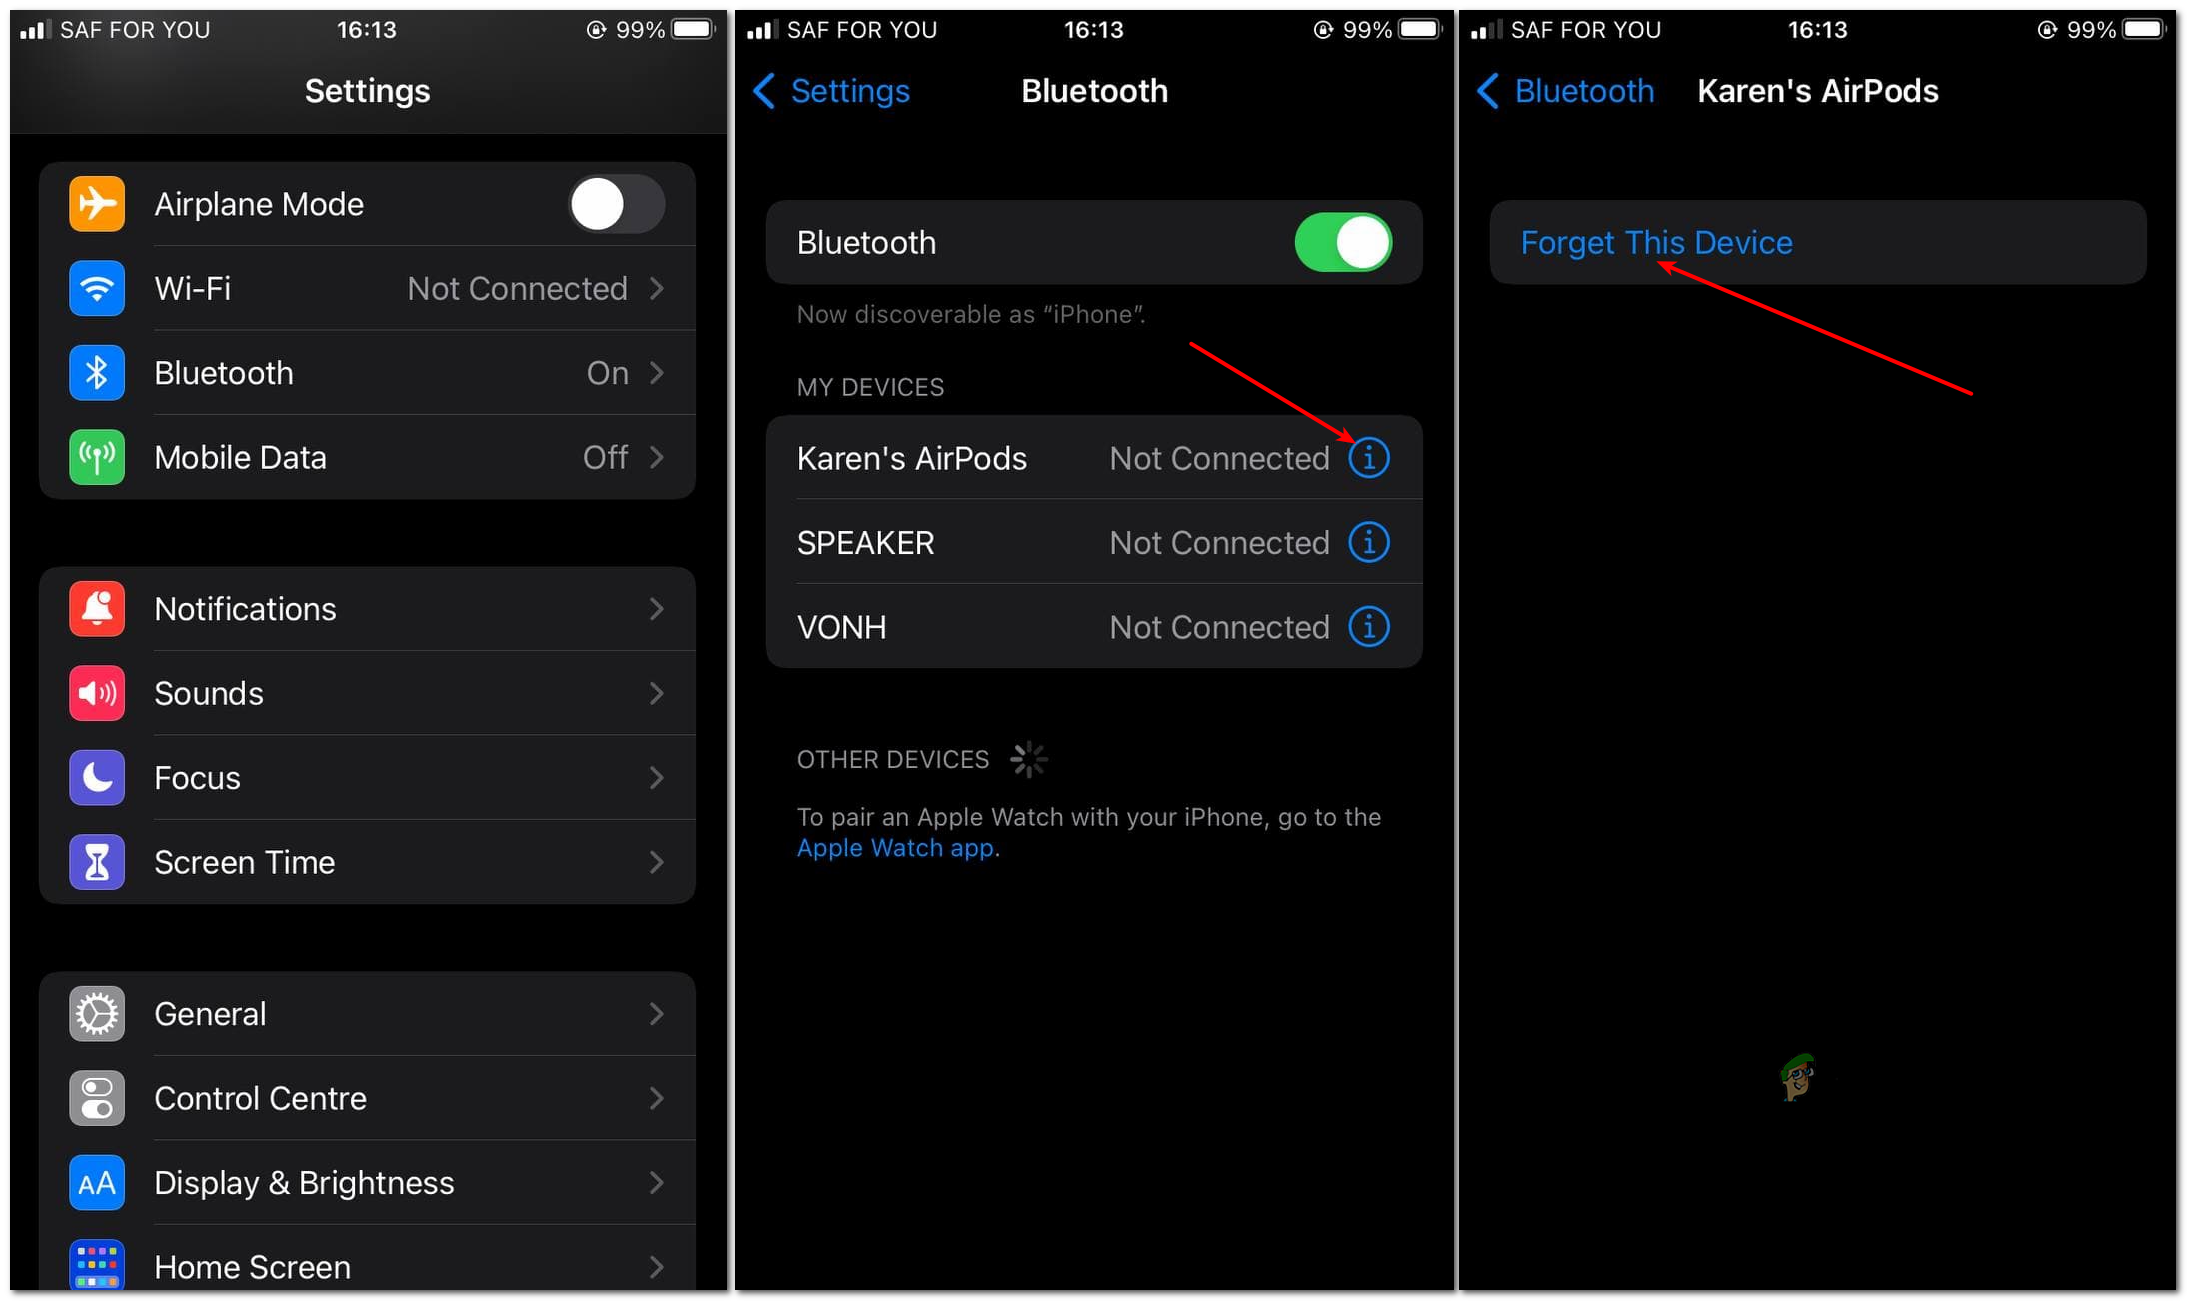
Forget and Reset Your AirPods
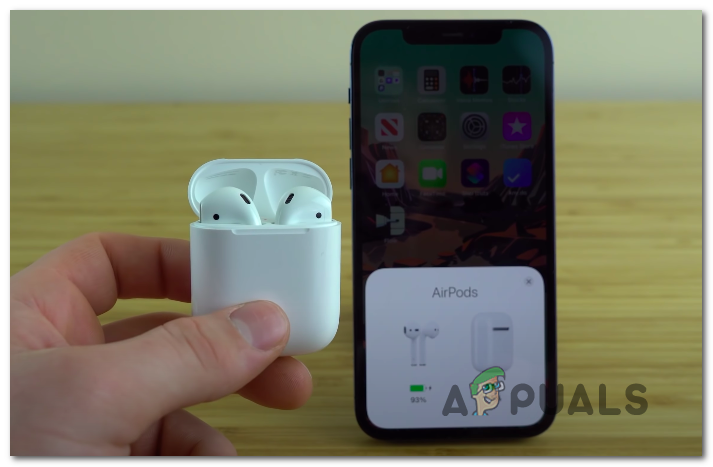
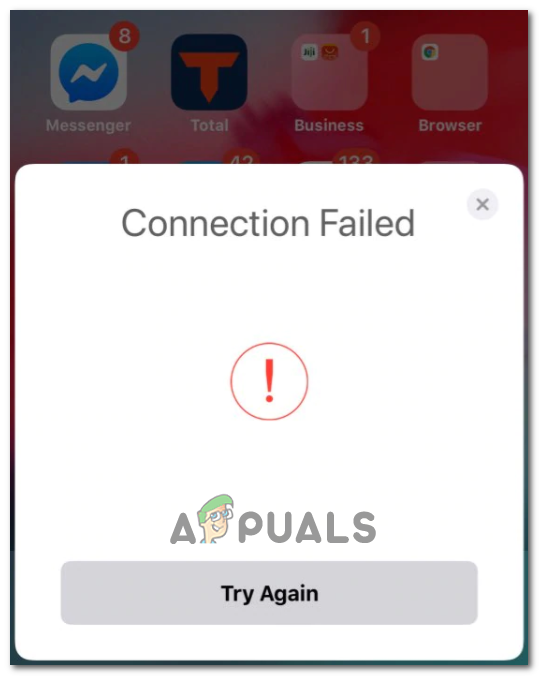
The trick is removing the AirPods from the paired device list and pairing it again. It is one of the solutions you should try before doing anything else to your AirPods or iPhone. Follow the steps below. Up to this point, you have successfully removed the AirPods from the paired list. Now we need to reset them before pairing them again with our device. Follow the steps below. You should now be good, and the blinking orange should be no more. If you had made any custom settings on your AirPods, they were removed when you pressed the button on the casing in Step-3 above. You need to configure them again. If you get a “connection failed” error message as shown in the image below, please go read our post – How to Fix AirPods ‘Connection Failed. If the method above did not work for you and you are still seeing the blinking orange light, try any of the methods below.
Recharge your AirPods
This procedure is quite straightforward. After removing your AirPods from the paired list on your device and resetting them as described in Method 1, put them back in the Case. However, this time around, leave them inside the closed casing for about twenty minutes before continuing the procedure. After charging your AirPods, open the lid of your casing and continue from Step-3 in Method 1, where you hold down the button at the back of the Case. When done with the procedure, you should have successfully connected your AirPods to your iPhone. If that too doesn’t work, you need to charge both the casing and your AirPods. Follow the steps below. When done, follow the procedure described in Method 1 of resetting and pairing the AirPods to your iPhone. Hopefully, this should solve the issue and successfully connect the AirPods to your device. If that doesn’t work out, try the next method below.
Restart your iPhone/ iPad
Hold the power button on your iPhone or iPad and wait for the power slider to pop up. Slide the I/O button to the right to power off the device. Please wait for a few seconds before powering it up again. Now follow the procedure in Method-1, and hopefully, you should solve the blinking orange light issues and successfully connect the AirPods to your iPhone or iPad. That’s all! Hopefully, this article helped you fix the blinking orange light issue on your AirPods.
How to Fix ‘US/DS Light Blinking’ on Xfinity Internet ConnectionHow to Fix Cursor Blinking in Windows 10?How to Fix the Orange Screen of Death Error on Windows?How to locate your lost AirPods using Find My AirPods?