Unlike local or Microsoft accounts, the built-in Administrator account is not protected by a password or PIN – However, you can add a password to the account if you want to ensure that unauthorized users are not permitted to use it.
What can I do with a built-in administrator account?
The built-in administrator account will give you full control over the files, directories, services, and any other resources that are stored locally. You can use the built-in admin account to assign permissions, assign different rights to different users, and even create other Local users. Additionally, you can use the built-in administrator account to take full control of any type of local resources or change the user rights and permissions. But unlike other administrator accounts, you won’t be able to Delete, rename, or restrict the built-in Admin account. IMPORTANT: The built-in administrator account will give you the same kind of permissions and rights as a normal Admin account. This means that you can also expose your PC to the same kind of security risks. With that being said, it’s not recommended to use the built-in Admin account as your main choice. Our advice is to only enable the built-in admin account when you actually need to use it and disable it right back when you’re finished using it. If you’re looking to enable or disable the built-in administrator account on your Windows 11 computer, there are actually 5 different ways to do this: Regardless of your preferred approach to doing things on Windows 11, we’ve created step-by-step instructions for each method, so feel free to stick with your favorite approach.
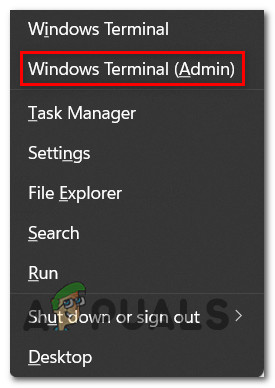
Enable or Disable the Built-in Admin on Windows 11 via Powershell
Note: The Windows account that you’re using needs to have admin privileges to be able to use this method.
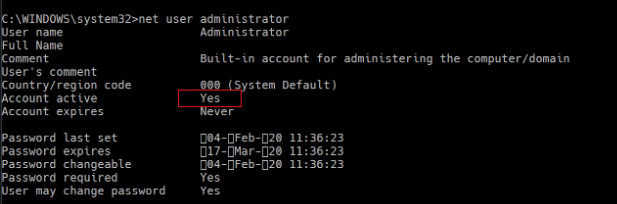
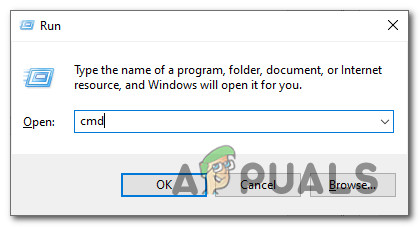
Enable or Disable the Built-in Admin on Windows 11 via Command Prompt
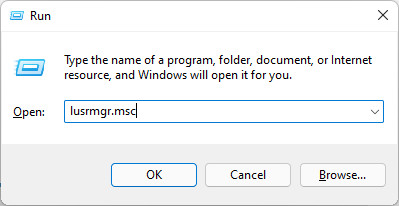
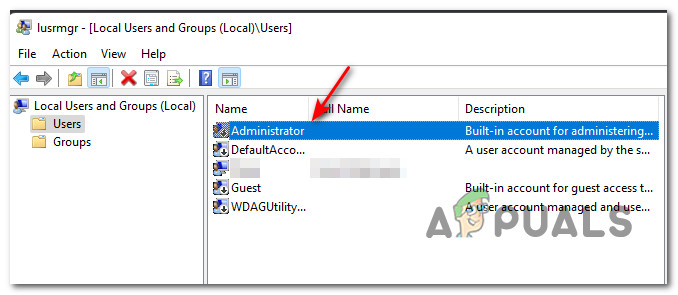
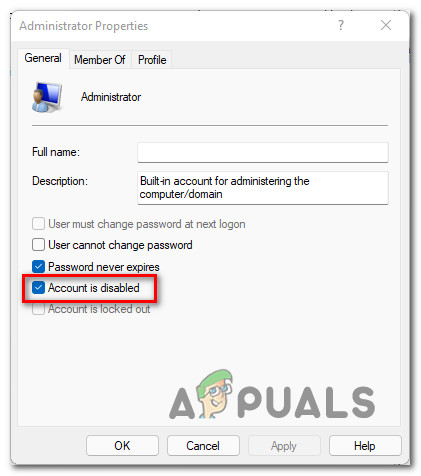
Enable or Disable the Built-in Admin on Windows 11 from Local Users and Groups
Note: The utility needed for this method (Local Users and Groups) is ONLY available with Windows 11 Pro, Windows 11 Enterprise, and Windows 11 Education. You also need to use an administrator account to use this method. Note 2: If you’ve selected a different language when you first installed Windows 11, you will need to change “Administrator” with the equivalent for your language.
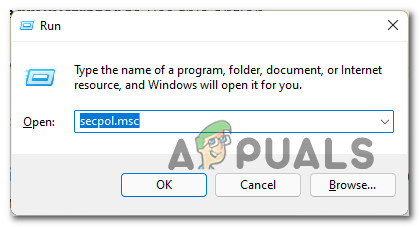
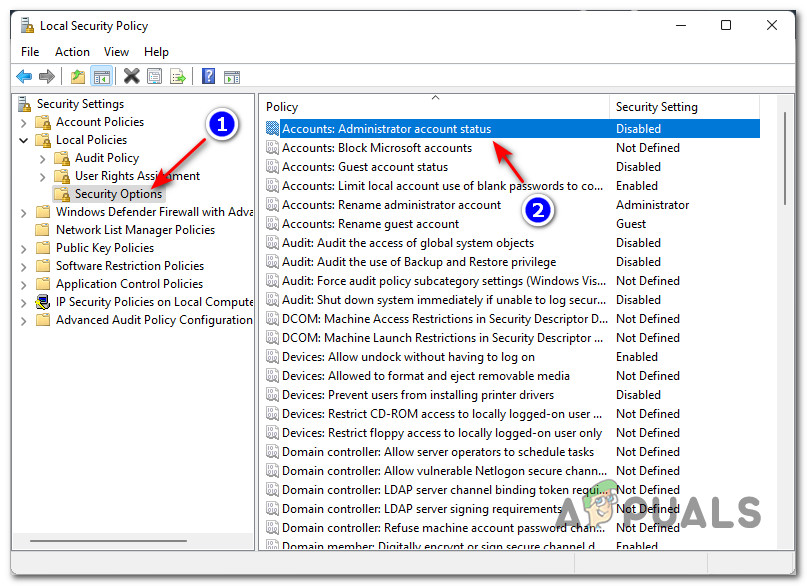
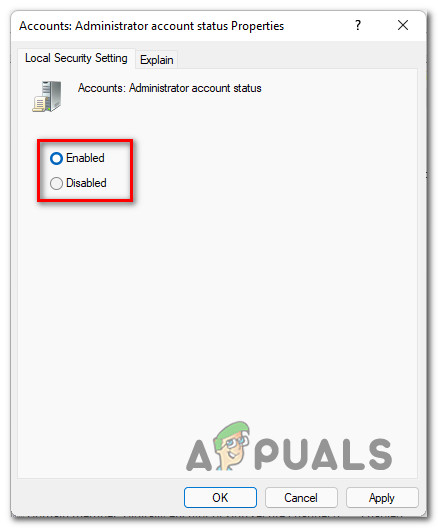
Enable or Disable the Built-in Admin on Windows 11 using a Local Security Policy
Note: You will not be able to follow this method on the Home version of Windows 11. The tool that we used below (Local Security Policy) is only available on Windows 11 Pro, Windows 11 Enterprise, and Windows 11 Education.
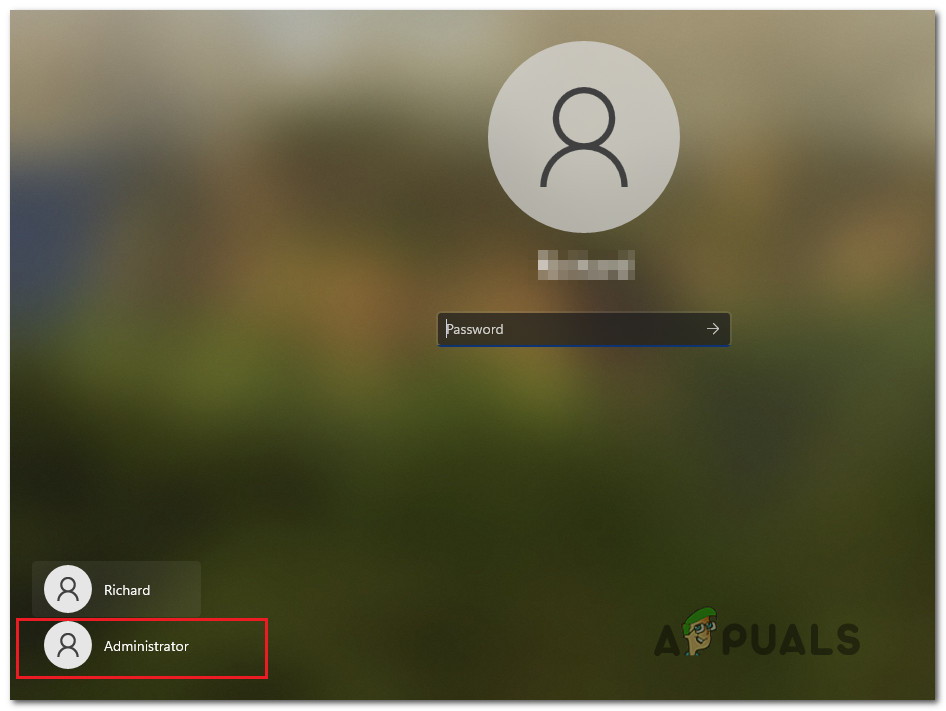
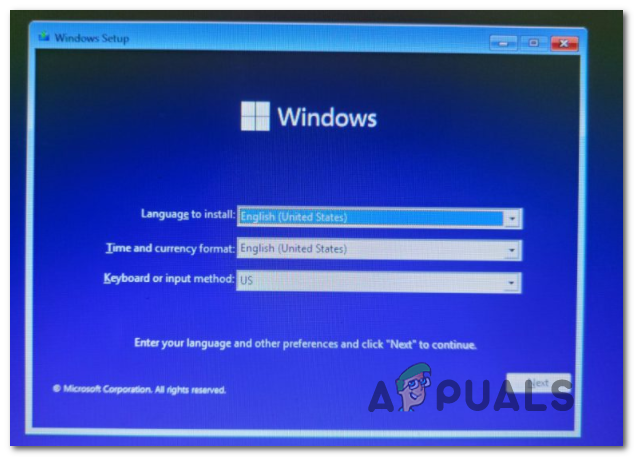
Enable / Disable the Built-in Admin on Windows 11 using CMD at boot
Note: Use this method if you are unable to sign in to Windows 11.
SOLVED: Microsoft Edge Can’t be opened using the built-in Administrator AccountSOLVED: App’s Can’t be opened using the Built-in Administrator accountFix: This app can’t be activated by the built in administratorHow to Use Chrome Built in Task Manager