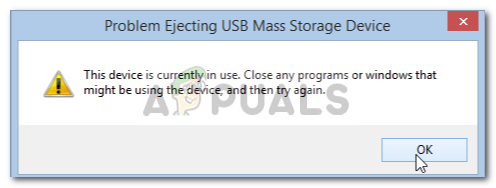
To ensure the safety and integrity of your external hardware, it is always advised to remove your drive only when there is no other process using it. Your drive will most likely get corrupted or damaged if you recklessly eject the drive. Nonetheless, to help you fix your problem, you can follow the solutions down below.
What stops Users from Ejecting their External Drive Safely on Windows 10?
If you are not able to safely eject your external drive and the ‘Safely Remove Hardware and Eject Media’ option is greyed out, the issue is typically due to the following factors — To circumvent your issue, please follow the solutions down below in the same order as provided.
Solution 1: Restart your System
The first step in solving your issue would be to reboot your machine. Rebooting your machine will close all the current applications and third-party processes and when the system boots up again, there will be no applications using the files stored on the external hard drive. You can also end such tasks by using the Task Manager, however, that is time-consuming and since a restart is much quicker and efficient, you should restart your system instead of ending the tasks using the Task Manager. Once your system has booted up again, try ejecting the external drive.
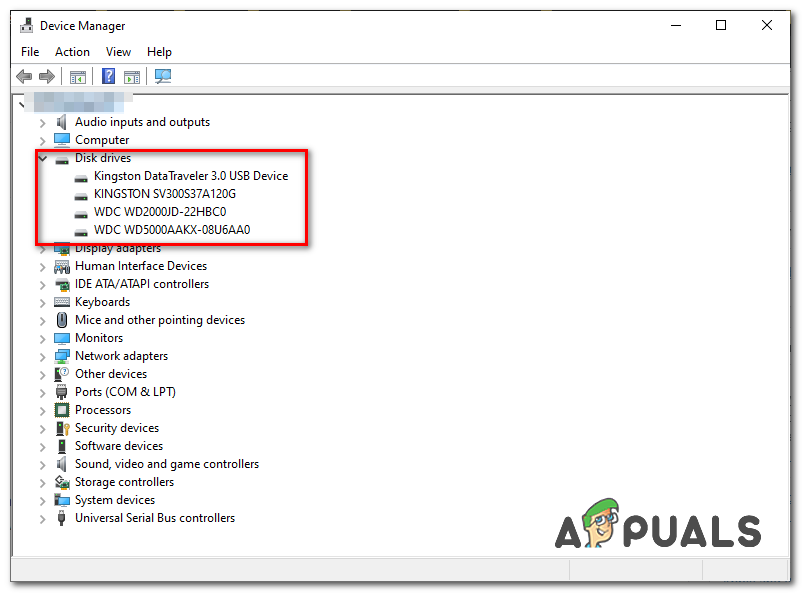
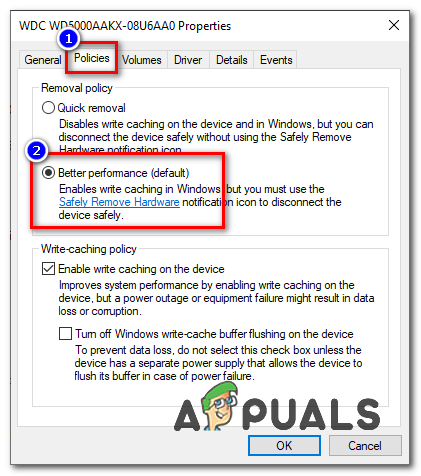
Solution 2: Checking the Hard Drive policy
If you can’t see any “Eject” option on your Windows. It means that your Windows is preventing the Hard Drive to be ejected as it might be in the middle of an operation. So Windows doesn’t let you remove the Hard Drive if it thinks that there is a danger of data loss. You can change the policy Windows set for your hard drive by following these steps:-
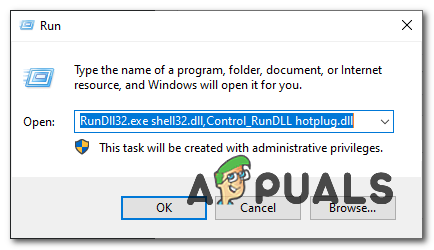
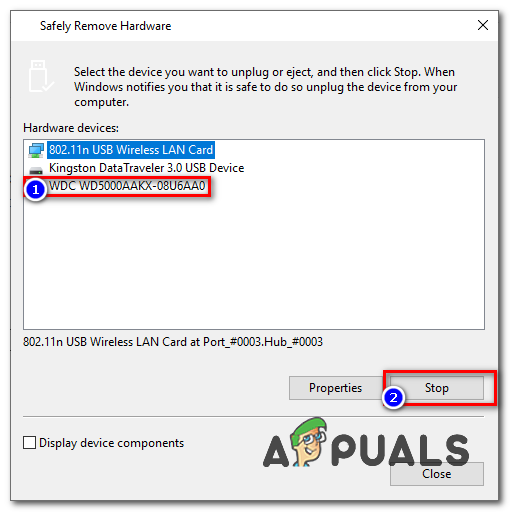
Solution 3: Using Safely Remove Hardware utility
There is a shortcut that you can use to access the old “Safely Remove Hardware” tool Windows have. Basically, it will open the whole utility and let you eject the External Hard drive easily. To access this utility, follow these steps:-
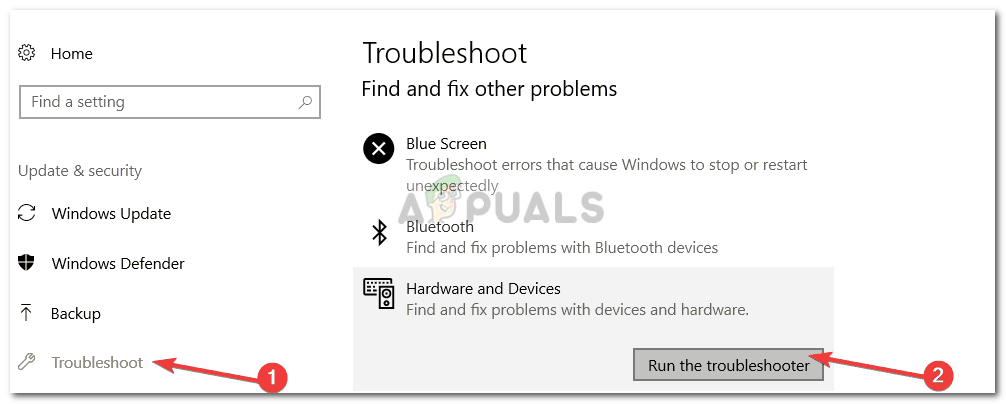
Solution 4: Run the Windows Hardware and Devices Troubleshooter
The built-in troubleshooters are there for a reason and should be utilized whenever needs be. In this case, since you are having issues with your external hardware, executing the Hardware and devices troubleshooter might fix your issue. Here’s how to run the troubleshooter:
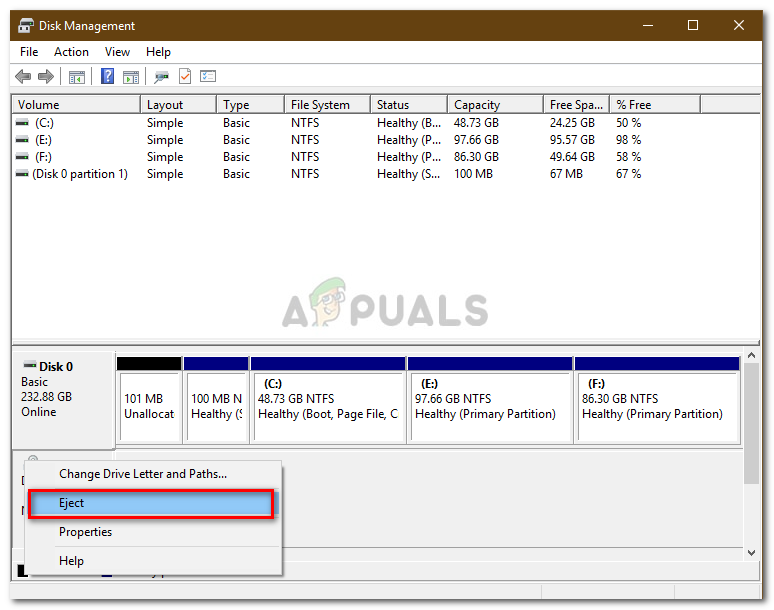
Solution 5: Eject the Drive Using Disk Management
Disk Management is a Windows built-in utility that lets you manage all the disks or drives connected to your system. If you are unable to eject the drive using the ‘Safely Remove Hardware and Eject Media’ option, you can easily remove the drive safely using the Disk Management tool. Here’s how to do it: It is important to note that once you eject the external hard drive, it will appear as Offline. Therefore, the next time you want to use the drive on your system, make sure to change the status to Online in Disk Management.
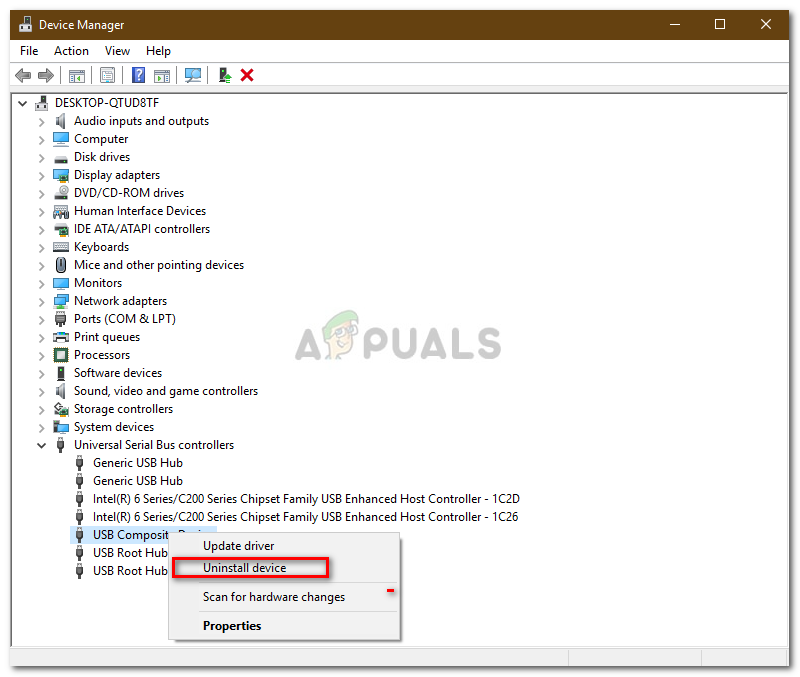
Solution 6: Update USB Drivers
The last step in solving this issue would be to check your USB drivers using the Device Manager. To fix your issue, you will have to see if the drivers are operating properly or not. Here’s how to do it:
Fix: External Hard drive not showing up Windows 10How to Install Windows 10 on External Hard DriveHow to Fix Format Disk Error External Hard DriveFix: External Hard Drive ‘No Media Error’