The CDPUserSvc service is a sub-component of the Connected Device Platform service and will only be used in scenarios where the user connects a Bluetooth device, a printer, a scanner, or other types of external devices. So if you are not using any devices in these categories, you can disable this service with no repercussions. As it turns out, there are several different scenarios that might end up facilitating the apparition of the Failed to Read Description – Error Code 15100. Here’s a shortlist with every potential culprit:
Method 1: Installing every Pending Update
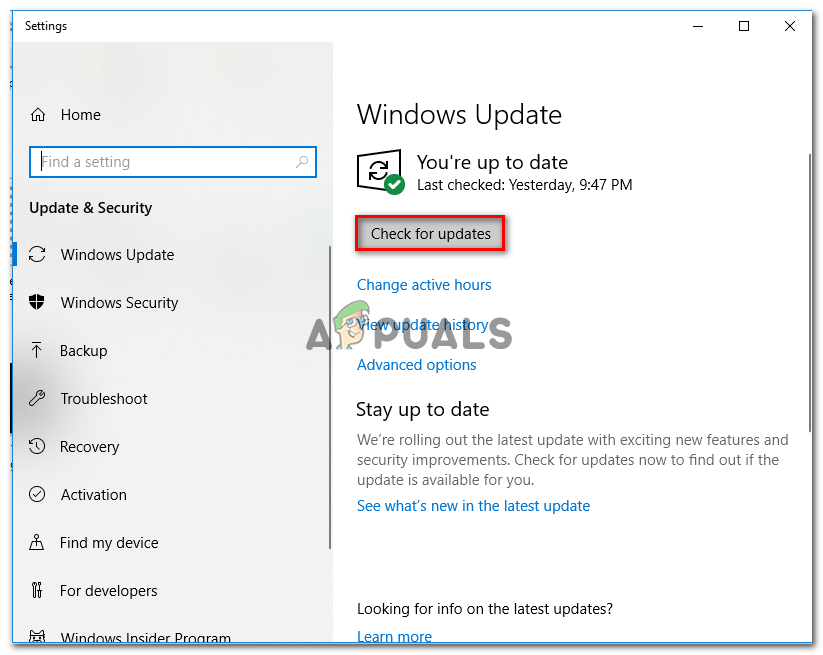
As it’s been confirmed by several Windows users that opened a ticket with Microsoft regarding this issue, it turns out that the tech giant has already released a hotfix for this issue (with update KB4048952). To take advantage of this, you simply need to install every pending update until you bring your computer build up to date. This is applicable to both Windows 10 and older Windows versions. Just install every pending update using the instructions below and restart your computer to see if the issue is resolved automatically: In case your computer was already up to date or you are not willing to install the pending Windows updates (for various reasons), move down to the next potential fix below.
Method 2: Isolating the Process
In case you’re looking for a quick and painless fix (but one that doesn’t fix the root cause of the issue), you can simply open up an administrative command prompt and isolate the cdpusersvc process. This operation will force Windows to isolate the service in its own separate process. Note: Keep in mind that process isolation is normally the default for the vast majority of processes, but for some reason, Microsoft opted to run this one in another mode by default. If you want to give this process isolation fix a try, follow the instructions below: In case you’re still seeing the “Failed to Read Description – Error Code 15100″ issue, move down to the next potential fix below.
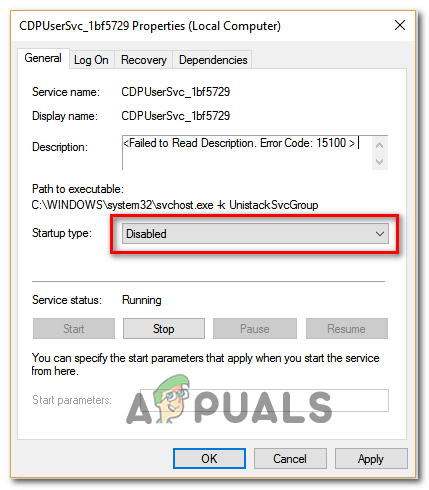
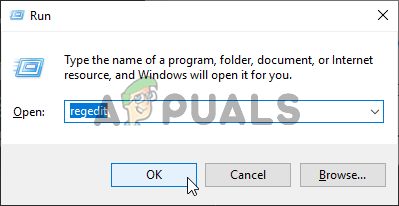
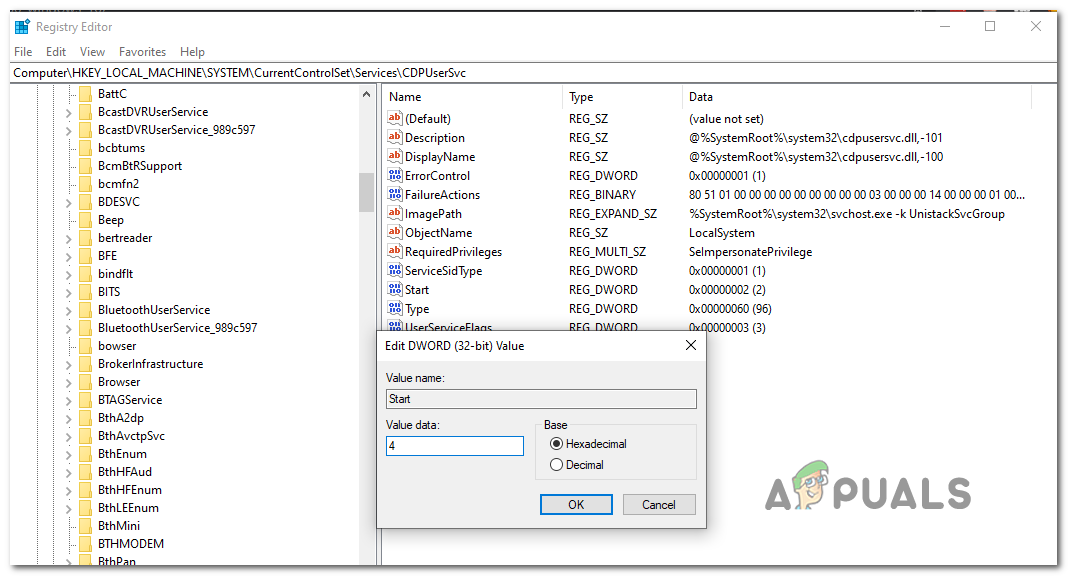
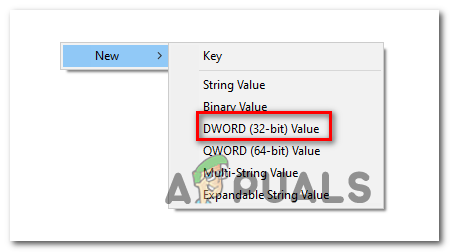
Method 3: Disabling the CDpusersvc via Registry Editor
If you are not using a device that uses the CDpusersvc service (printer, scanner, or other types of external device), the quickest and most efficient way of fixing the Failed to Read Description (Error Code 15100) issue is to simply disable it using Registry Editor. A lot of affected users have reported that upon disabling this service, the stopped seeing that description that pointed towards a problem with the CDpusersvc service. Important: If you have any connected printers, scanners or Bluetooth devices, disabling the CDpusersvc is NOT recommended since you might experience connectivity issues with external devices that make use of the Connected Device Platform service. In this case, skip this first method and move directly to the second one. If you are prepared to go this route, follow the instructions below to disable the CDpusersvc service via Registry Editor: In case the problem is still occurring or you don’t want to disable this service altogether, move down to the next potential fix below.
Method 4: Performing SFC and DISM scans
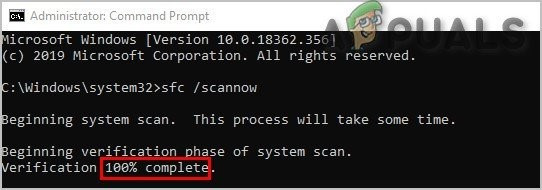
As it turns out, this problem can also occur due to an underlying system file corruption. It seems like there are three problematic updates on Windows 10 that might end up breaking the CDpusersvc service. Fortunately, every recent Windows version has a couple of built-in tools that are capable of fixing the majority of corrupted system files automatically. SFC (System File Checker) and DISM (Deployment and Image Services and Deployment) are similar in some ways, but they operate differently which makes them ideal to be used together – That’s why we encourage you to run both in quick succession. Start with an SFC scan, since it’s an entirely local tool that uses an archive stored on the OS drive to replace corrupted files with healthy equivalents. Run it and wait until the operation is complete. Note: DO NOT interrupt this scan until the operation is complete. Doing this might leave your system exposed to additional logical errors that cannot be fixed conventionally. Once the operation is complete, restart your computer and wait for the next startup to complete. After your computer boots back up, trigger a DISM scan, and wait patiently until the scan and deployment phases are finished. After the second operation is finished, reboot your computer once again and see if the Failed to Read Description – Error Code 15100 issue is fixed once the next computer startup is complete.
Method 5: Fixing the App Store Permission issues (if applicable)
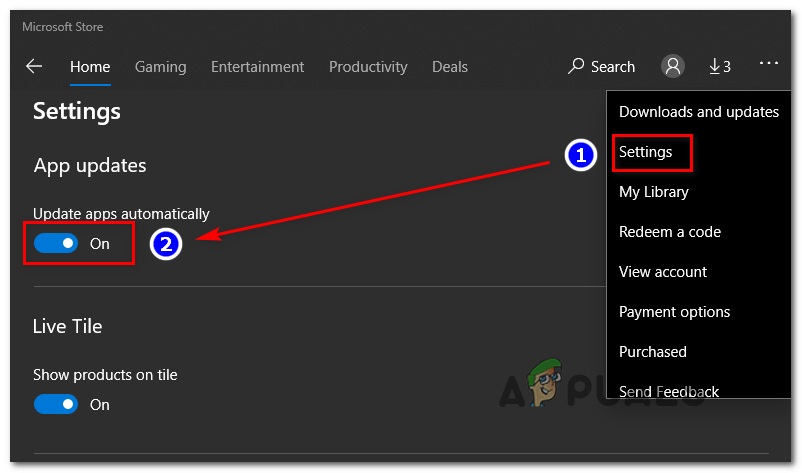
As it’s been documented by several affected users, the CDpusersvc will also start “svchost -k UnistackSvcGroup” – this is a service that’s tasked with performing automatic updates for the Microsoft App Store. However, if you are not a fan of the Microsoft store and you previously disabled it via a Group Policy (or some other way), it’s very likely that this produces a conflict that will ultimately result in the Failed to Read Description pop-up error. If this scenario is applicable, you will need to disable access to the Microsoft Store and disable Automatic Updates from within the app so the CDpusersvc knows about this change. To do this, simply open the Microsoft App Store, click on the action button from the top-right corner and click on Settings from the newly appeared context menu. Next, from the context menu, uncheck the toggle associated with Update apps automatically. However, in the event that you already have a group policy in place that disables the Microsoft App store, you will need to begin by lifting that policy or by doing a series of adjustments in your Registry using Registry Editor. If your particular situation forces you to do this, follow the instructions below: In case the same Failed to Read Description (Error Code 15100) error is still occurring, move down to the next potential fix below.
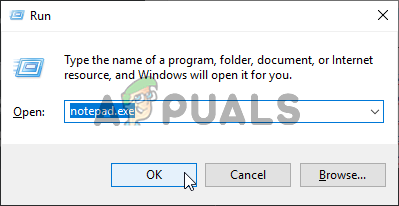
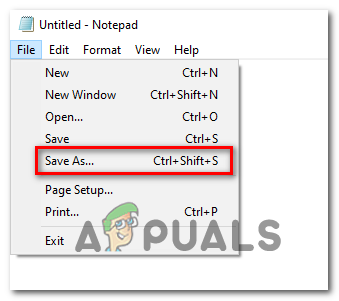
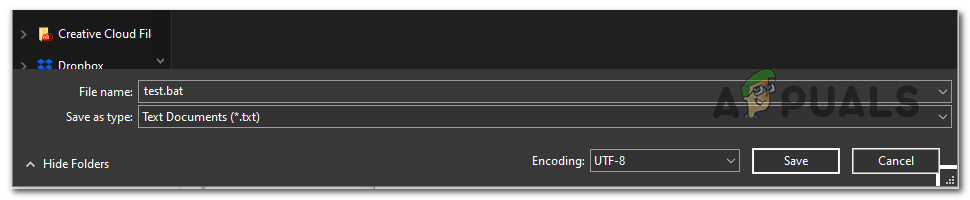
Method 6: Deleting every Errant Service via Batch script
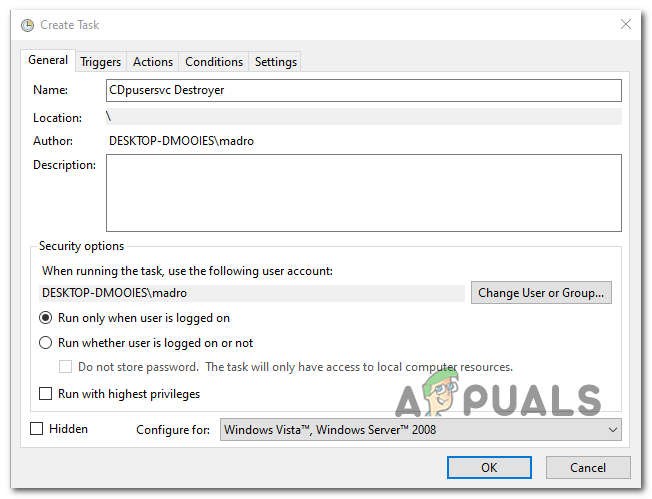
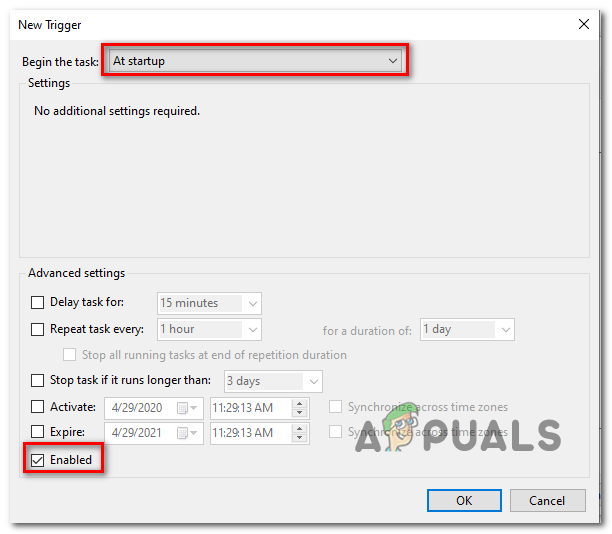
If none of the methods above have worked for you, it’s possible that the errant service (tied to CDpusersvc) contains a suffix that puts it above being touched by the changes you made via Registry Editor. In this case, the only way to fix this issue is to build yourself a ‘search and destroy’ script and configure it to run at every startup – This is important since the suffix will change after every system startup. If this scenario is applicable and none of the instructions above have worked for you, follow the instructions below to create and configure a script that will resolve this issue:
What is the CDPUserSvc and Should it be Disabled?How to Fix ‘Error 2041 - Code Invalid Sample Description’ in QuickTimeHow to Fix Error Code -36 ‘.DS_Store can’t be read or written’How to Fix CDVD READ ERROR in PCSX2 Emulator