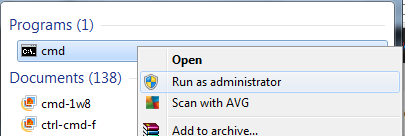
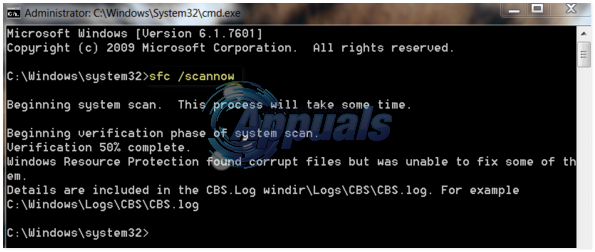
By opening an elevated Command Prompt, typing in sfc /scannow and pressing Enter, you can initiate an SFC scan. The scan analyzes all of your computer’s system files, sets all corrupted/missing system files aside and then attempts to fix the issue by replacing them with uncorrupted cached copies. The SFC scan is, in every sense of the word, ingenious. However, there are some instances where the SFC scan simply isn’t enough to resolve the issue. For example, if the cached copies of the system files that have become corrupt are also, for some reason, corrupt, the SFC scan will not be able to fix them and will display a message along the lines of “Windows Resource Protection found corrupt files but was unable to fix some of them.” Because such instances are extremely rare, most people wouldn’t know what they should do next when running an SFC scan does not entirely fix the problem. Enter SFCFix – a completely free piece of software that can be downloaded here and is designed specifically to tackle problems that an SFC scan failed to fix. SFCFix is extremely easy to use, portable and compatible with all recent versions of the Windows OS. The way SFCFix works is pretty impressive to say the least. When you initiate an SFC scan, the scan creates a CBS.log file that contains information on every single corrupt or missing system file that the scan encounters, including those that the scan failed to repair or replace. What SFCFix does is that it parses and reads this CBS.log file, finds out what corrupt or missing system files the SFC scan couldn’t deal with and it needs to tend to, and then uses file hashes and advanced algorithmic searches to repair or replace any and all corrupt/missing system files. Listed below are all of the steps you need to perform in order to resolve all of the problems that an SFC scan couldn’t fix for you. It should be noted that since SFCFix needs the CBS.log file that an SFC scan creates when it is initiated to do its thing, you will have to first run an SFC scan before you can launch SFCFix. Open the Start Menu. Search for cmd. Right-click on Command Prompt in the search results. Click on Run as administrator in the contextual menu.
Type sfc /scannow into the elevated Command Prompt and press Enter.
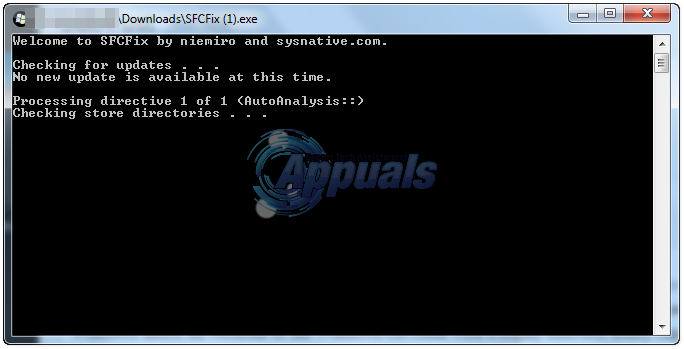
Allow the SFC scan to run its course, and as soon as it has, launch SFCFix. Press Enter on the prompts you get to continue. Allow SFCFix to do its thing. SFCFix will scan your computer and then attempt to repair or replace the missing/corrupt system files that the SFC scan failed to deal with. The whole process can take anywhere between 15 and 30 minutes (depending on various factors), but SFCFix will inform you if the estimated time of completion for the process is longer than 15 minutes so that you know just how long you need to wait.
Once SFCFix has gone about its business successfully, it will open a Notepad document that will list the full path of every corrupt/missing system file that SFCFix found and whether or not it was successfully repaired or replaced by the program.
Fix: Windows Resource Protection Found Corrupt Files but was Unable to FixFixes for Error Occured while Updating (Corrupt Content Files) in SteamWindows 10 Latest Patch KB4528760 And KB4534273 To Fix Security Bug Reported By…Fix: Windows has stopped this device because it has reported problems. (code 43)…