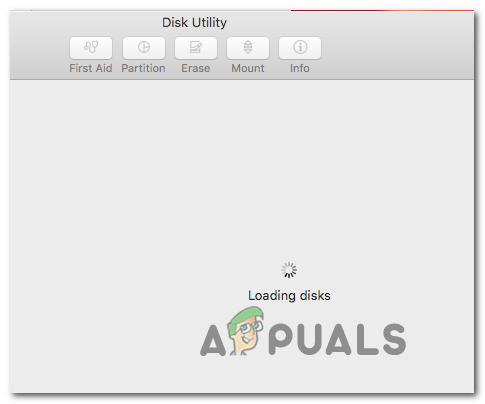
In some cases, this issue is facilitated by a fairly common inconsistency that can be resolved easily via a simple Mac restart. This will resolve the common glitch where the Disk Utility will hand with the “Loading disks” message after a new HDD or SDD drive is connected. However, this issue can also be triggered by a stuck Disk Utility process. In this scenario, using the terminal to identify and kill the task managing the process will fix the issue entirely. Unless the problem is occurring due to a 3rd party conflict – in this case, run the Disk Utility in Safe mode and see if the problem is fixed. In case the issue is still occurring, try moving the preference file (com.apple.diskutility.plist) away from the Library menu in order to force the OS to create a new healthy file. Other potential fixes include resetting the NVRAM and PRAM, repairing the OS drive via the Recovery menu, power-cycling your machine and even reinstalling the macOS in exceptional situations where nothing else fixes the issue.
Restarting your Mac Computer
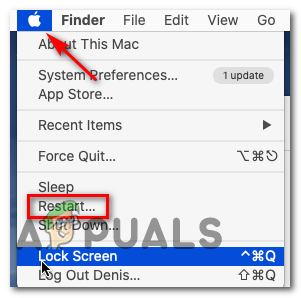
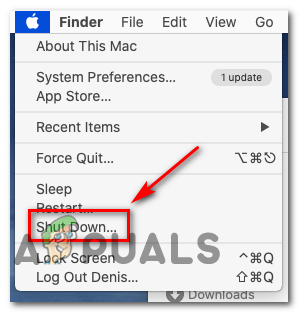
As it’s been reported by several affected users, this issue can occur due to a fairly common inconsistency that can be resolved by a simple system restart. Although there’s no official explanation on why this problem occurs (even on the newest macOS versions like Catalina), some tech-savvy Mac users are saying that the utility tends to hang and fail to load disk information when a large external HDD or SSD is connected. If this scenario is applicable, try restarting your macOS conventionally by clicking on the Apple icon (top-left corner) and selecting Restart from the newly appeared context menu. Once the restart sequence is complete, attempt to launch the Disk Utility once again and see if the issue has been resolved. In case the utility still hangs with the ‘Loading disks‘ message, move down to the next potential fix below.
Unsticking the Disk Utility
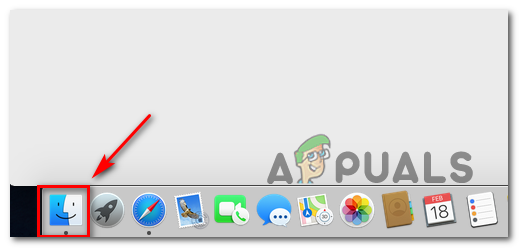
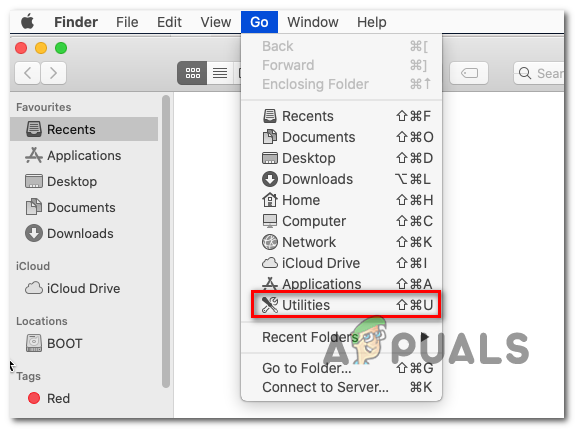
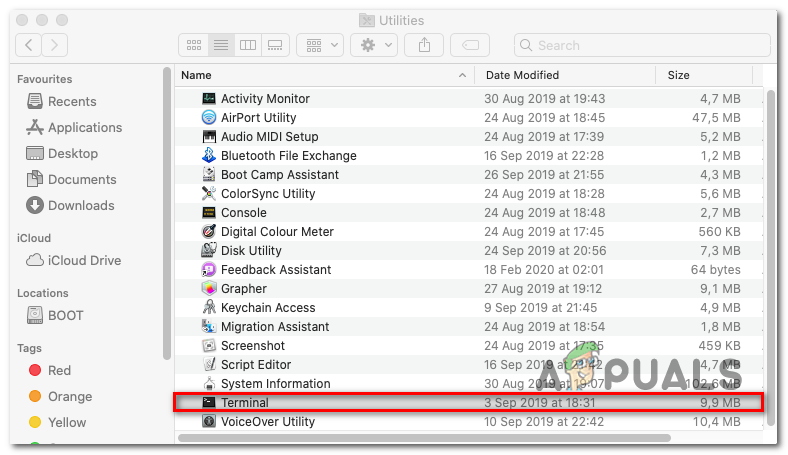
As it turns out, this issue is often reported to occur due to the main process behind Disk Utility getting stuck in a limbo state. If this scenario is applicable, you should be able to fix the issue by finding out the assigned process number of Disk Utility and using that to kill the task. This operation will get the utility unstuck, allowing you to manipulate your disk drives without the endless ‘Loading disks‘ message. Here’s a quick guide on getting the Disk Utility unstuck by using the Terminal:
Running the Disk Utility in Safe mode
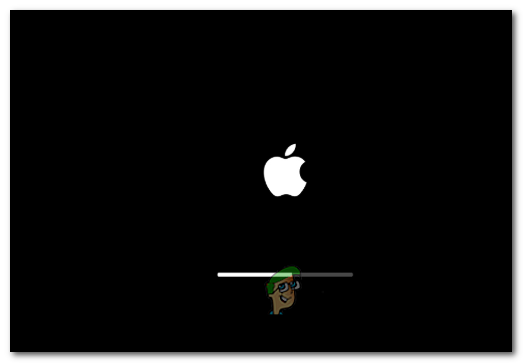
Since this ‘Loading disks‘ issue with Disk Utility could be the result of a conflict with some type of 3rd party entity, your first attempt at resolving the issue would be to boot your Mac in Safe Mode and retry the operation while every 3rd party service is not permitted from running. Several affected Mac users have confirmed that this operation allowed them to finally use the Disk Utility and complete the operation that they were previously permitted to. Here’s a quick step by step guide on booting your Macintosh in safe mode and running the Disk Utility without any 3rd party interference:
Deleting the preference files for Disk Utilities
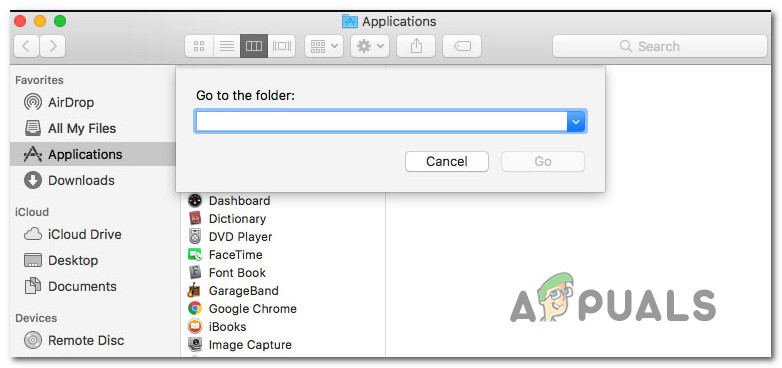
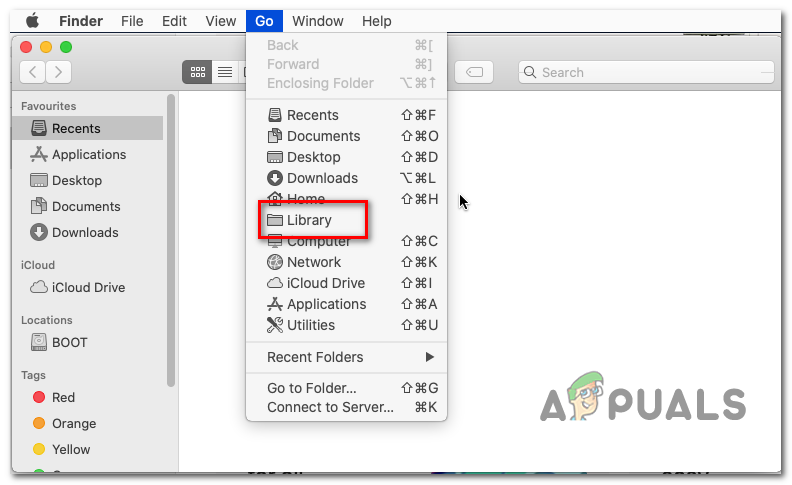
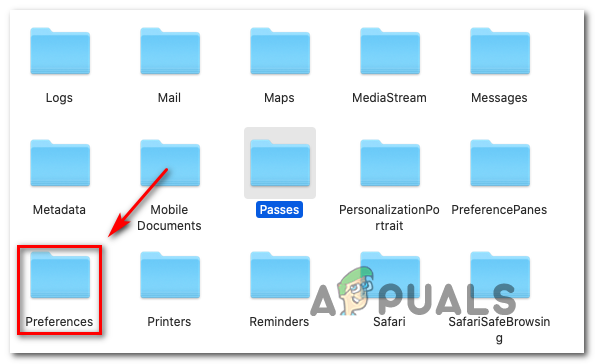
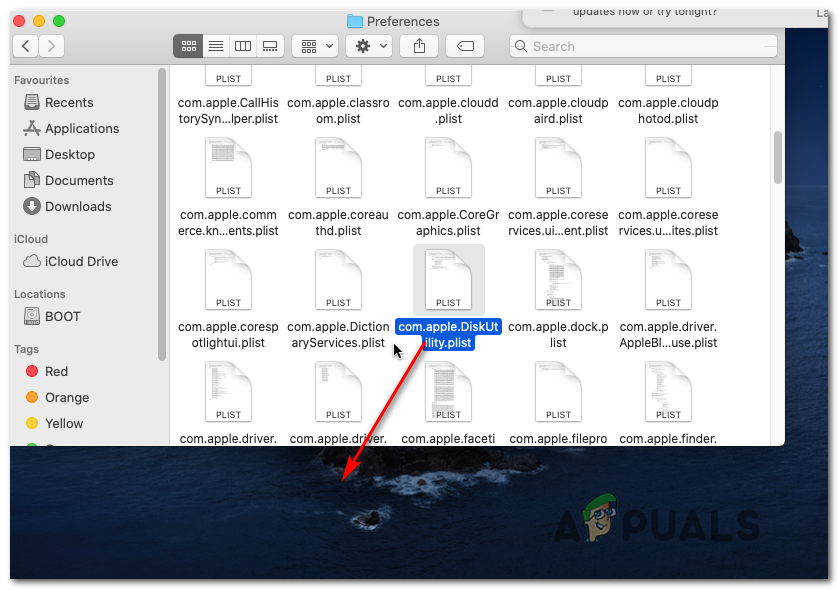
One fairly common cause that might end up triggering the endless ‘Loading disks’ error with Disk Utility is a corrupted preference file located in ~/Library/Preferences. This problem was reported on a lot of different macOS versions (including macOS Catalina). Several affected users that were also struggling to resolve this problem have confirmed that they managed to fix the issue entirely after moving the file elsewhere (since you cannot delete it conventionally). This will end up forcing the operating system to create a new healthy file that will take its place. Here are some instructions that will allow you to deal with the corrupted preference file of Disk Utility:
Repairing the Drive via Recovery Menu
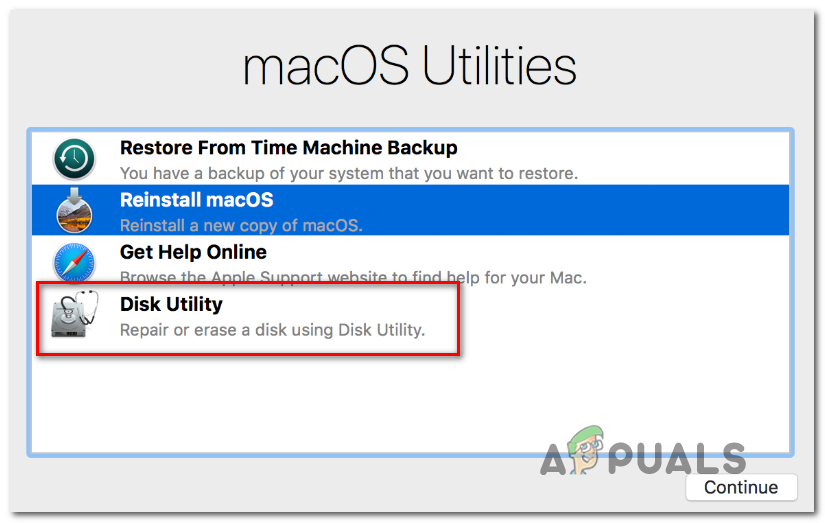
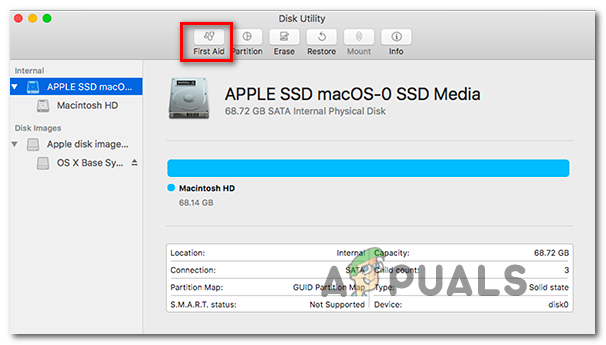
As it turns out, this particular error can also occur due to a collection of bad data accumulated in your OS drive. In some circumstances, this problem will ultimately cut user access to several critical utilities including Disk Utility. If this scenario is applicable, you should be able to fix the issue by repairing the drive using the Disk Utility directly from the Recovery Menu. This operation will ensure that there’s no outside interference. Here’s a quick guide on booting your Mac directly into the Recovery Menu and starting the Disk Utility directly from there:
Resetting NVRAM and PRAM
As it turns out, this particular issue can also be facilitated by data stored in NVRAM (nonvolatile random-access memory) or PRAM (Parameter RAM). NVRAM represents a small amount of memory that your MAC uses to store certain settings and access them quickly while PRAM stores similar information, but it’s mostly related to Kernel Information. Among the information stored by PRAM and NVRAM is startup-disc selection and management, a series of data that might end up effectively breaking the Disk Utility. Note: THe exact settings stored by NVRAM and PRAM depend on your particular Mac version. If this scenario is applicable, you should be able to fix the issue by resetting both the PRAM and NVRAM. Here’s a quick guide on how to do this:
Performing a Power cycling on your Mac
In case you’ve cleared your NVRAM and PRAM with no success, it’s very likely that some type of temporary data ends up freezing the Disk utility. Since there are a lot of potential culprits that might end up doing this (most likely a conflicting process stuck in a limbo state), your best bet at fixing the issue right now is to clear any temp data by forcing a power-cycling procedure on your Mac computer. If you are ready to go through with this procedure, follow the instructions below: If you’re still having the same problem, move to the final method below.
Reinstalling the OS X
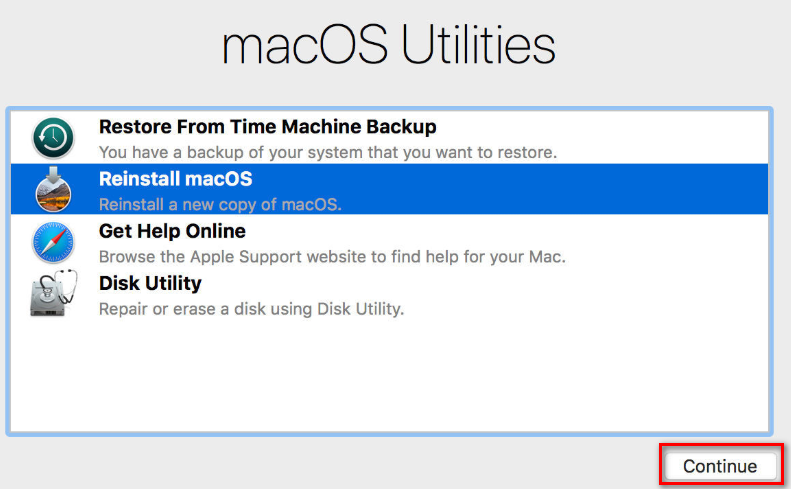
If none of the other potential fixes above have allowed you to fix the issue, chances are you’re dealing with some kind of system file corruption that cannot be resolved conventionally. In case this scenario is applicable, you should be able to fix the issue by by forcing an OSX reinstall via the Recovery menu. If you’re not exactly sure on how to do this, follow the step by step instructions below:
How to Take Screenshots on macOS and Mac OS X Using Grab UtilityHow to Free Up Hard Disk Storage on MacOS and Mac OS XFIX: Non System Disk or Disk Error Message on StartupHow to Fix No Boot Disk Has Been Detected or the Disk Has Failed
