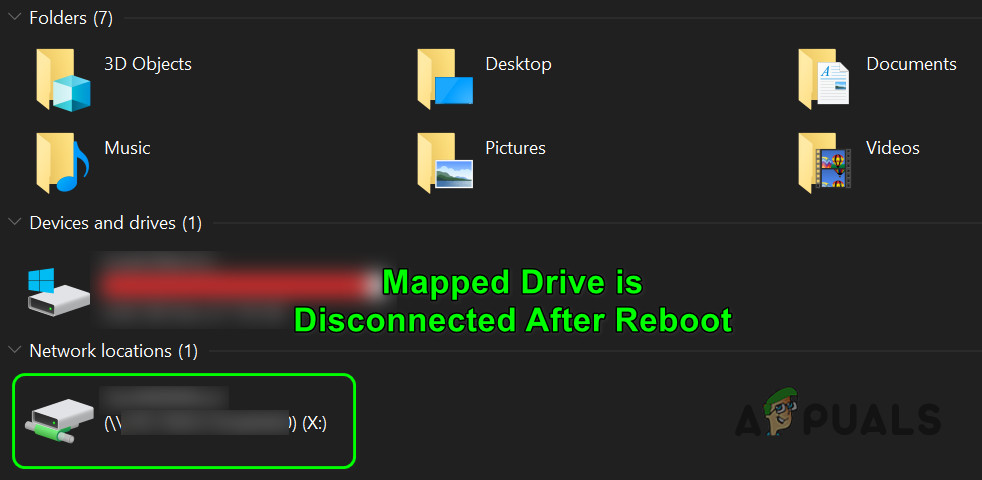
Before moving on with the solutions to stop network drives from disconnecting, make sure you can access the network location & you are using the latest version of Windows. Moreover, check if disabling/enabling SMB solves the problem. Also, ensure that the time/time-zone on the problematic system and host are set properly. Additionally, check if you are using GPT (if using UEFI) to boot the system. Furthermore, check if changing your network credentials (try using the same credentials as you use to log in to the system) solves the problem. Last but not least, make sure no task in the Task Scheduler is causing the issue.
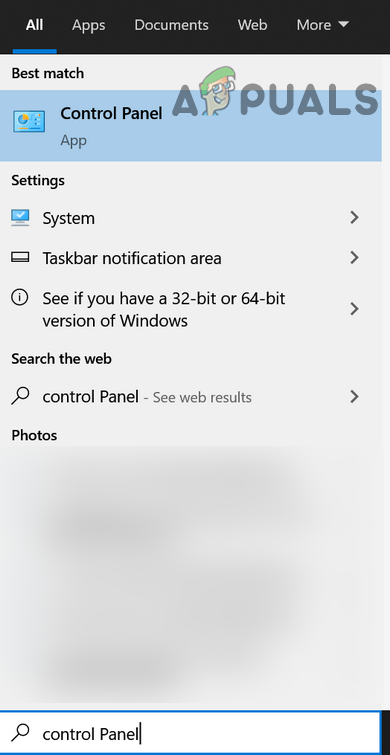
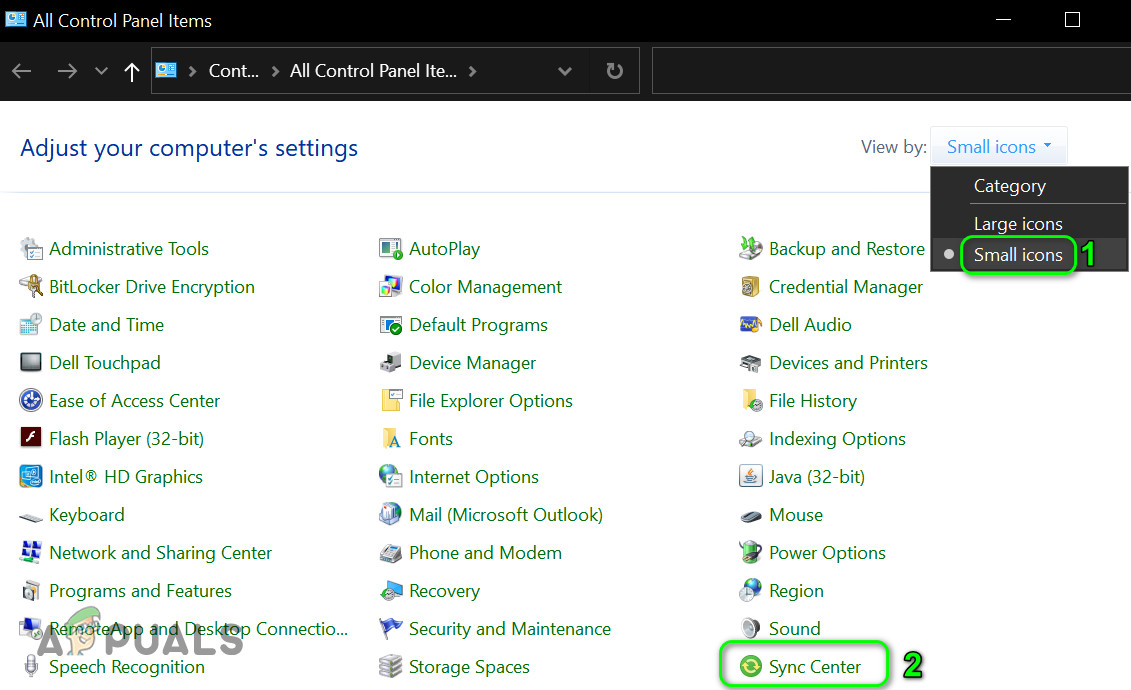
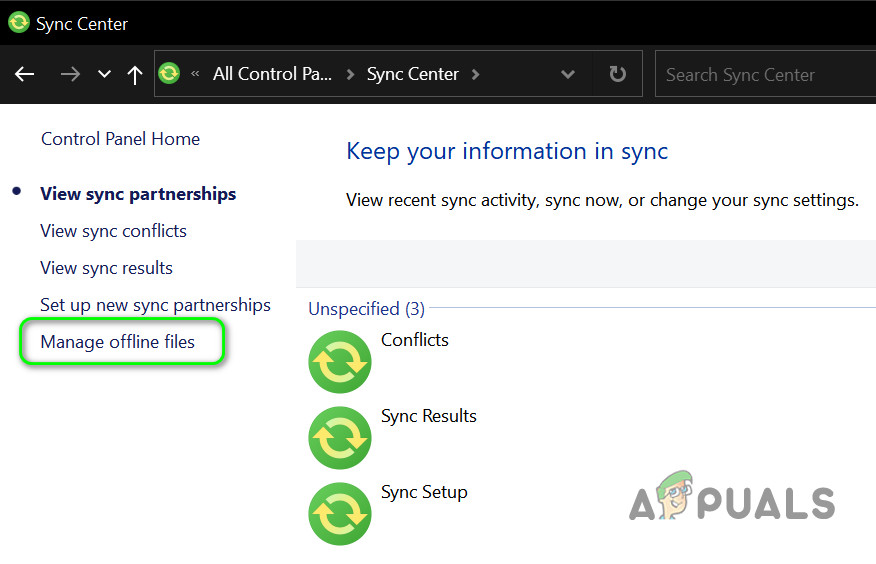
Solution 1: Disable Offline Files for Your System
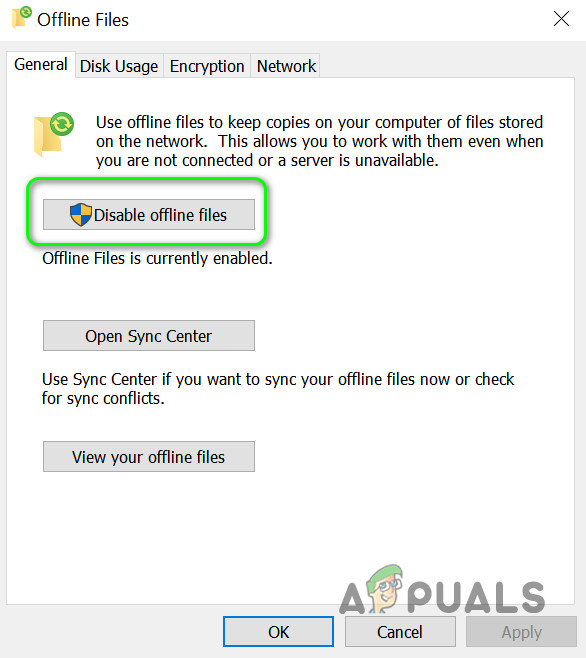
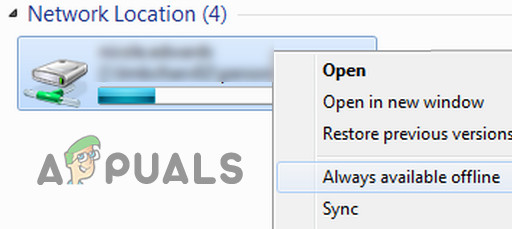
Many users tend to keep offline copies of the network shares. But these files, due to a syncing glitch, may cause the error under discussion. In this scenario, disabling offline files for your system may solve the problem. But make sure that the password-protected sharing is disabled (it may turn on after a Windows update).
Solution 2: Remove and Re-add the Network Credentials to Windows Credential Manager
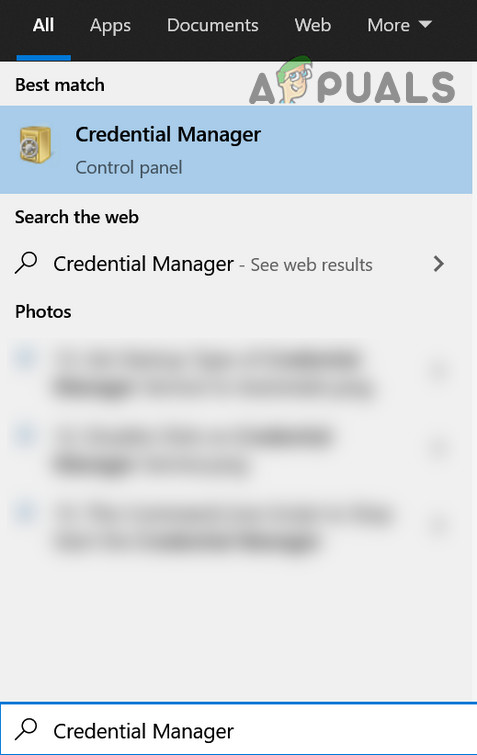
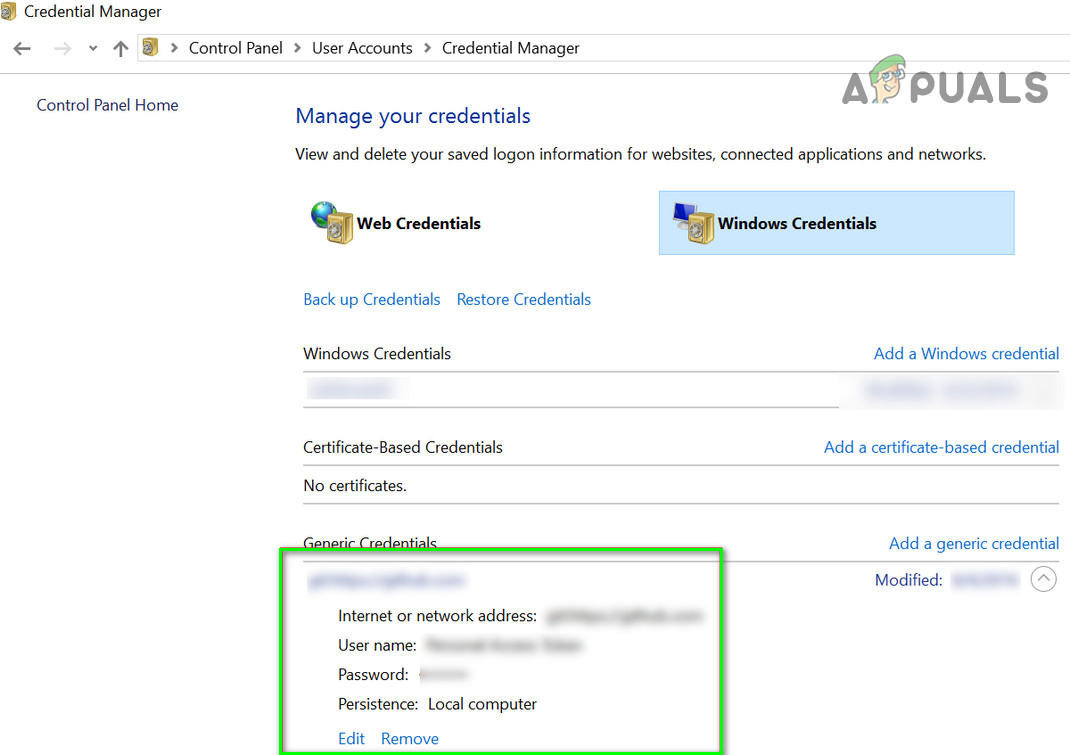
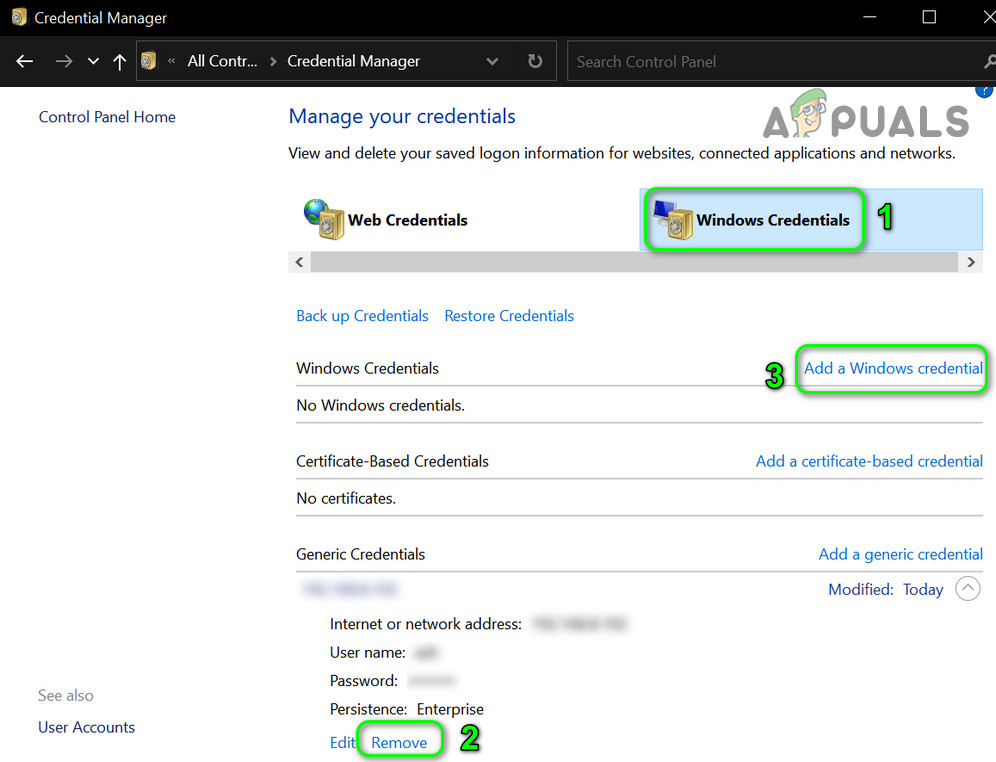
You may encounter the error at hand if the credentials for the mapped drive in the Windows Credential Manager are corrupt (or stuck to the old credentials). In this case, removing and re-adding the credentials to the Windows Credentials Manager may solve the problem.
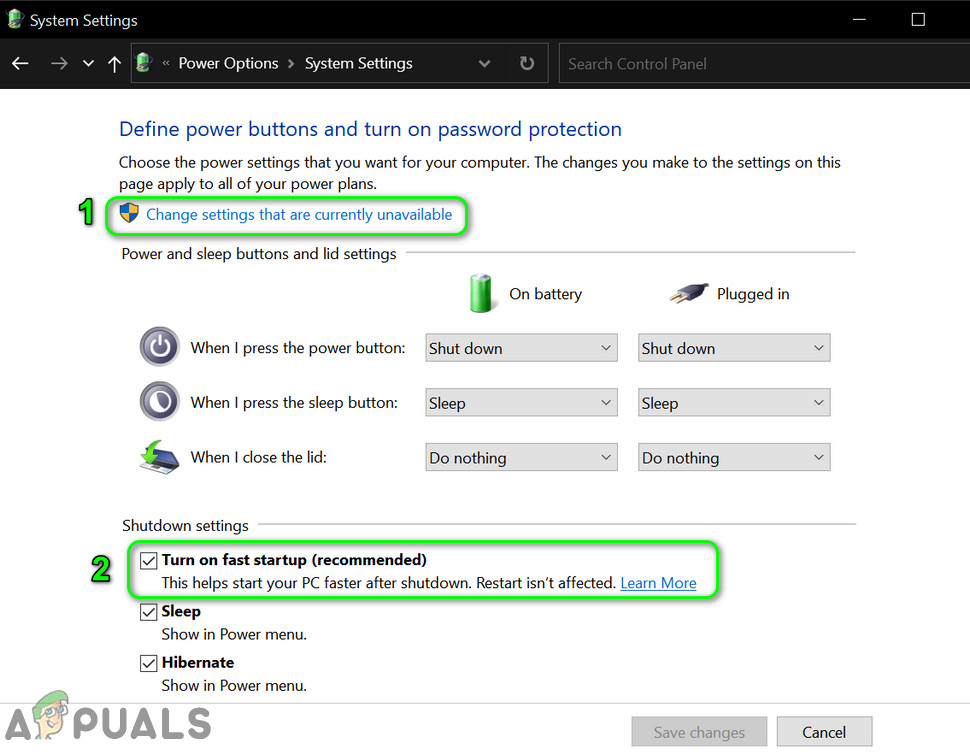
Solution 3: Disable Fast Startup of Your System
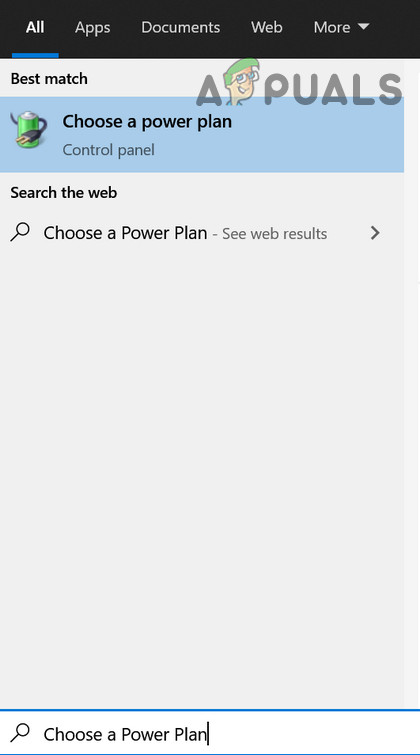
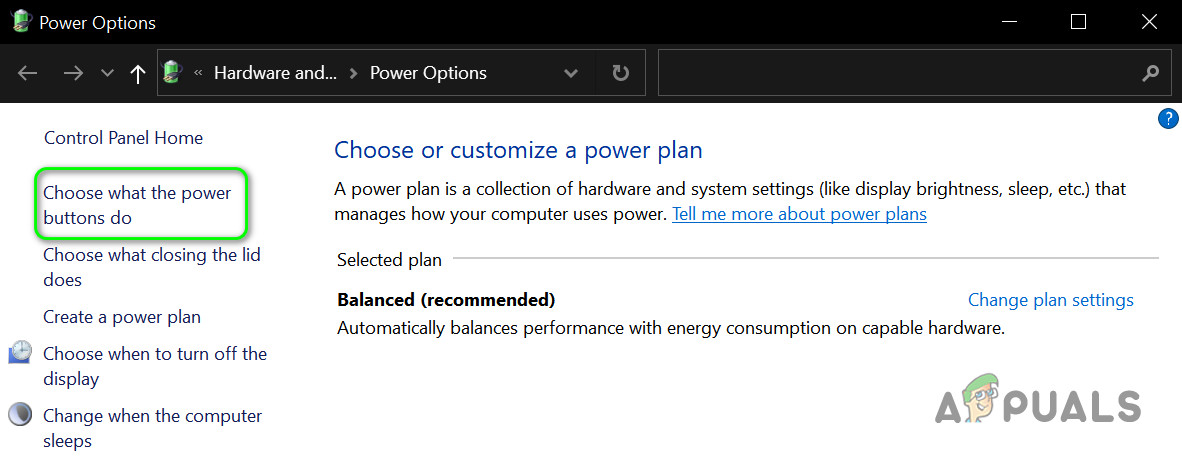
Fast Startup is used to make the system’s boot process fast and when enabled, your system is put into a mix of a state of shutdown and hibernation while powering off which may break certain network-related operations and thus cause the error at hand. In this context, disabling the fast startup (if you have disabled it in the past, it may get enabled after a windows update) of your system may solve the problem.
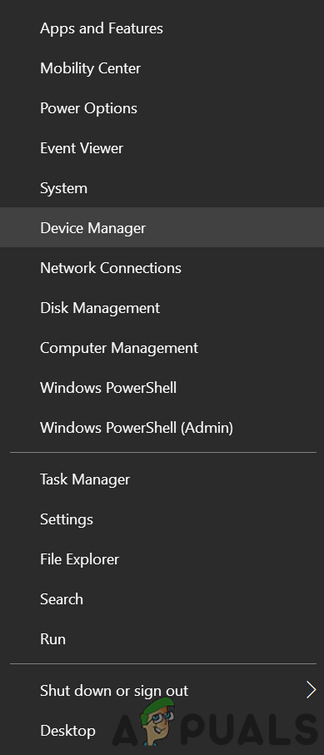
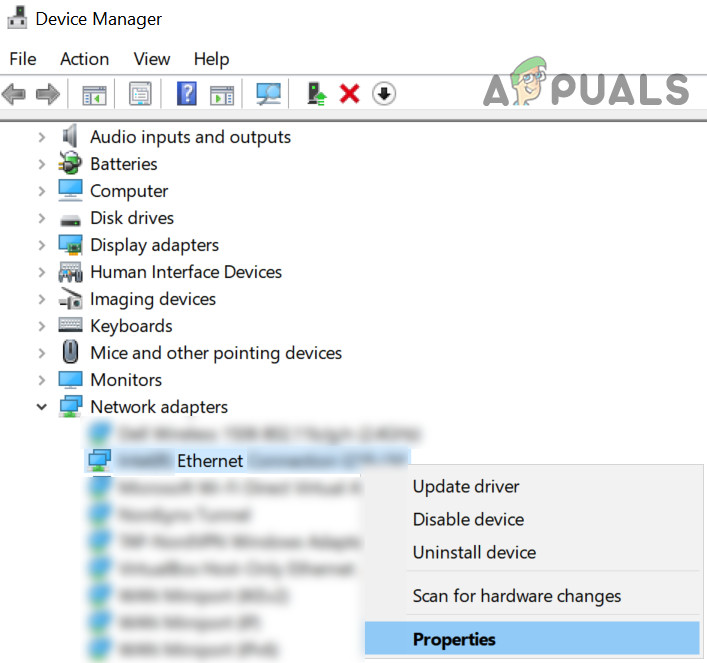
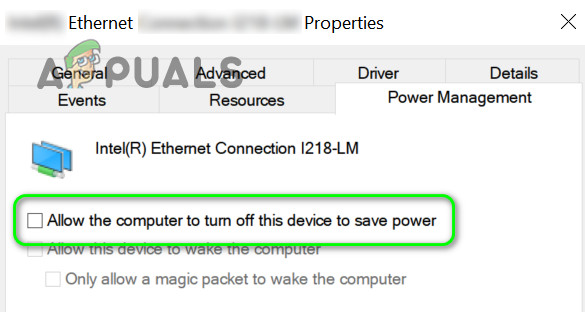
Solution 4: Change the Network Card Options
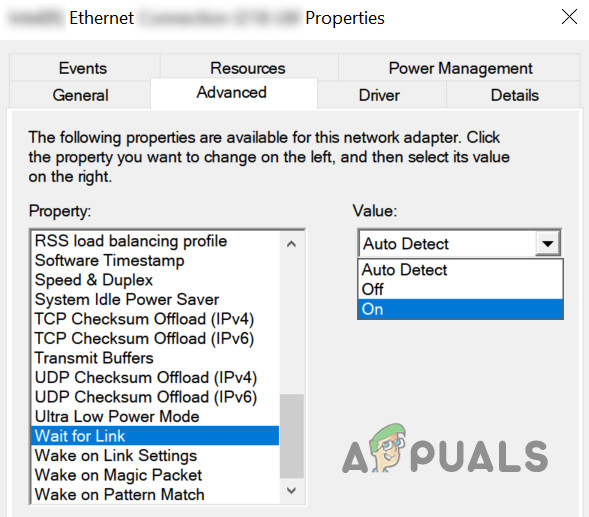
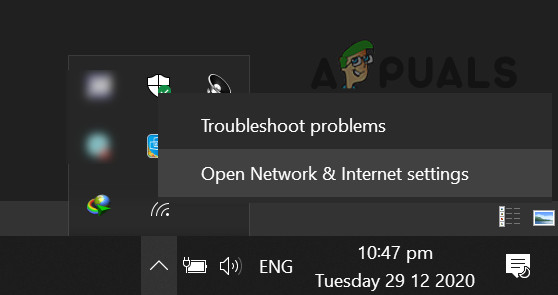
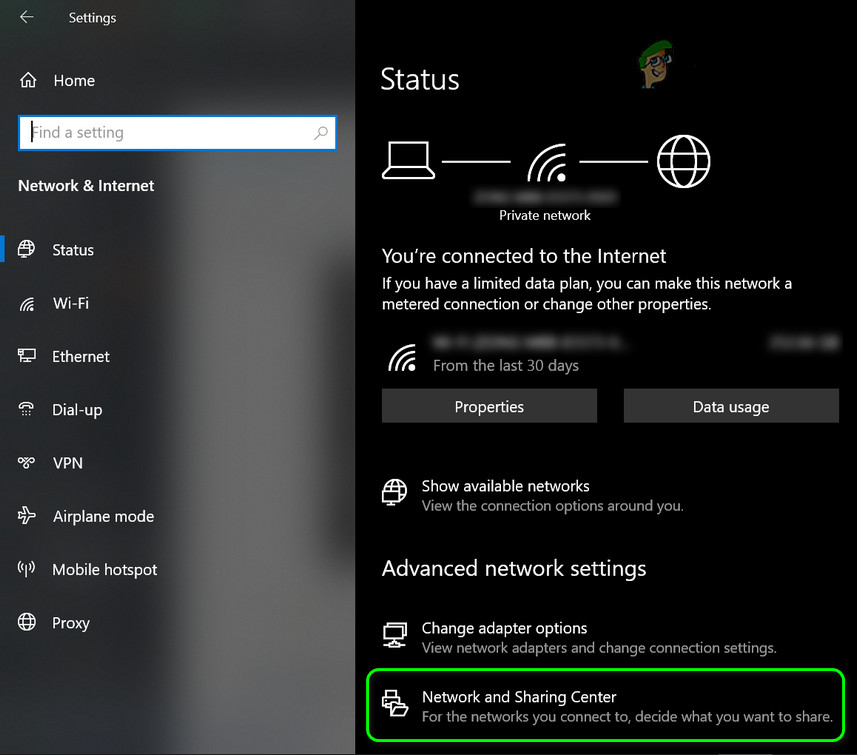
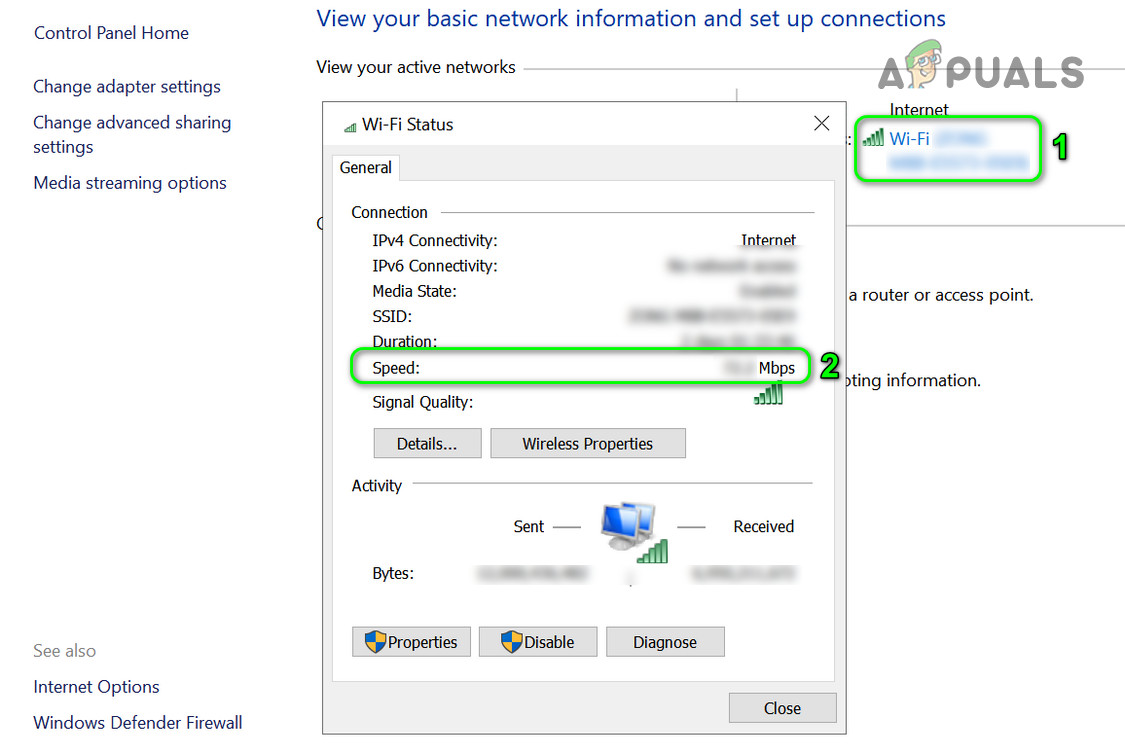
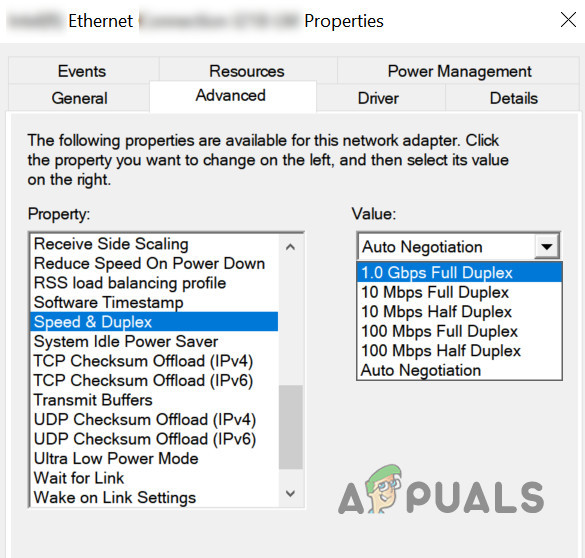
Your mapped drive may disconnect after a reboot if your network card is not configured properly. In this context, changing the network card (link and power) options may solve the problem. If the issue is still there, then the issue could initiate due to your network card attempts to renegotiate the network to a better speed which can be changed as under (but this setting may create unexpected behavior when using the network):
Solution 5: Use the Group Policy Editor
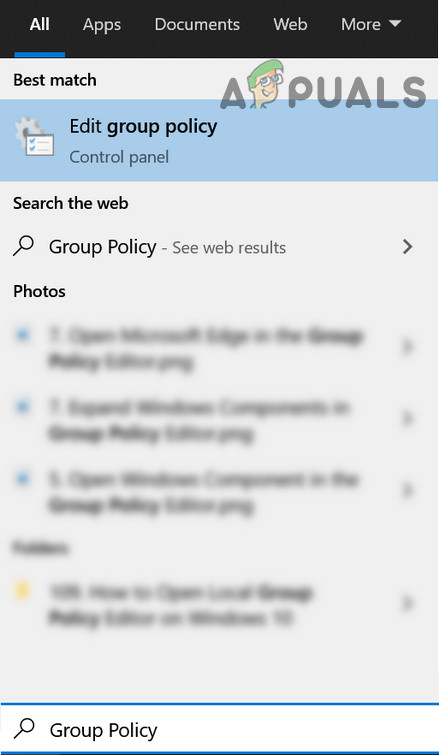
There can be different group policy settings that may trigger the issue at hand. For example, if your system has a fast SSD as a system drive, then your system can boot even before the network connection is established. In this scenario, editing the relevant group policy settings may solve the problem. But keep in mind changing this setting may cause you quite lengthy login times. To avoid such behavior, follow the steps below: On a Synology device, make sure to toggle on the “Enable Windows Network Discovery to Allow Access Via Web Browser” and “WS Discovery” (Control Panel » File Services » Advanced). Also, make sure Min SMB is SMB1 and Max is SMB 3. If you are using a group policy (in a corporate network) to map drives, then check if the toggling between Replace, Recreate, or Update resolves the issue in the mapping drive group policy (make sure to check-mark Stop Processing Once Applied). Also, make sure no old hidden devices in the group policy are taking up the drive letters and thus causing the issue. You may want to make the following changes in a group policy of a domain network to resolve the issue.
Solution 6: Use the Registry Editor
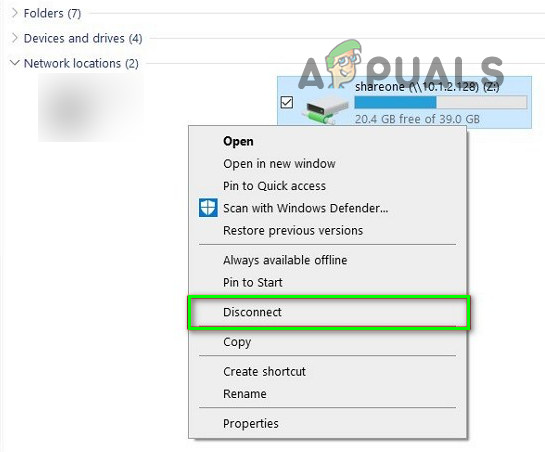
Some registry settings may help a user to overcome the mapped drive issue. Warning: Be extremely careful and at your own risk, as a certain level of proficiency is required to edit the system’s registry and if not configured properly, you may create ever-lasting damage to your system and data. Before moving on, delete/disconnect the problematic mapped drive (if possible, all). Make sure to create a backup of your system’s registry. Then launch the Registry Editor and check if making any one of the following registry edits resolves the problem.
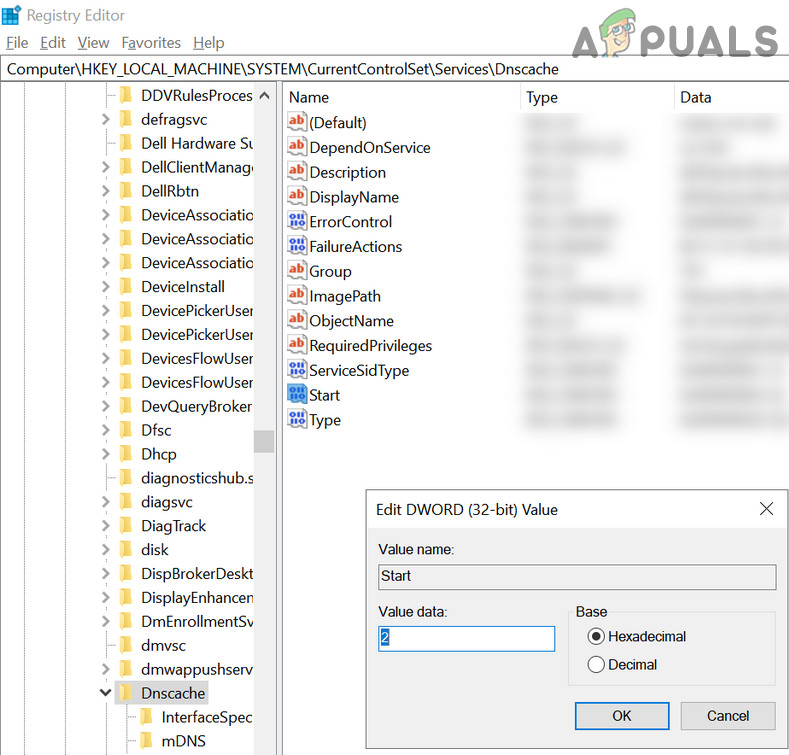
Step 1: Enable DNS Cache
Set the Value of Start to 2 at the following:
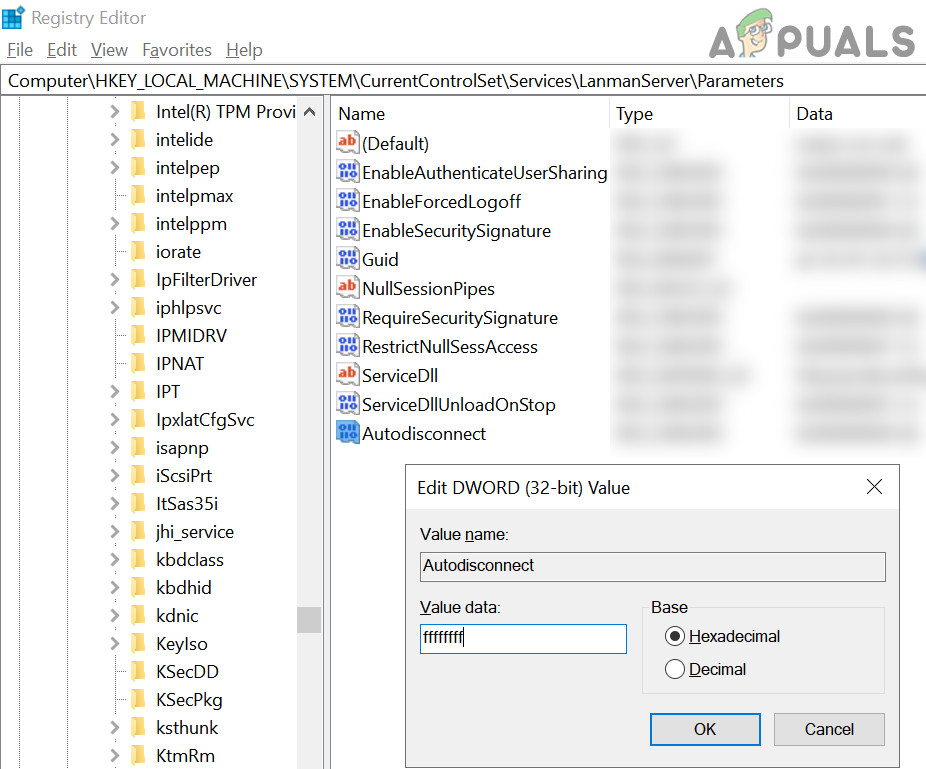
Step 2: Create Autodisconnect
Create a DWORD (32-bit) Value named Autodisconnect and set its Value to “ffffffff” at the following:
Step 3: Add the EnableLinked Connections
Create a DWORD (32-bit) Value named EnableLinkedConnctions and set its value to 1 at the following:
Step 4: Allow Insecure Login
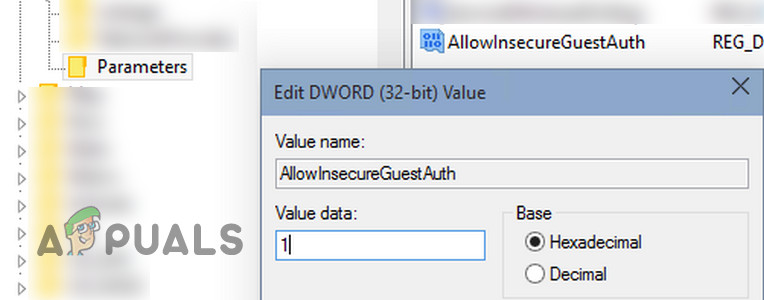
Create a DWORD (32-bit) Value named AllowInsecureGuestAuth and set its value to 1 at the following:
Step 5: Delete and Recreate the Mapped Drive Entry
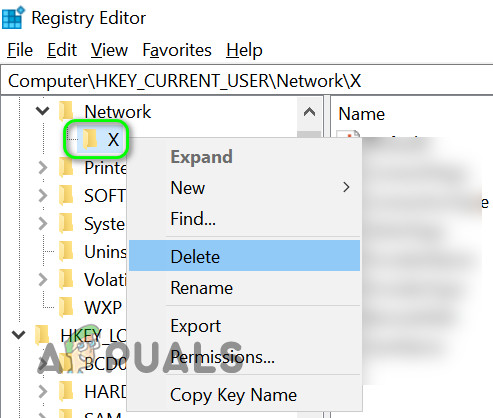
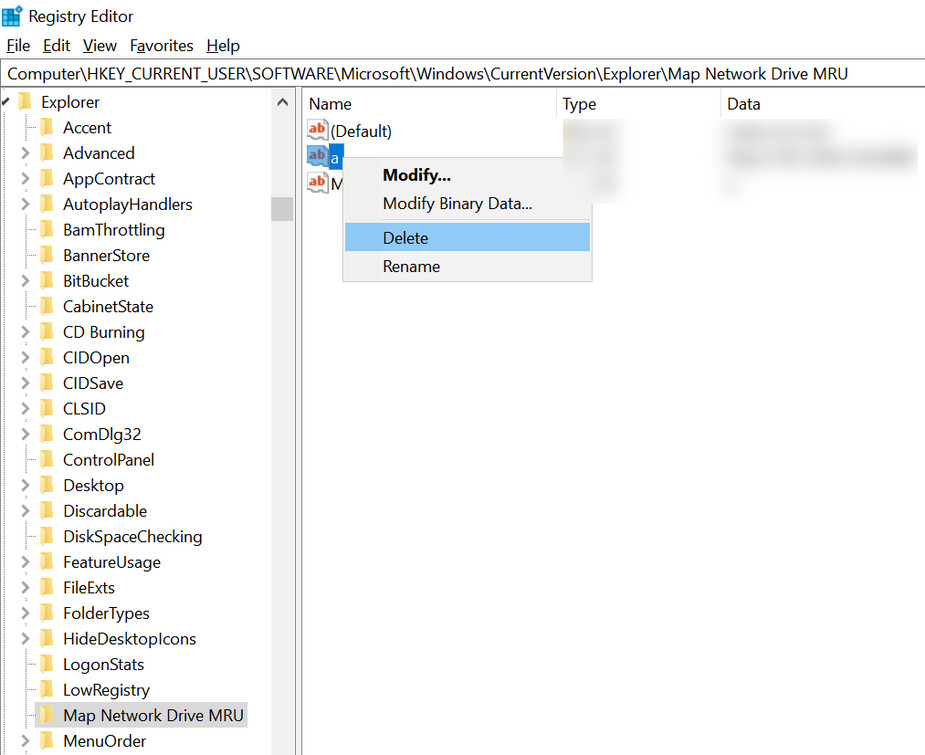
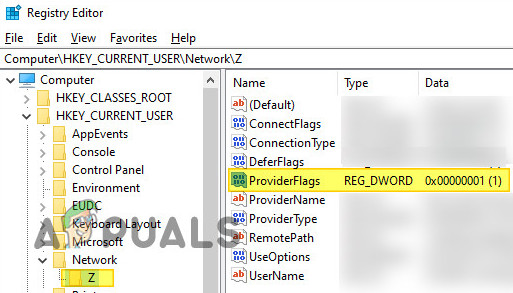
If the issue is still there, then you may try the following in an elevated command prompt You can also create a batch file by using the above script that can be used in the startup folder, Group policy, or in the Task Scheduler. If the issue is still there, then you can try to remove the update which caused the issue. You can also check if using the DISM command resolves your issue. Furthermore, you can also try Autoruns to check if any of the startup items or applications (Malwarebytes is reported to cause the issue) is causing the issue.
How to Fix Taskbar Icons Missing After Reboot on Windows 11BEST GUIDE: Synaptics TouchPad Loses Settings After RebootHow to Fix RUST EAC Disconnected Error7 Ways to Fix the Outlook Disconnected Error on Windows
