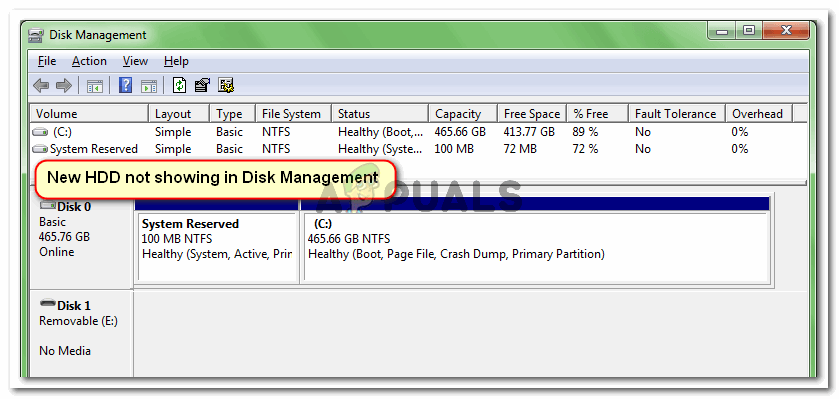
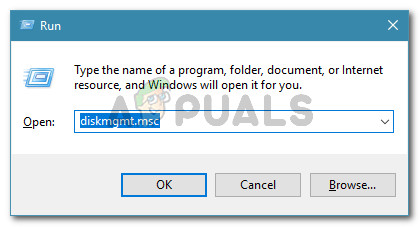
What is causing the hard drive not showing up in disk management error?
We investigated this particular issue by looking at various user reports and the steps that they followed to resolve the issue. From what we were able to gather, there are several fairly common scenarios that will lead to the apparition of this issue: If you’re struggling to resolve this particular issue, this article will provide you with a list of verified troubleshooting steps. Below you have a collection of methods that other users in a similar situation have used to get the issue resolved. For the best results, follow the methods presented below in order until you encounter a fix that is effective in getting the issue resolved.
Method 1: See if HDD is showing up inside your BIOS
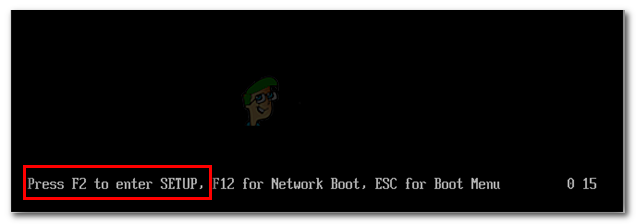
A lot of users have managed to get the issue resolved after discovering that they were, in fact, dealing with a hardware issue. If the SATA cable connecting your new HDD to your motherboard is partially broken, it might not pass your os requirements, so Windows will not show it inside the Disk Management Utility. The same goes for a partially broken SATA port. A quick test to see if this scenario might hold true in your case is to access your BIOS settings and see if the new HDD is showing inside your BIOS settings. You can access your BIOS settings by pressing the Setup key repeatedly during the very start of the Startup procedure. Most motherboards will show the Setup key during the initial boot (somewhere on the bottom of the screen). But if you don’t see it, try pressing one f the F keys (F2, F4, F8, F10, F12) or the Del key (for Dell computers). Note: You can also search online for your specific BIOS Key. Once you get inside the BIOS settings, go to the Boot tab (or Boot Device Priority) and see if your new HDD shows up there. If the new HDD shows up here but you can’t see it inside Disk Management, power off your computer and replace the SATA cable connection your HDD to the motherboard with a different one. Also, consider plugging the other SATA cable into a different SATA port. Once you change the SATA cable and port, power on your computer again and see if the HDD is now showing inside Disk Management. If you’re still having the same issue, move down to the next method below.
Method 2: Deleting all ATA channel drivers with Device Manager
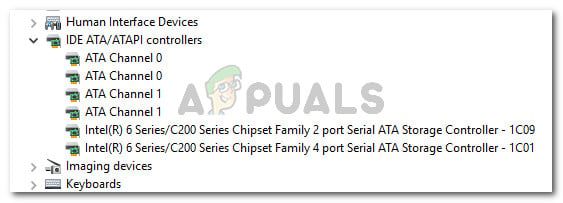
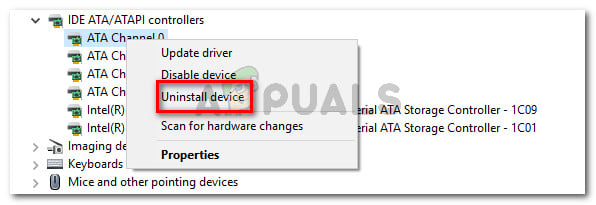
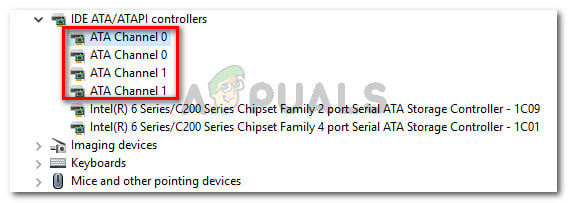
A couple of users encountering this particular issue have managed to fix it entirely after using Device Manager to delete all ATA channels from the IDE ATA/ATAPI controllers menu. This supposedly forces the Windows to search for all connected ATA devices again and re-configure them from scratch at the next system startup. Here’s a quick guide on how to do this: If you’re still encountering the same issue, move down to the next method below.
Method 3: Deleting the storage space that is using the HDD
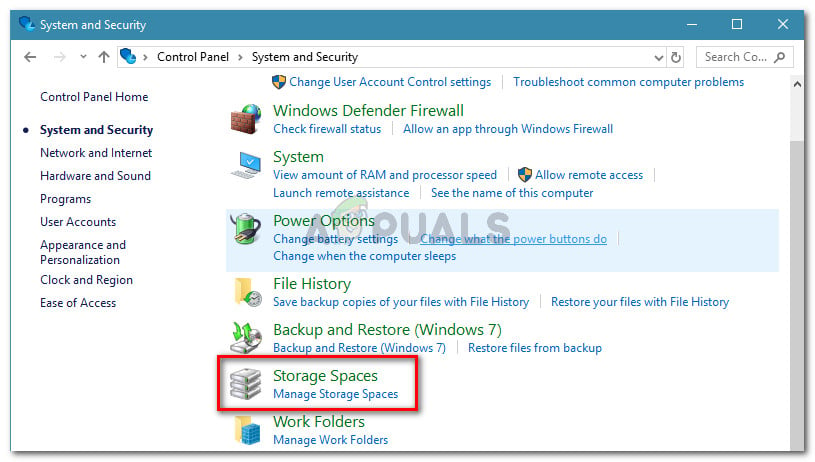
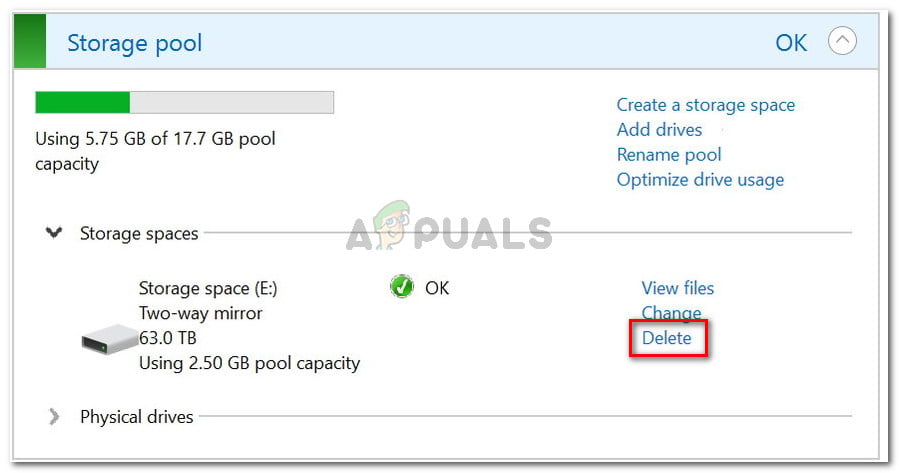
As per various user reports, this particular issue can also occur if you used the HDD to create a common storage space. Some affected users have managed to resolve the issue after they deleted any storage space that was using the HDD from the Storage Spaces utility. Storage Spaces are virtual drives that will appear inside your File Explorer as normal local drives. This feature works with ATA, SATA, SAS and USB drives and was introduced with Windows 7. It essentially allows you to group different types of drives (SSD and traditional HDDs into a single storage pool). If you previously created storage space that includes the HDD that is not showing inside Disk Management, you will most likely be able to resolve the issue by deleting the HDD from the storage pool. Here’s a quick guide on how to do this: If your HDD is still not visible, move down to the next method below.
Method 4: Installing the SATA (RAID) driver from the motherboard manufacturer’s website
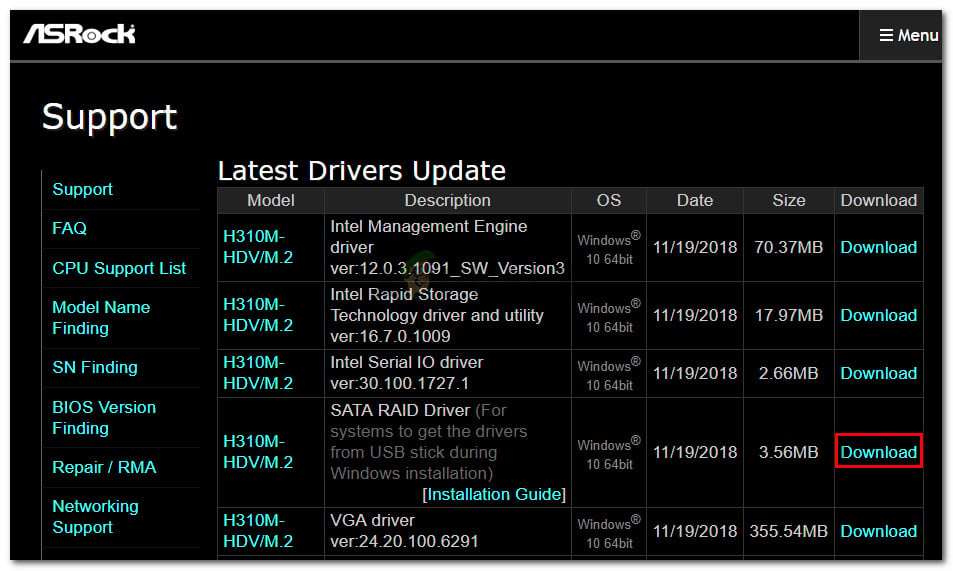
Although we can’t show any specifics steps, more than a few users have managed to get this particular issue resolved after they downloaded the SATA (RAID) driver from the motherboard manufacturer’s website. To download the SATA (RAID) driver according to your motherboard manufacturer, do an online search with “your motherboard manufacturer and model + SATA (RAID) driver” and download the latest version from the official download center. Once the driver is downloaded, double-click on the installation executable and follow the on-screen prompts to install it on your system. Once the installation is complete, restart your computer and see if the HDD becomes visible at the next startup.
Method 5: Importing the foreign disk from Disk Management
The disk might not appear as a viewable partition inside My Computer or Disk Management because it is seen as a foreign dynamic disk by the system. Some users encountering the same issue have been able to easily rectify this by importing the foreign disk. Here’s a quick guide on how to do this:
Method 6: Using AOMEI
You can download AOMEI from here and install it on your computer by executing the downloaded executable. After installing, try running it and check if the Disk is listed in there. If it is, you can format it and add it as a partition and it should show up in the disk management screen and should work properly.
Fix: External Hard drive not showing up Windows 10Hard Drive Not Showing up on Mac? Try these fixesHow to Fix a Pen Drive Showing “Insert New Disk” ErrorHow to Fix Format Disk Error External Hard Drive
