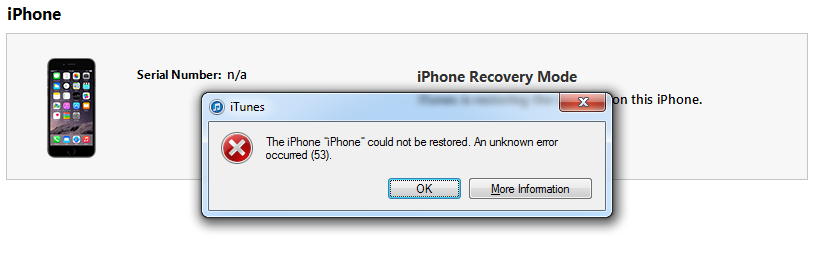
Each home button touch ID sensor is encrypted with the serial number of each distinguish iPhone and not interchangeable with other devices. Therefore, using original accessory is mandate. Fortunately, for some users Error 53 can be solved by replacing basic accessory i-e USB cable. Follow the steps below in ordered way to inhibit the error 53 on an iPhone.
Method 1: Changing USB port or cable
Error 53 is highly associated with hardware problem, so replacing USB port might do the trick. If not, replace the USB cable with another. Keep in mind; only use the original accessory and connect your iPhone with the computer with latest iTunes already installed in it. Arguably, this has done the trick for a lot of iPhone users but not for everyone.
Method 2: Replace the cable connecting your Touch ID
For this method, somewhat of prior knowledge of a mobile technician is required. It’s a very simple process; anyone would be able to do it by following the instructions carefully. Note that, it is not a permission to dissemble your iPhone, for novice individuals it is highly recommended to take your device to the nearest Apple center; and have it repaired.
Be patient and follow the following steps
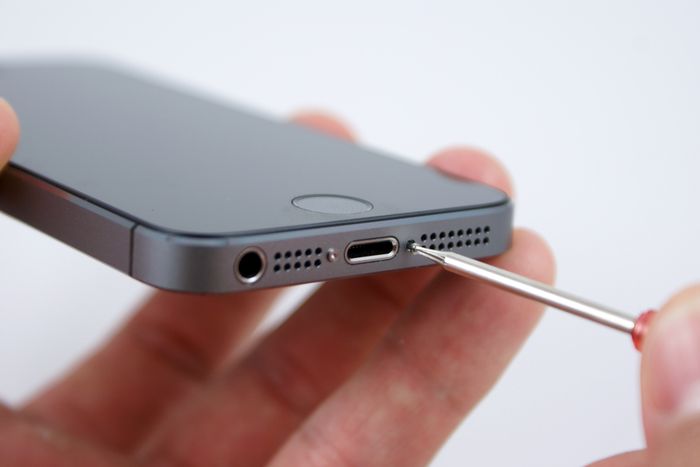
- Dissemble your iPhone device. (To dissemble iPhone, loose the screws right at the bottom of your device and pop the cover out)
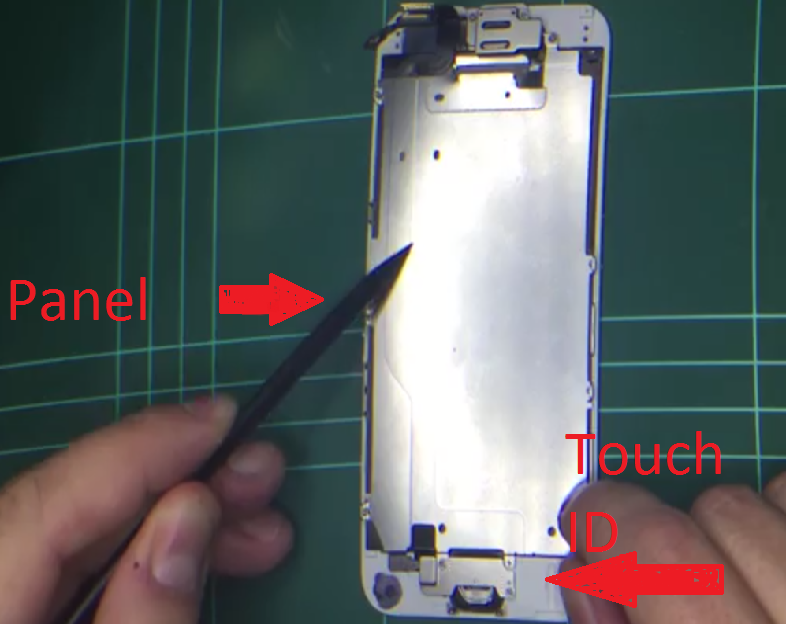
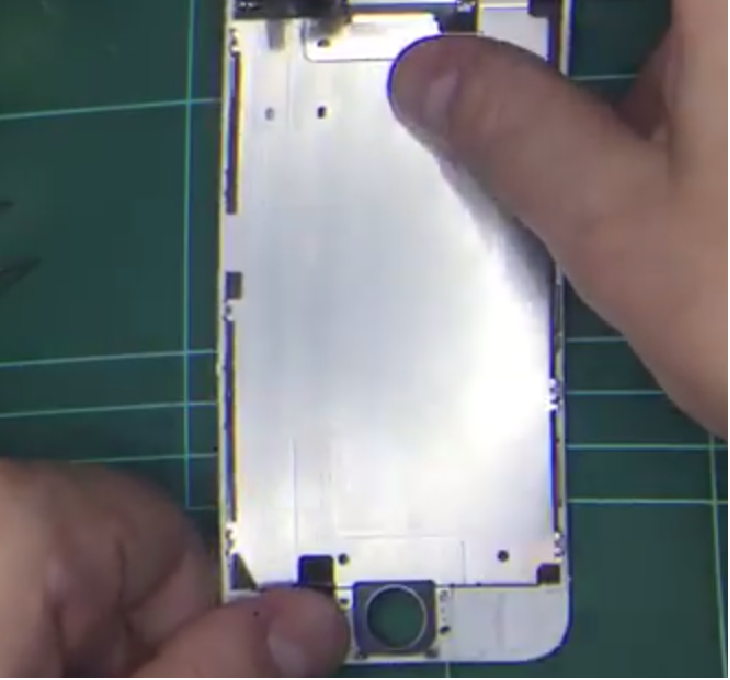
2. Upon dissembling the device, locate the Touch ID (Home button) besides home button, there will be a cable connecting your touch ID to the motherboard of the device, covered by a panel
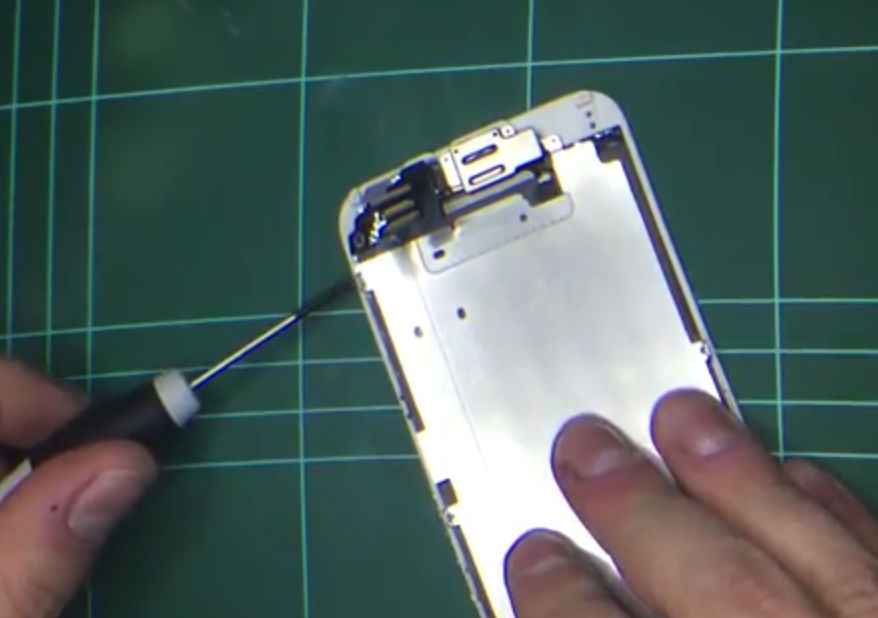
- In order to remove the panel, you will need to lose the screws off the small plate over the Touch
- Next up, gently remove the Touch ID from the phone. Be carefully, you don’t want to damage the flex cable, I recommend use tweezers to disassemble the Home button.
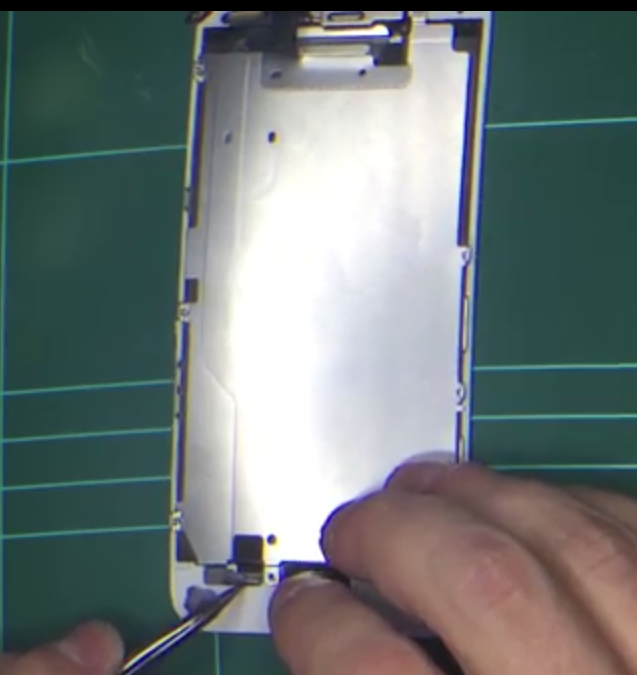
5. Now that you have removed the home button. Now remove the panels by simply losing the screws from the side of the phone.
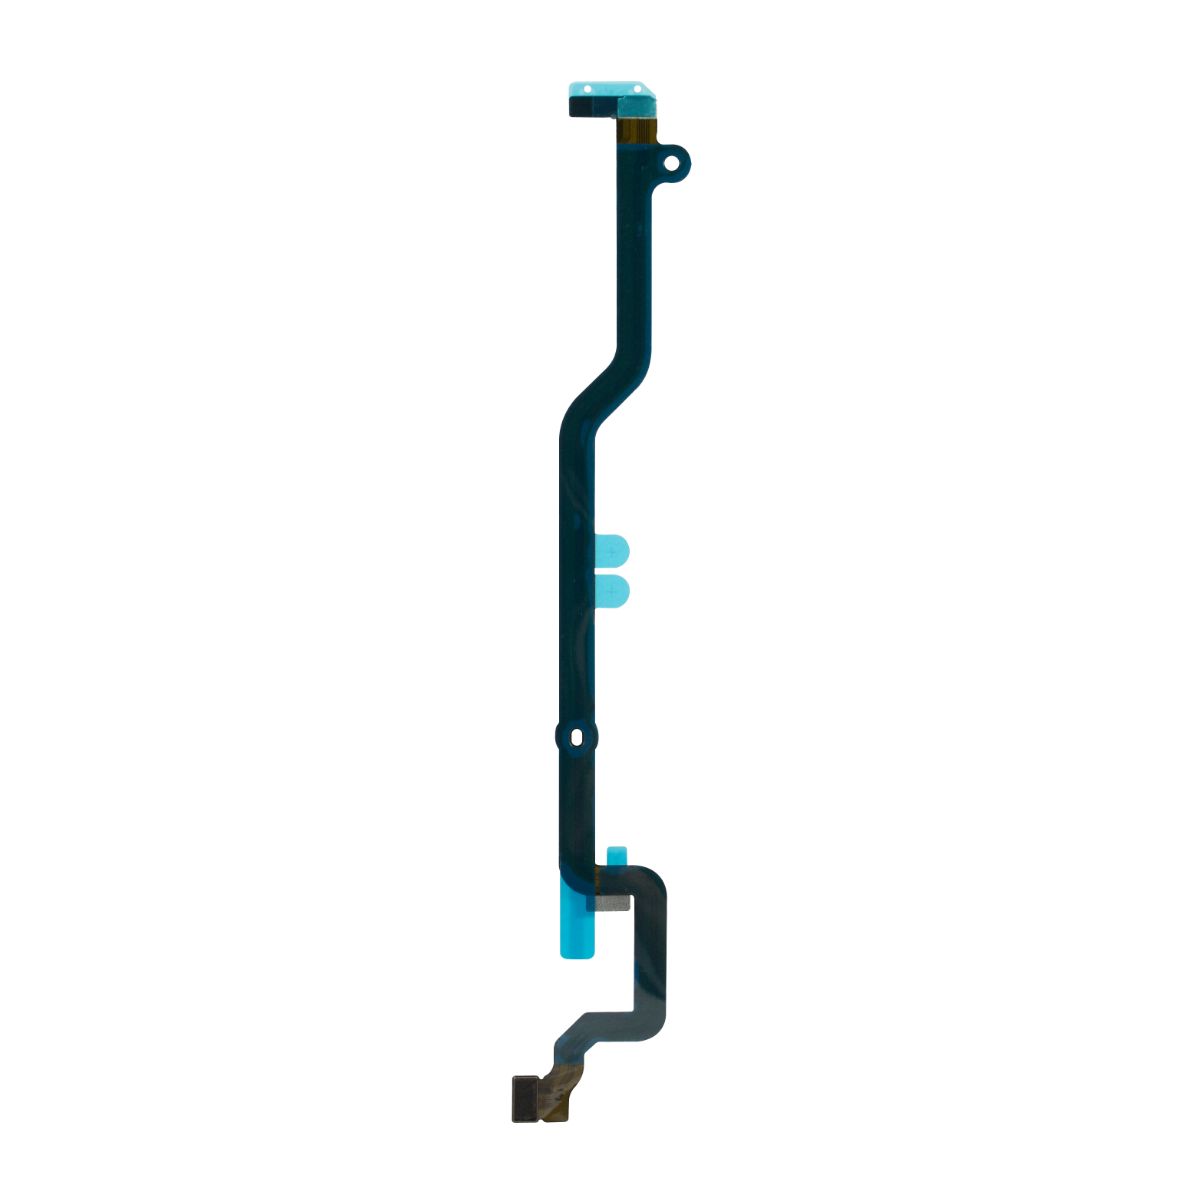
Now that you have removed the panel, you will see the flex cable popping out from the end of the panel.
Simply remove the cable the off the panel by peeling. And replace it with the new one. This could be tricky for some of the beginner technicians; in that case you can simply buy the whole panel from the hardware store.
Now that you have replaced the cable or panel, now assemble it exactly the way you took it off.
Tighten up the 6 screws from the side.
Next step, `put the Touch ID back in the phone, and connect the flex cable with the touch ID.
Now place the small plate back on the touch ID, and tighten up the screws. 12.Make sure you connect everything perfectly. Now, assemble your phone back together.
Restore your iPhone with the latest version of the iTunes installed in your computer. There is 99% chance Error 53 will not abrupt this time. You can also view the video instructions here.
How to Fix ‘iPhone could not be updated. Error 14’ while updating iPhone?How to Fix Your iPhone 8/8 Plus and iPhone X Charging IssuesFix: “iTunes could not restore the iPhone or iPad due to corrupt or…Fix: iTunes could not backup iPhone Because the iPhone Disconnected