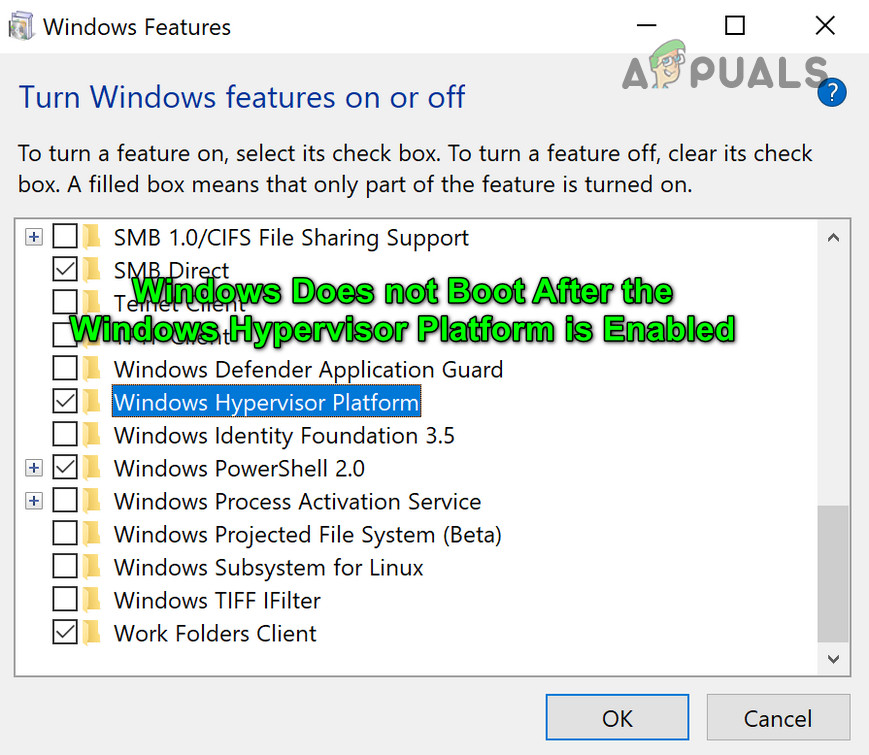
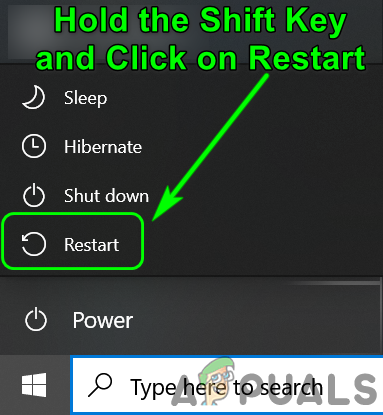
The issue arises when the user enables the Hypervisor Platform in the Windows Features and reboots the system as per the Hypervisor setup requirement but after reboot, the system goes into a boot loop with a black screen. The issue is not limited to a particular PC brand. In some cases, the issue was reported after a Windows update. Before moving on with the solutions, either try to use Automatic Repair or you may have to boot your system into the Safe Mode and disable Hypervisor Platform (discussed in solution 1) so that you can try the solutions discussed in this article. Also, check if using a modern HDMI cable (compliant to your display driver) resolves the issue.
Solution 1: Disable / Enable Hypervisor Platform and Virtualization
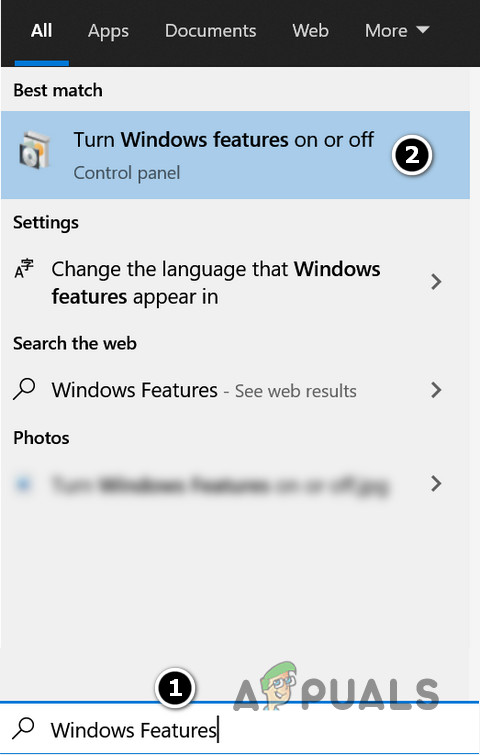
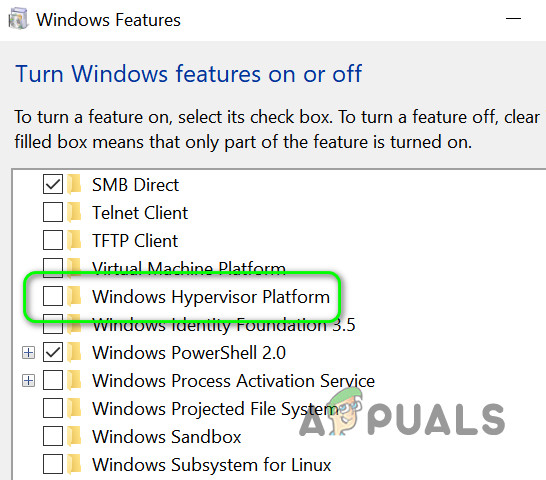
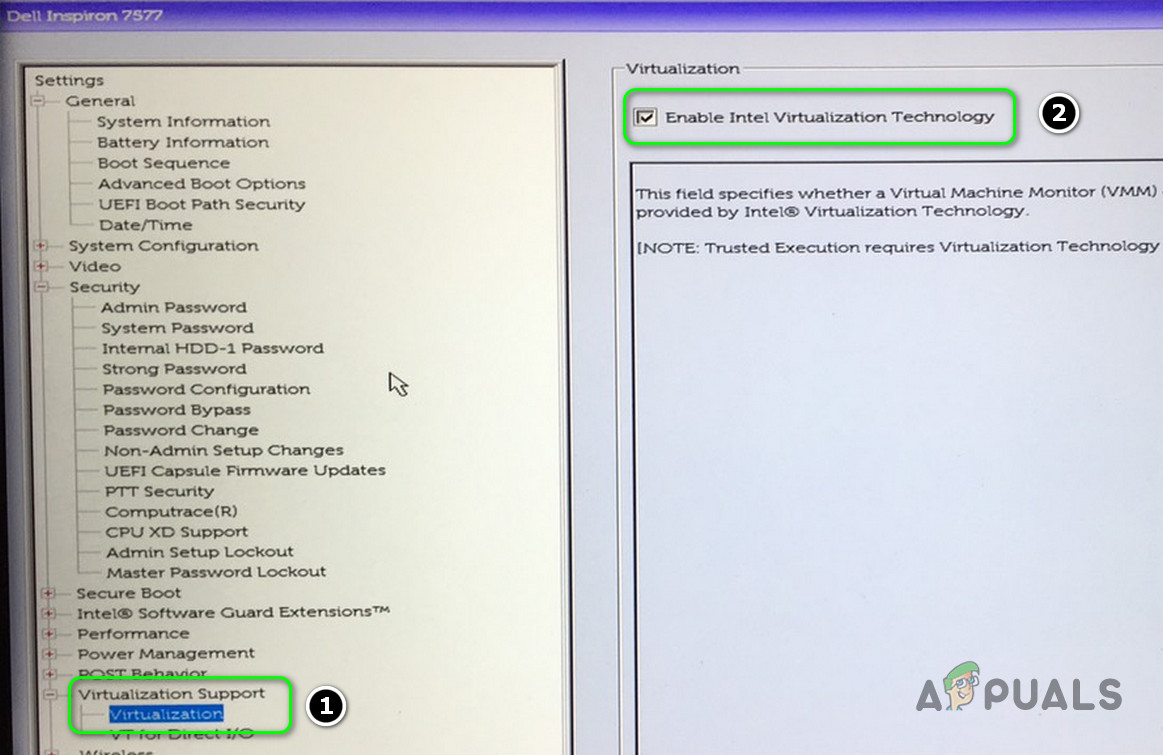
The issue at hand could be a result of a temporary glitch of the OS modules and can be cleared by disabling and then re-enabling the Hypervisor Platform and Virtualization. The undermentioned instructions may slightly differ for some users.
Solution 2: Update the System’s Windows, Drivers, and Applications (That Require Hypervisor) to the Latest Builds
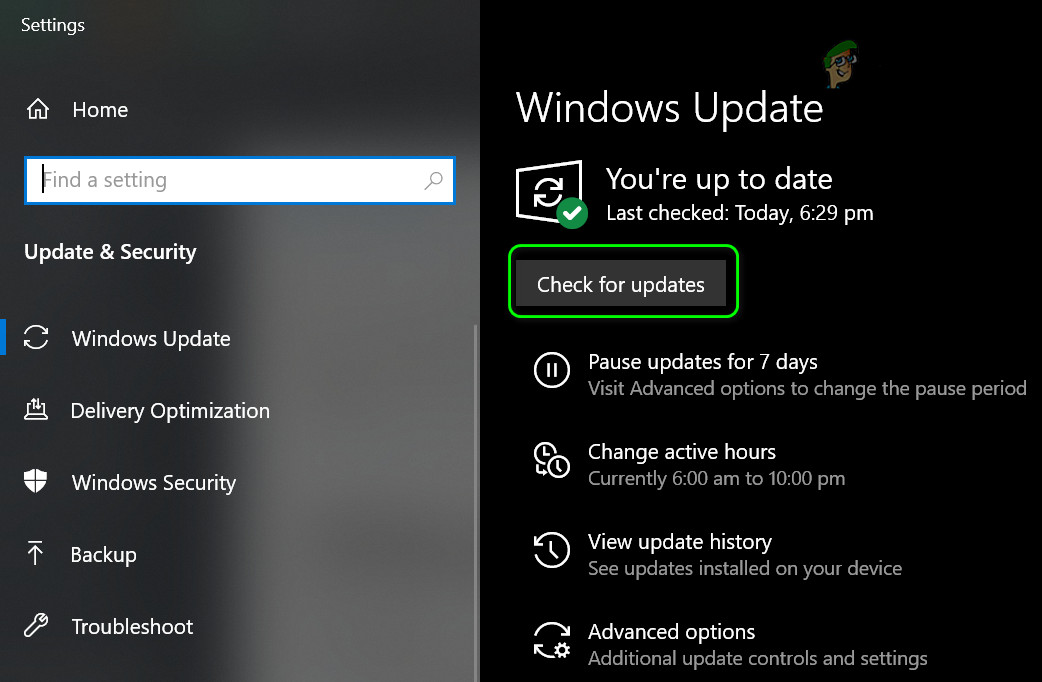
You may encounter the issue at hand if any of the system’s Drivers, Windows, or BIOS is outdated as it can create incompatibility between the essential system modules. In this context, updating the Windows, drivers, and BIOS of your system may solve the problem. If you are still encountering the issue, then make sure the applications (for example, Visual Studio or Android SDK) that require the Hypervisor feature are updated to the latest releases.
Solution 3: Disable Antivirus of Your System
You may encounter the issue at hand if the antivirus of your system is blocking access to a resource vital for the Hypervisor Platform. In this scenario, disabling the antivirus of your system may solve the problem. You may have to perform these steps in the safe mode of your system. Warning: Proceed at your own risk as disabling the antivirus of your system may expose your system/data to threats that are not limited to viruses, trojans, etc.
Solution 4: Disable / Remove the Conflicting Applications
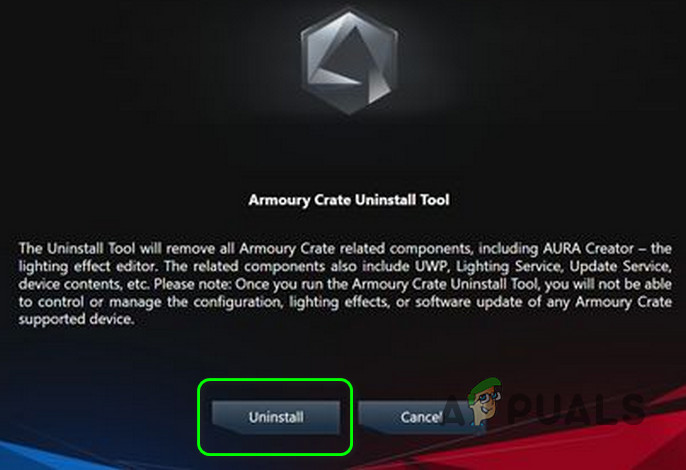
The Hypervisor feature might not work if any of the applications on your system are hindering the operation of the Hypervisor platform. In this case, disabling or uninstalling the conflicting applications may solve the problem. Many users reported that the issue at hand was mainly caused by the OEM preinstalled applications (for example Asus Armoury Crate). You may have to clean boot the system to find the problematic application. For elucidation, we will discuss the process for the Armoury Crate application. If the issue is still there, then check if removing (if installed) the Cisco’s VPN client, AMD Ryzen Master, Control Center (pre-installed tuning software), or any RGB/fan/keyboard controlling application resolves the issue.
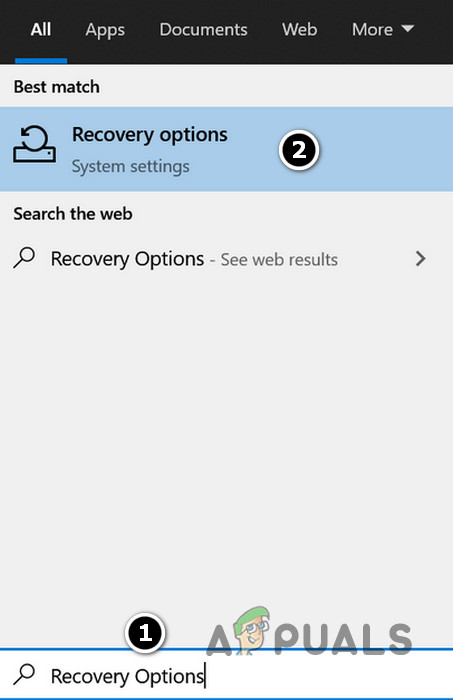
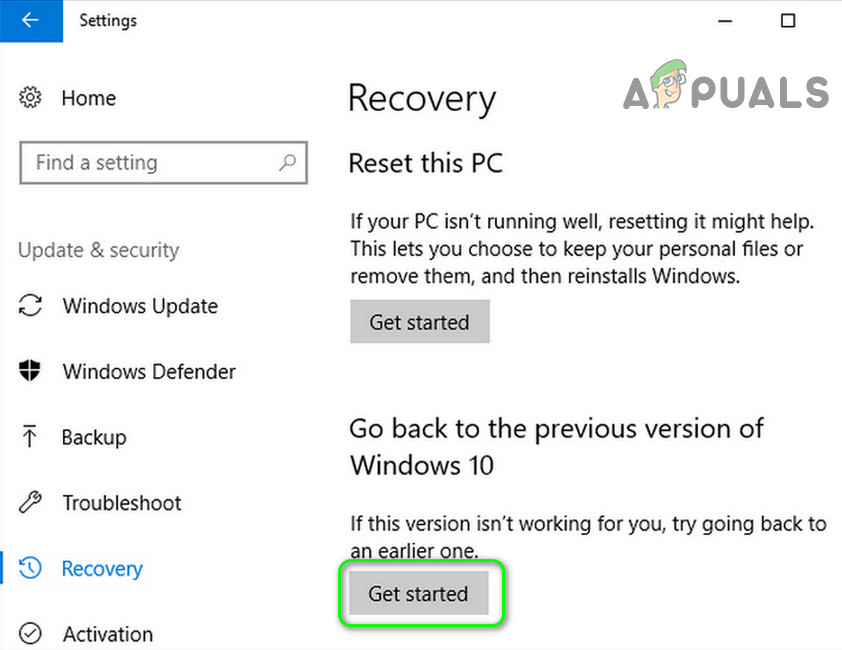
Solution 5: Uninstall the Conflicting Updates or Revert to the Older Version of Windows 10
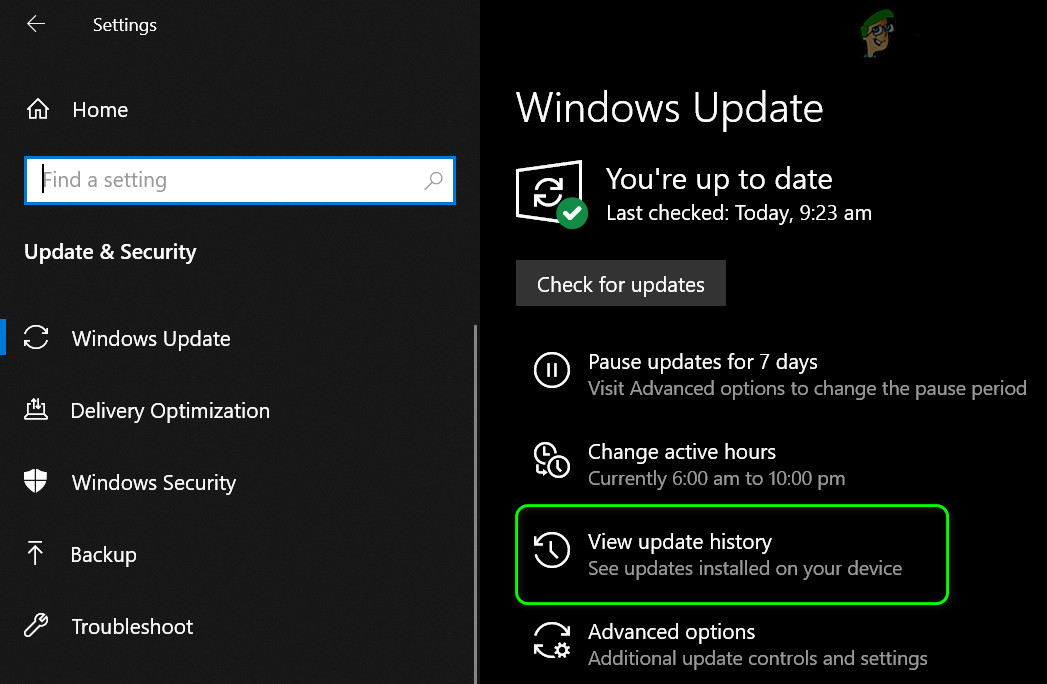
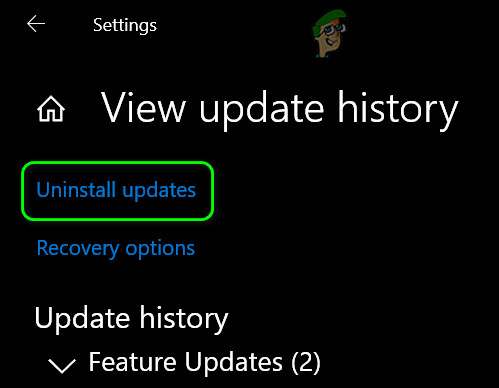
Microsoft has a known history of releasing buggy updates and the current Hypervisor issue may also be a result of the buggy update. In this case, uninstalling the buggy update (or reverting to an older version of Windows 10) may solve the problem. If you encountered the issue after a feature update, then you may have to revert to an older version of Windows 10.
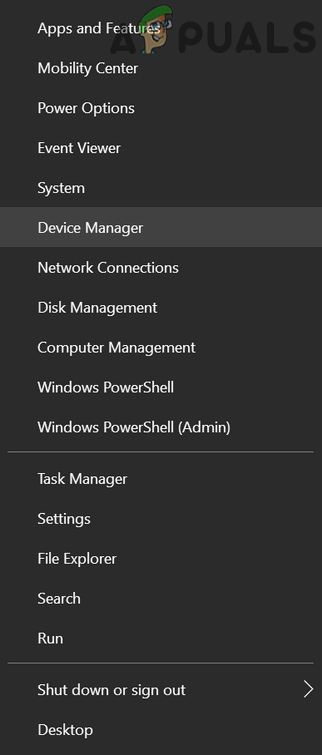
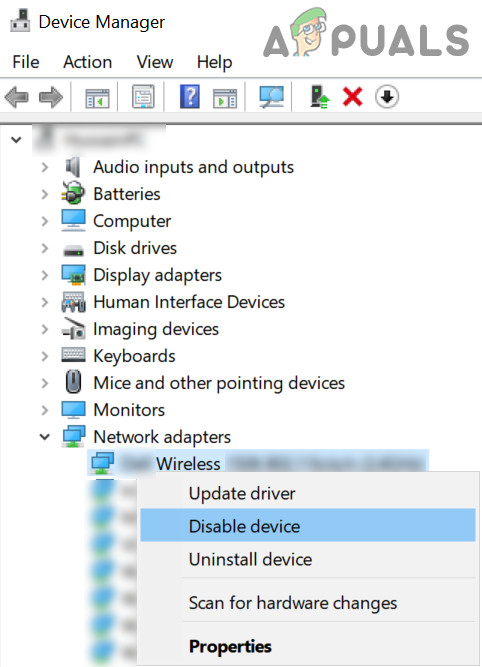
Solution 6: Uninstall / Disable Conflicting Drivers and Devices
You may encounter the issue at hand if any of the drivers/devices conflict with the operation of the Hypervisor Platform. In this case, disabling the conflicting devices may solve the problem. If the issue persists, then check if disabling/uninstalling the following devices (if being used) resolves the issue (reported by users to create the issue). You may have to disable some of these devices in the system’s BIOS.
Solution 7: Create a New Boot Configuration Data (BCD) File
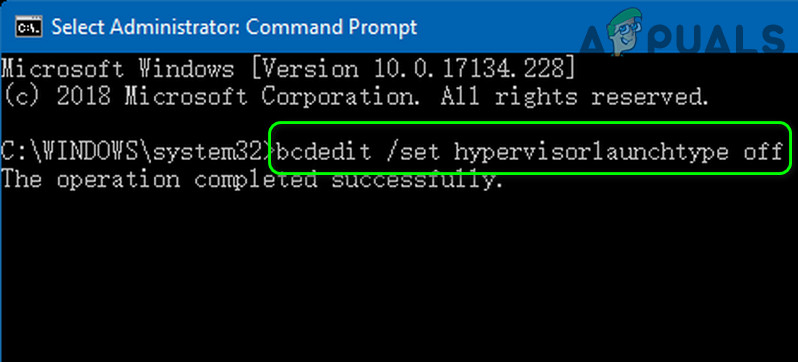
The Hypervisor Platform may cause a boot loop if the Boot Configuration Data (BCD) file is corrupt or missing. In this case, creating a new BCD file may solve the problem. If that did not do the trick, then check if executing the following command in an Administrator Command Prompt and rebooting the system solves the problem (it will disable Hypervisor): But keep in mind that after sorting out the boot issue and to enable Hypervisor, you may have to execute the following command in an elevated Command Prompt (it will enable the Hypervisor Platform):
Solution 8: Edit the BIOS Settings
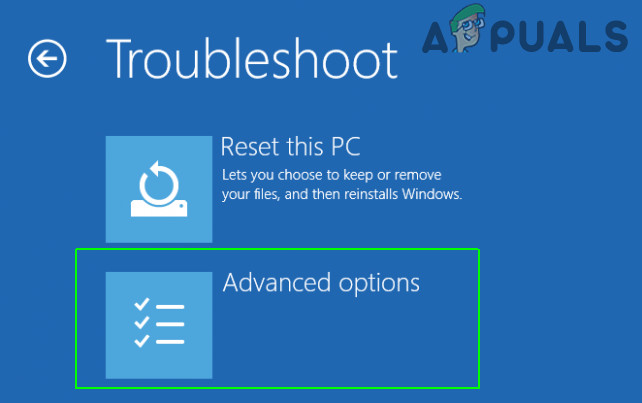
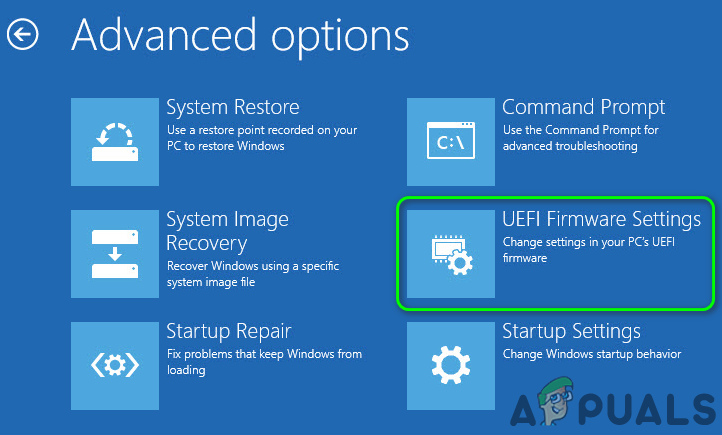
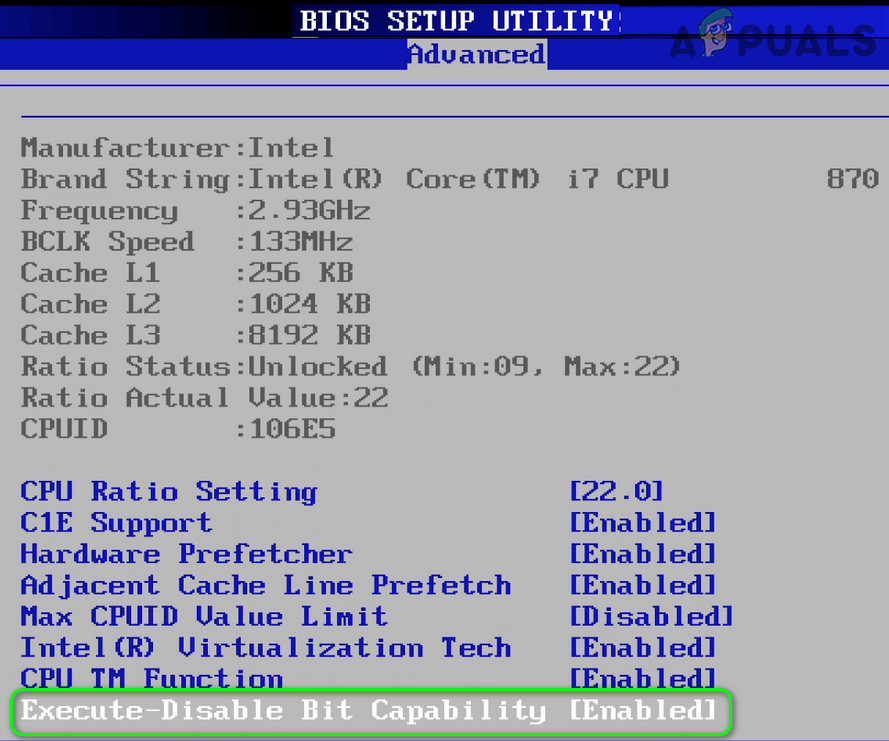
If any of the solutions did not do the trick, then the issue could be a result of the wrong configuration of the system’s BIOS. In this scenario, editing the system’s BIOS may solve the problem. Warning: Advance at your own risk as editing the BIOS of your system requires a certain level of proficiency and if done wrong, you may brick your system and cause everlasting damage to your data. Firstly, boot your system into BIOS and then check if editing the following settings resolve the Hypervisor issue. Keep in mind that all of these options may not be available to all users.
Update the BIOS to the Latest Build
Enable Execute Disable Bit
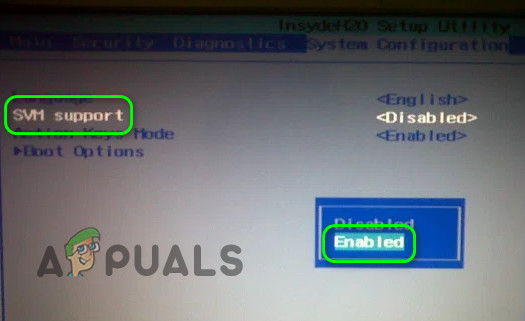
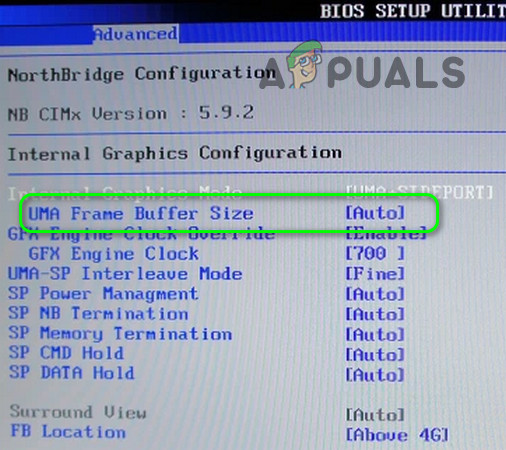
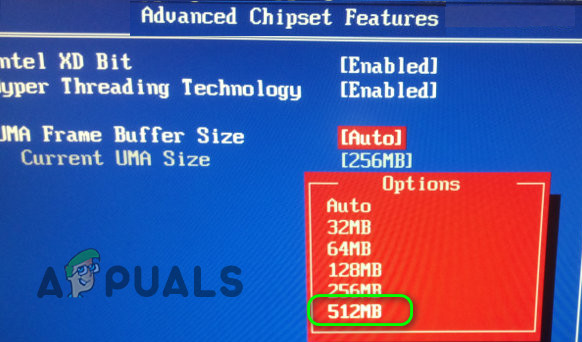
Enable SVM and Set the UMA Frame Buffer Size to Auto
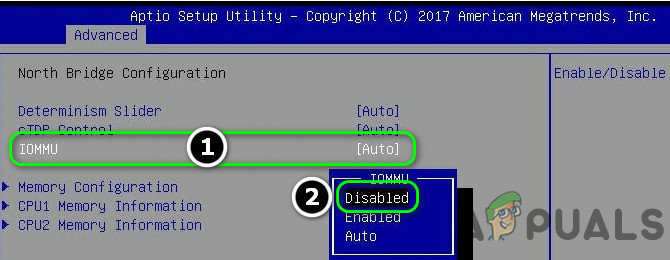
Disable IOMMU
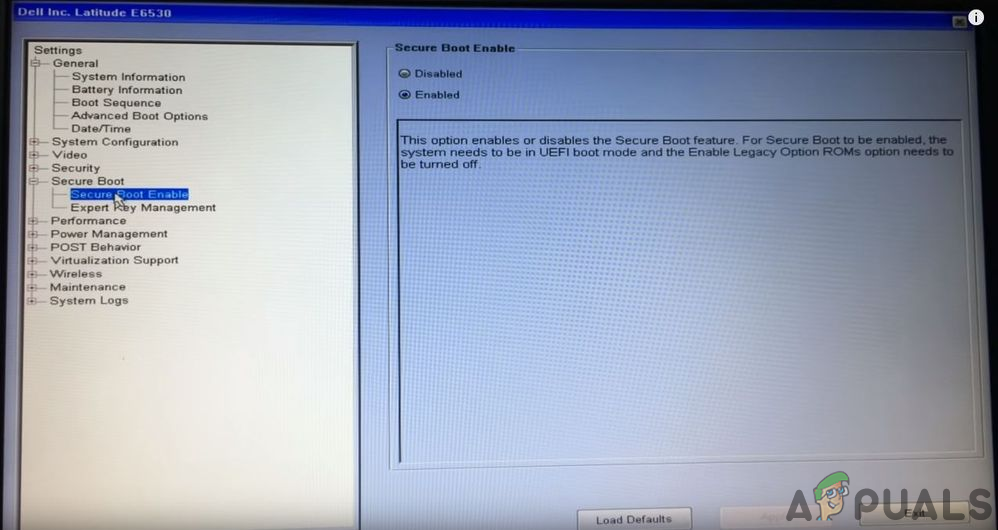
Disable Secure Boot
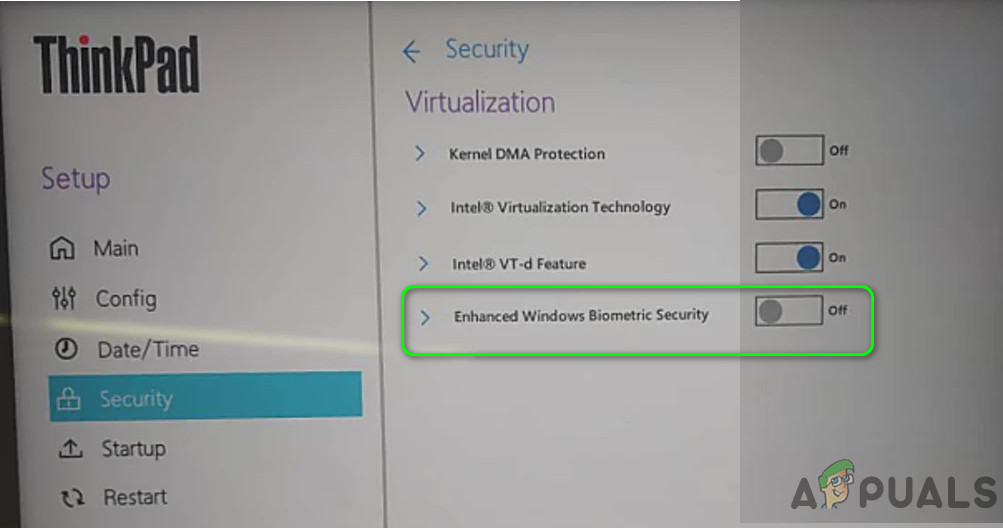
Disable Enhanced Biometrics
If the issue is still there, then check if resetting the BIOS to the default resolves the issue. If that did not do the trick, then make sure you are not using manual voltage & frequency for the CPU and check if that resolves the issue. If the issue persists, then either try to perform a DISM scan or perform a clean install of Windows.
Fix: Hypervisor is not Running Error on Windows 10CPU Ready: The Silent Hypervisor KillerFix: Windows 11 Won’t Boot After Enabling Secure BootIntel Raptor Lake with Z690 Platform and AMD Ryzen 7000 with X670 Platform…