This lag can be due to a number of reasons. Sometimes, it can be due to a simple overloaded physical memory. And sometimes it’s because of software conflict or a preexisting problem that wasn’t visible until the Windows Updates initiated. Following are a few solutions to help you fix the issue and get the updates moving to completion:
Tips
Method 1: Disabling Background Services
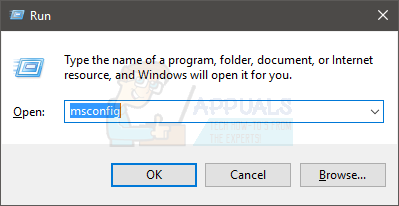
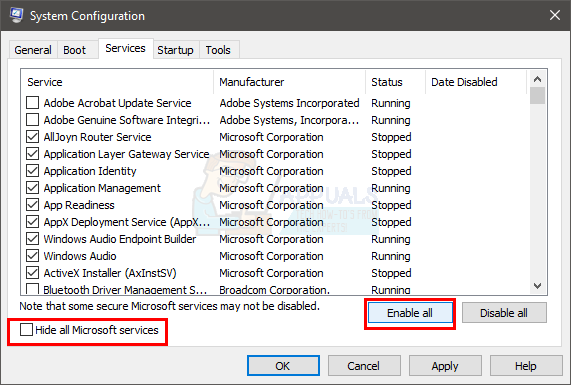
Services running the background can definitely cause problems and conflicts with the Windows update. So, the very first thing that should be taken care of is disabling the background services. Follow these steps to disable non-essential services.
After your system has updated, you need to Enable the disabled background services. To do so, do the following:
Once done, your problem should be solved and other services should be working properly.
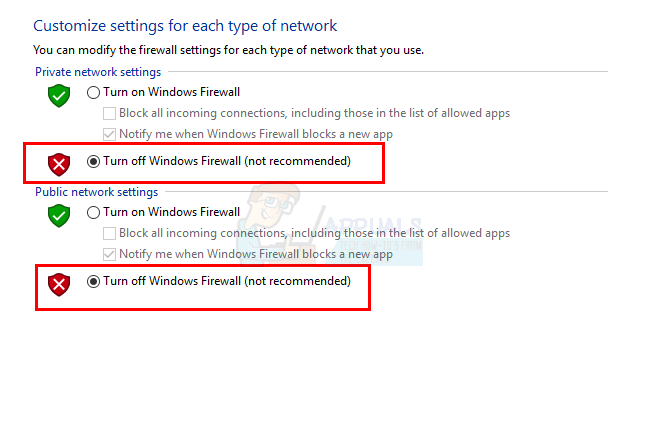
Method 2: Turn off Windows Firewall Temporarily
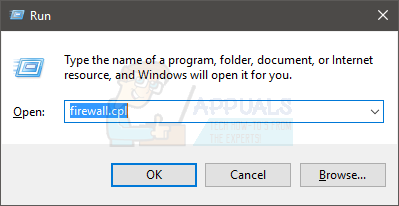
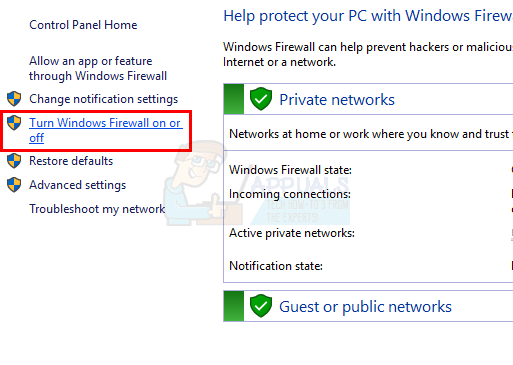
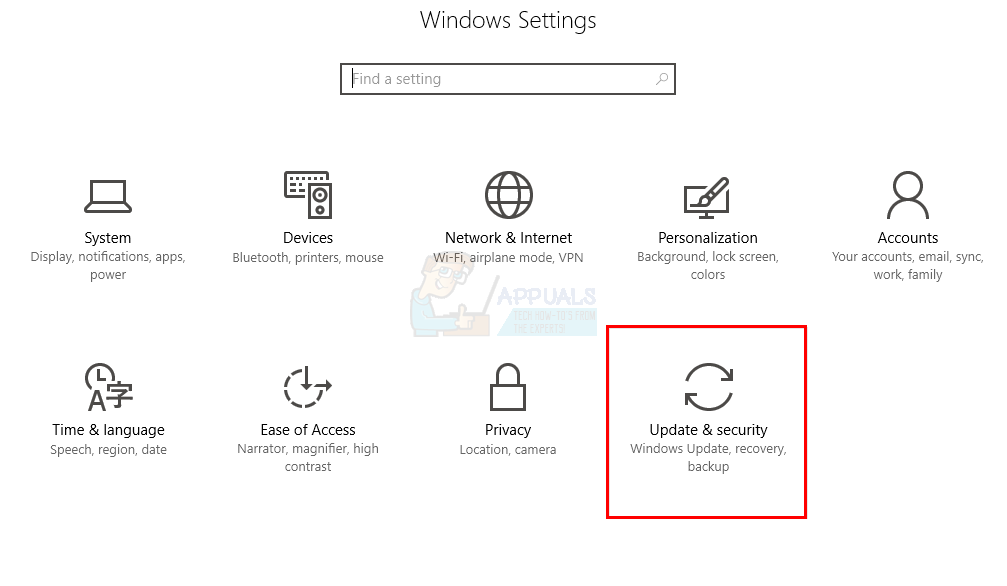
Sometimes, windows built-in features prevent updates; like the firewall. So you have to turn off the firewall for the updates and then turn it back on right after the updates are successfully downloaded and installed. You can turn off the firewall by following these steps:
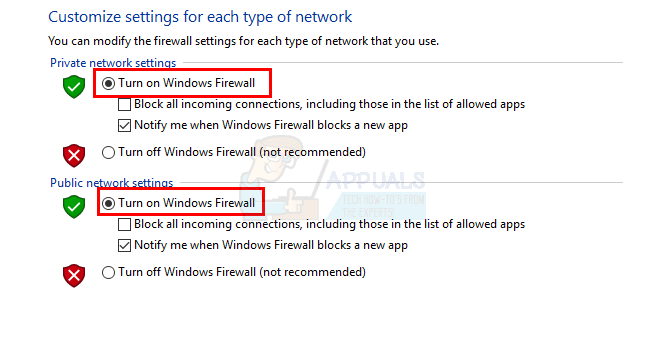
Now, check for the updates again Once your updates are completed, you have to turn the firewall back on. This is because the Windows Firewall is crucial for the security of your system. To do so:
Now you should be good to go.
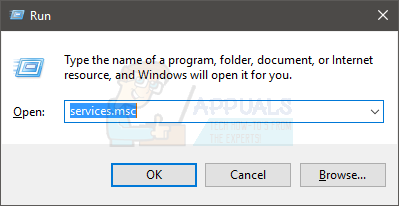
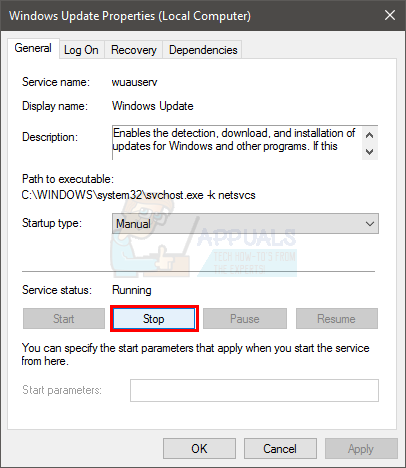
Method 3: Restart your Windows Update
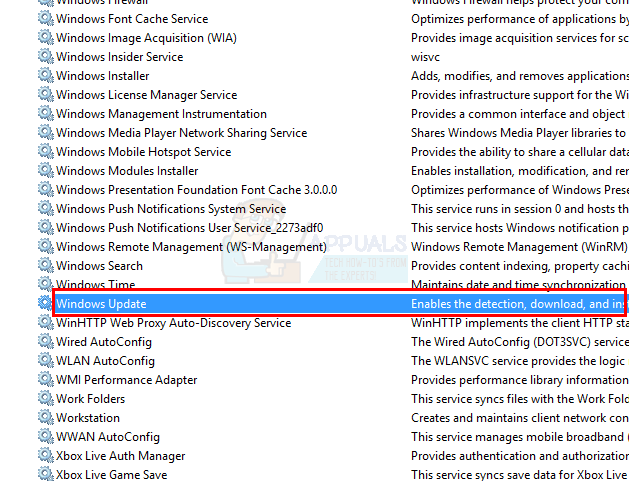
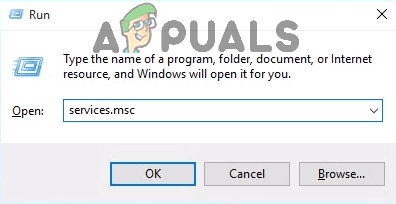
A lot of PC problems are fixed simply by restarting Windows Updates, so restarting Windows Update just might be the fix you need. To restart your Windows Update, follow these steps:
Once done, you should be able to update your Windows. However, if this still doesn’t solve the problem then follow the steps from 1-4 then double click Windows Update service and select Disable from the drop-down menu. Click Ok and restart your computer. When your system is rebooted, follow the steps from 1-4 then double click Windows Update service and select Manual from the drop-down menu. Now, click Start then select Ok. This should solve the issue.
Method 4: Download the Windows Updates Manually
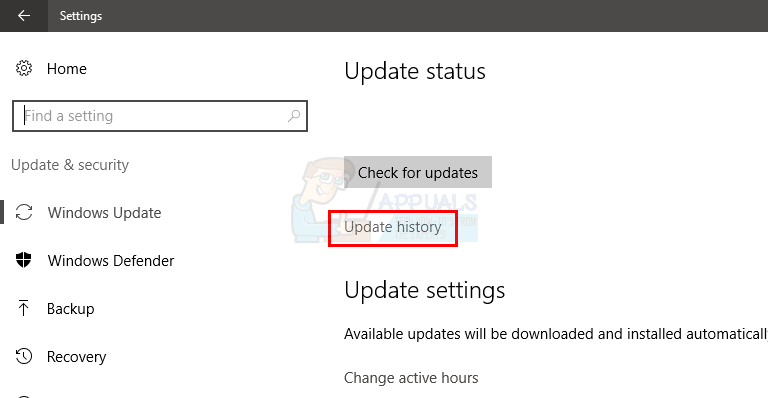
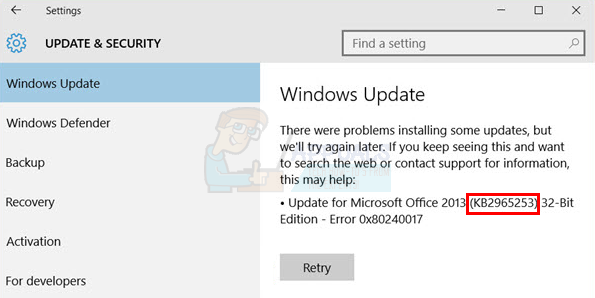
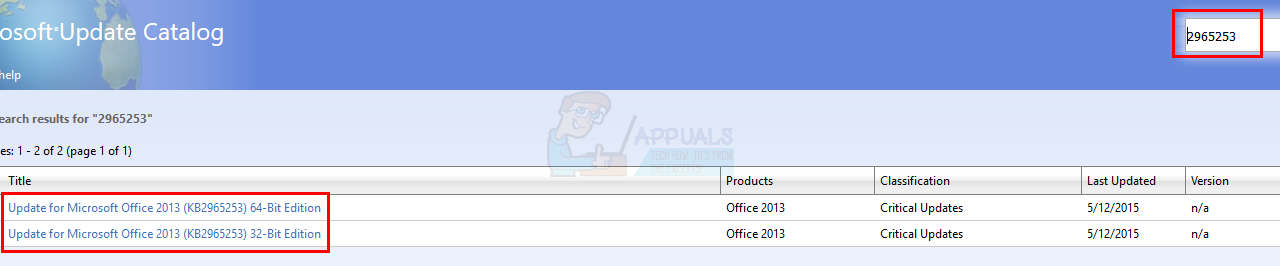
If the automatic Windows Update isn’t working and you don’t want to wait then you can download the updates manually. Manually downloading the updates is uncommon but not an impossible task. However, it is time-consuming. The very first thing that you need to do is find the Microsoft Knowledge Base article number of the failed update. Once you have that article number, you can search and download the exact update from the Microsoft Update Catalog.
That’s it. Do this for all the updates that are either failing or not getting installed.
Method 5: Delete Incorrect Registry Values
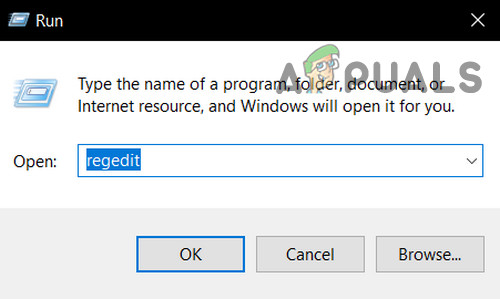
Deleting the incorrect registry values and then trying the Windows update solves the issue as well. So, follow these steps to delete the incorrect registry values Note: Messing up registry keys can cause serious issues. So, it is advised to make a backup of your registry keys in case something goes wrong. Click here for a step-by-step guide on how to backup and restore your registry. Now, follow the steps below to solve the original issue. Once done, close the registry and restart your computer. This should fix the issue for you.
FIX: Windows 10 update stuck at 32%Fix: Windows 10 Update 1703 StuckFix: Windows Update Standalone Installer stuck at Searching for UpdatesWindows 11 Update Stuck at 0%? Here’s the Fix!