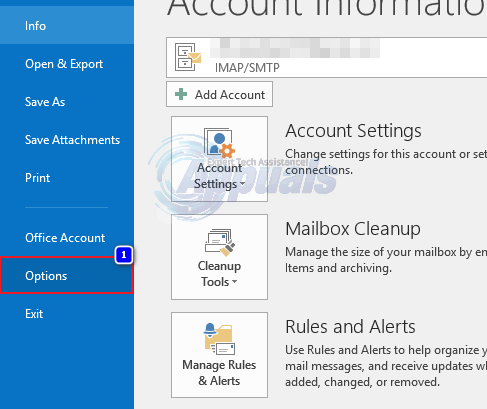
Changing or editing a signature is easy once you know the way to do it. And that method is the same for Microsoft Outlook 2013, 2016 and 365. Open Microsoft Outlook. Click on File on the upper left corner. In the left pane, click on Options.
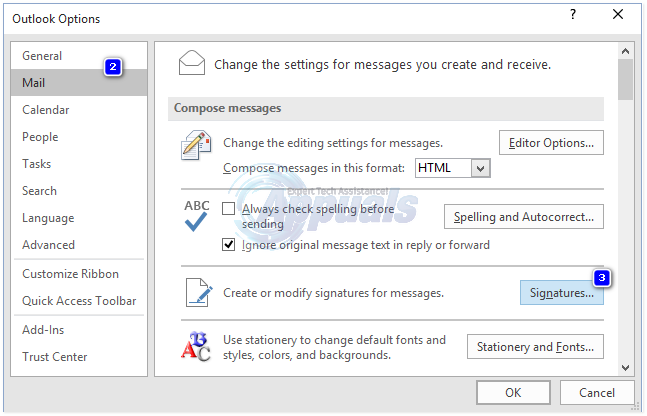
On the Outlook options window, click on Mail in the left pane, and click on the Signatures button on the right larger pane.
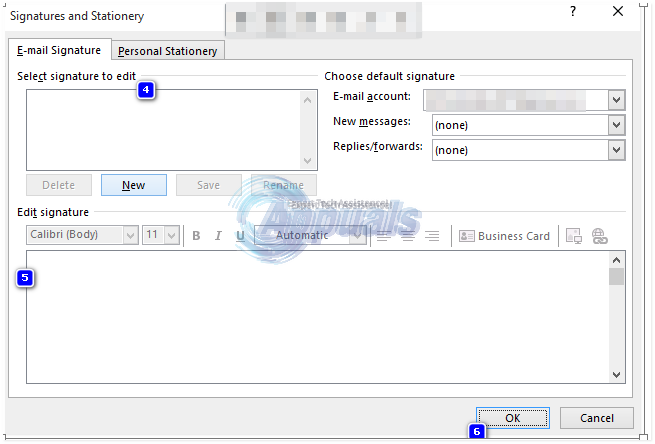
A window named Signatures and Stationery will open. In it, under the Select signature to edit, select the signature you want to edit. Now in the text box under Edit signature, your current signature will appear. Make desired changes to the signature similarly as you would edit any text anywhere else. Once done editing, click the Save button above to save it. Your signature will now be updated and ready to use.
How to Add/Create A New Signature in Outlook 2016/2013 and 365
Signatures are commonly used in E-mails now usually to personalize them or add a professional look to your e-mails. However adding a signature can get a little complicated if a user doesn’t know his way around. Especially in Microsoft Outlook, when the Signature options is a little harder to find. But by following the simple steps given below, you will be easily able to add signatures to your e-mails automatically or manually on the go. Through the versions of Microsoft Outlook 2013 to 2016 and 365, changes that have been made through the version have not been able to affect the way signatures are added in these versions. So the method is same for all of them. Images used above also apply to the instructions below. Now to begin adding a signature, open Microsoft Outlook. If you have multiple accounts set up, open the e-mail account you want to add signature to. Click on File on the upper left corner. Click on Options in the left pane. In the Outlook options window, click on Mail. With Mail selected, click on Signatures in the larger right pane. Signatures and Stationery window will open now. In it, click New to create a new signature. Give a meaningful name to it. In the text box below Edit signature, type all the text and information you want as your e-mail signature. You can use the formatting tools above to change the font type, size and style. If you have already saved your account information in Outlook and want to use that as your signature, click on Business card to use it as you signature. Once you are done composing your signature, click on the Save button above to save it. If you want to create a separate signature for personal or official e-mails, again click on New, give it a different name to distinguish it from other signatures and compose it accordingly. You can create as much signatures as you like and can choose from any of them while composing the e-mail on the fly. Now to set a signature as your default, select your e-mail account next to E-mail account in the Choose default signature section. Next to New messages, select the signature from the drop down that you want to use as default when you compose a new e-mail. Select the signature for Replies/forwards too if you want to add your signature whenever you reply to an e-mail or forward it. Click OK to save the changes. Now when you will create a new e-mail, the signature set as default will appear automatically at the end of it. You can also add any other signatures you created in real time by clicking on the Signature icon while composing a new e-mail and selecting the desired signature name from the drop down menu.
How to Setup Out Of Office replies in Outlook 2013/2016 and 2010How to Move an Outlook Offline Data File (OST) in 2010, 2013 and 2016Fix: Outlook Stuck on Loading Profile ‘2010, 2013 and 2016’Fix: Office 365 and 2013 error 0X8004FC12