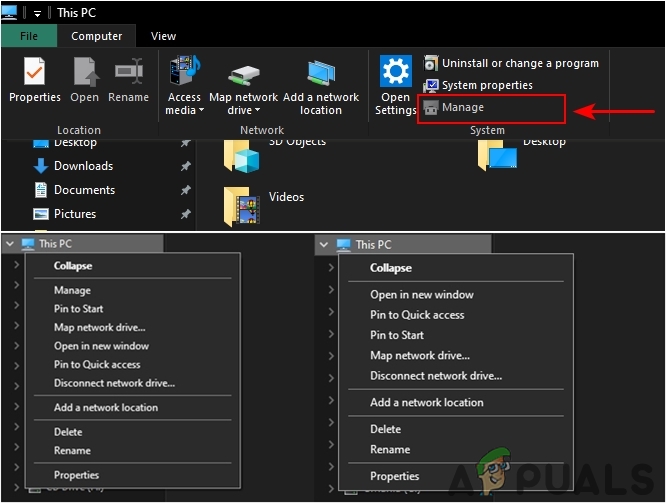
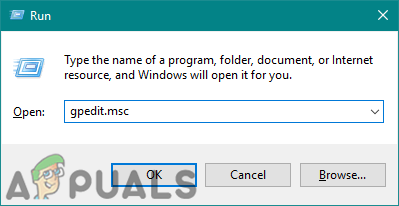
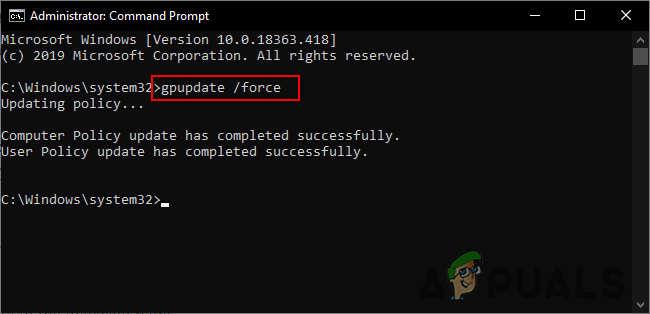
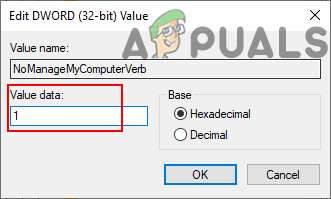
The Group Policy Editor is not available on all versions of Windows 10; therefore, we have also included a Registry method that you can use to modify the same settings. The steps in the below methods will be focusing on removing the Manage item. We have included the adding step at the end of each method.
Method 1: Using the Local Group Policy Editor
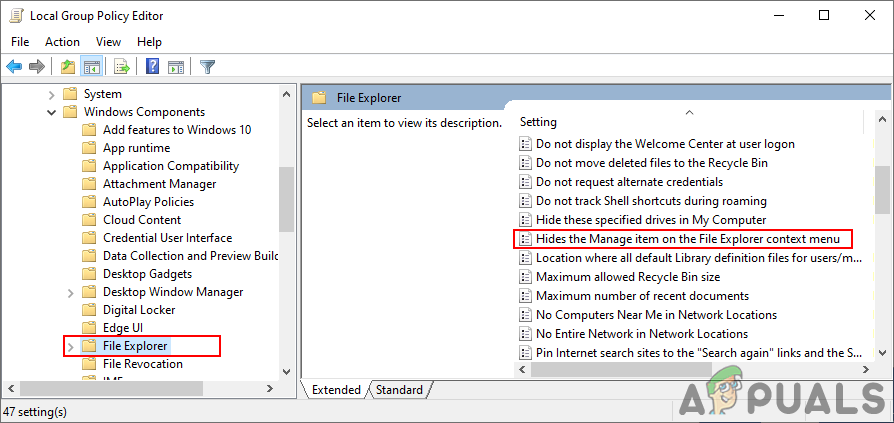
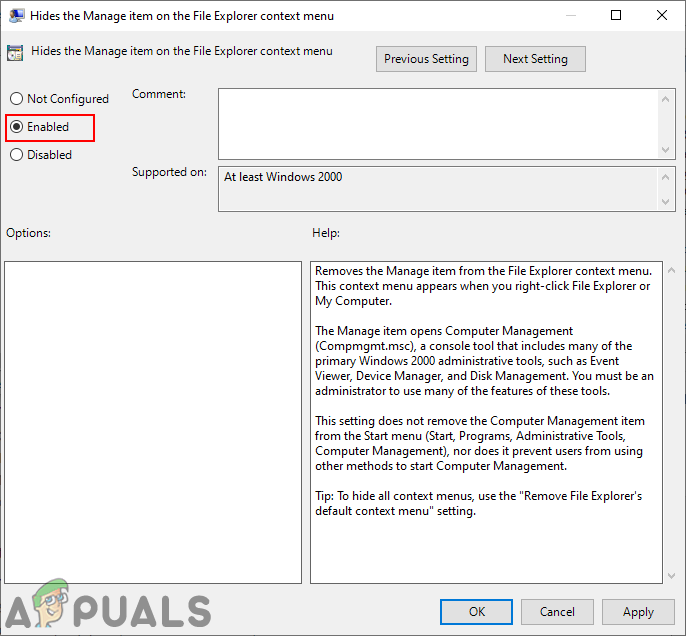
The Group Policy is a Windows feature that contains different types of advanced settings for an operating system. The setting that we will be using in this method can be found under the User Configuration category. The Group Policy Editor is much easier to use compared to the Registry Editor. The user just needs to navigate to the setting and enable it. Users that are using the Windows 10 Home edition can skip this method and move to method 2. However, if your system is equipped with the Group Policy Editor, then follow the below steps to configure the setting:
Method 2: Using the Registry Editor
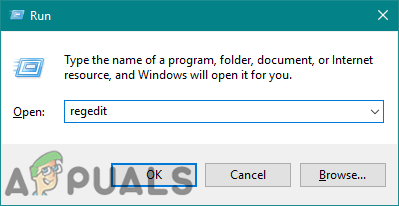
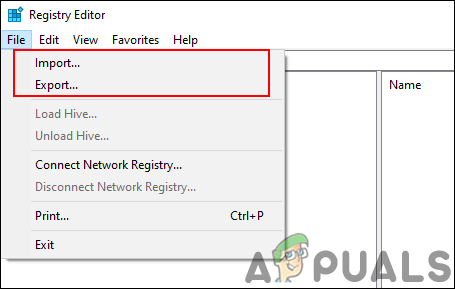
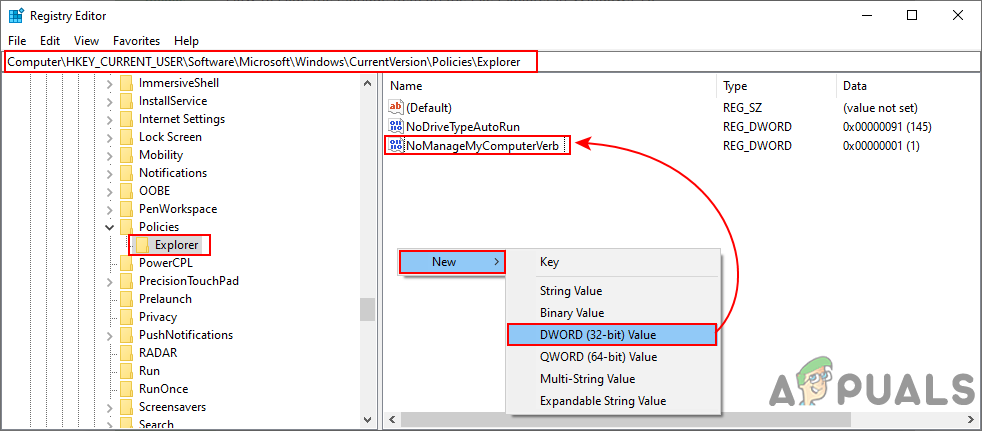
The Windows Registry is another tool that can help in hiding the Manage Item on the File Explorer. If you have already used the Group Policy Editor method, then it will automatically update the key and value for the specific setting. However, if you are using this method directly, then you need to manually configure the key and value in Registry Editor. This setting can be configured in the Current User hive. The Windows Home users can also try this method since they don’t have Group Policy Editor on their operating system. Note: We have also included a step for creating a Registry backup before making any new changes. You can skip that step if you don’t want to create any backup.
How to Fix the “Could not find this item. This is no longer located in [Path].…How to Add Restart Explorer Context menu in Windows 11Disable Context Menus in Windows 10 File Explorer, Start Menu & TaskbarHow to: Add Take Ownership To the Context Menu on Windows 10
