How To Setup All The Necessary Peripherals With ESP32?
To make any project, one must know what the basic components that one is going to need to complete it are. So an excellent approach before starting the work is to make a complete list of all the components to save time and to avoid the chance of getting stuck in the middle of the project. A complete list of all the components that are easily available in the market is given below. After arranging the hardware components we will design our own android application for controlling our air conditioner :
Step 1: Components Used (Hardware)
Step 2: Components Used (Software)
As we are going to make a wireless switch, we will need a button to turn it on and off. We want to use a mobile phone to operate this button so we will need to develop an application for that. The most convenient application is an android application and we need to install these two software to connect to that application. Both of them are listed below:
Step 3: Installing Android Studio
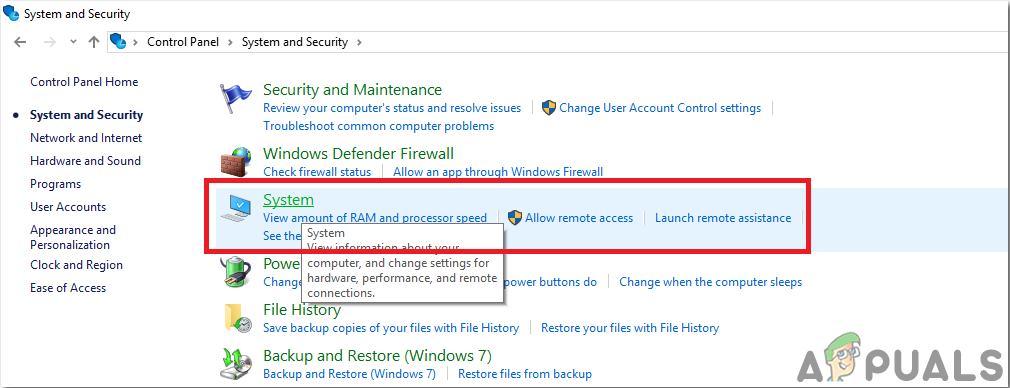
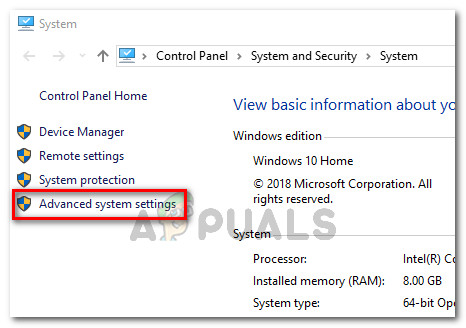
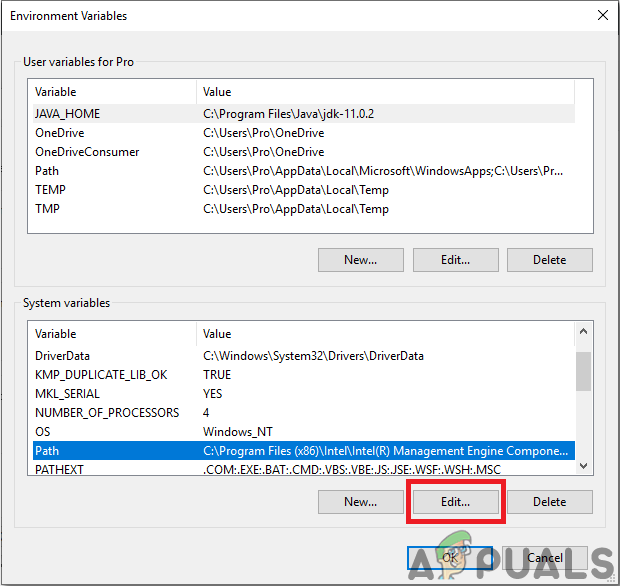
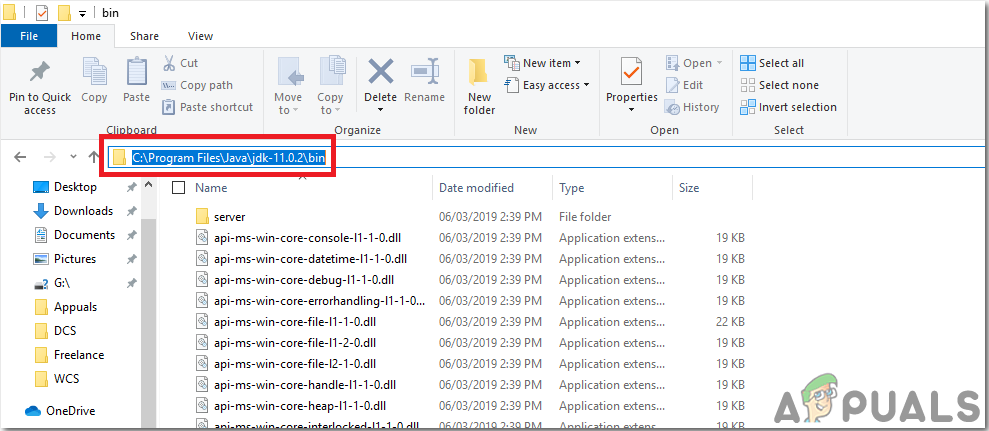
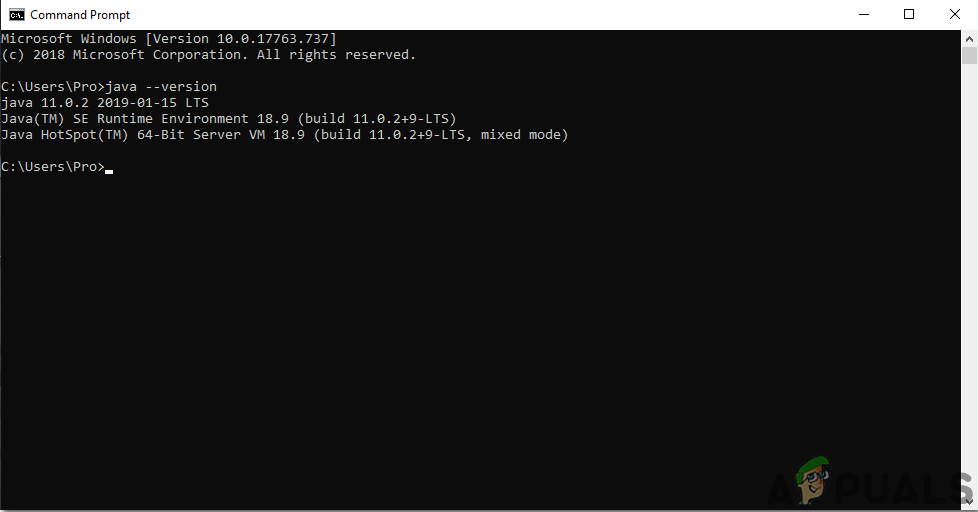
Before installing Android Studio, we will install JAVA JDK first. To install this, click on the exe file that you downloaded from the above link, and click next until it is successfully installed. Now Go through the following steps so that your command prompt recognizes java as an external or internal command. Now as you have successfully installed Java JDK on your computer. Let us now install Android Studio on your computer. Installing this software is very easy. You need to open the downloaded file and click next until your software is fully installed.
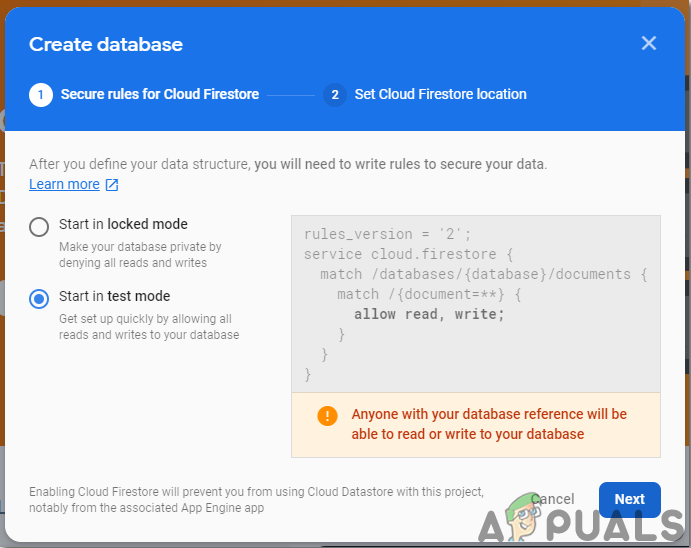
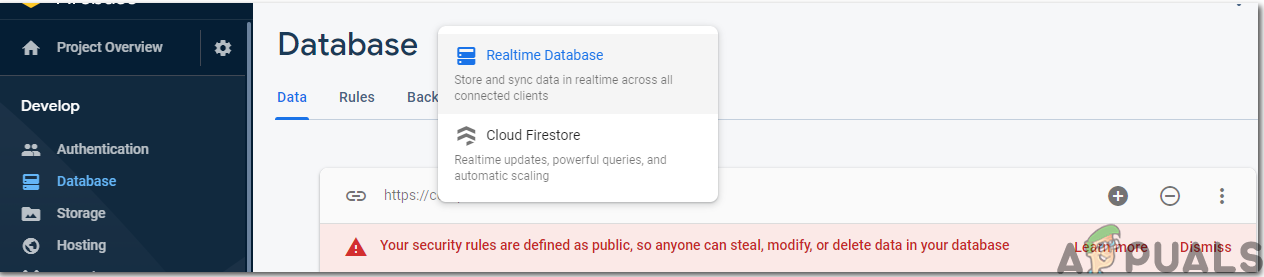
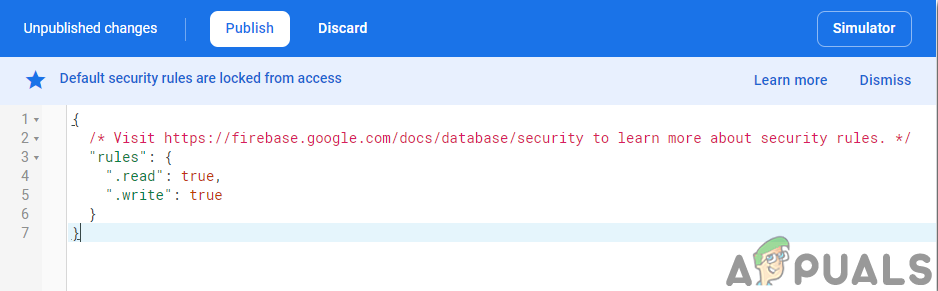
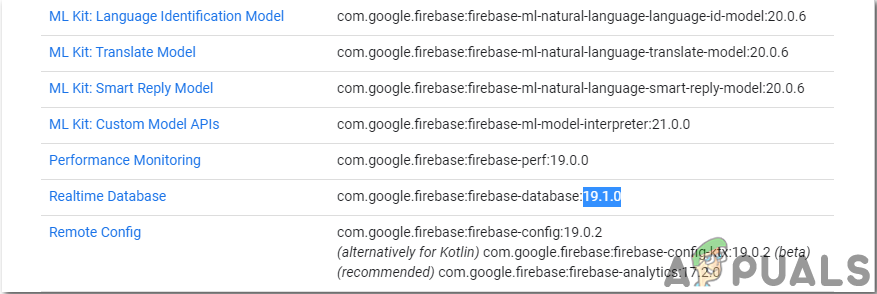
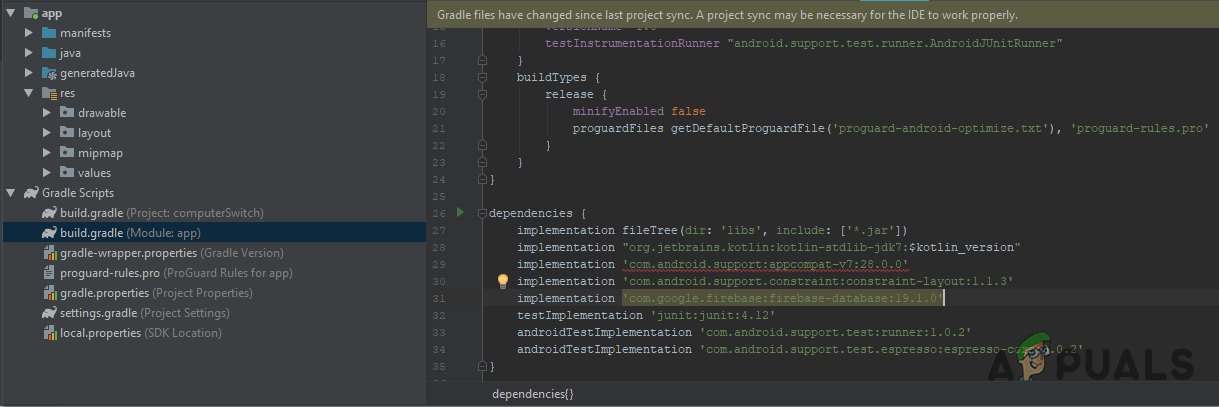
Step 4: Connection To Firebase
Now as we have installed Android Studio, let us launch it and make a new project to connect it to the firebase. To do this, follow the following steps.
Step 5: Making Layout
Now, as our android application is connected to the firebase, let us make a layout of our app that will be used by the user to switch the computer on or off. To make a layout, go to app > res > layout > activity_main.xml. where we will design a layout. Copy the code given here to make a text view. The layout of our app will look like this:
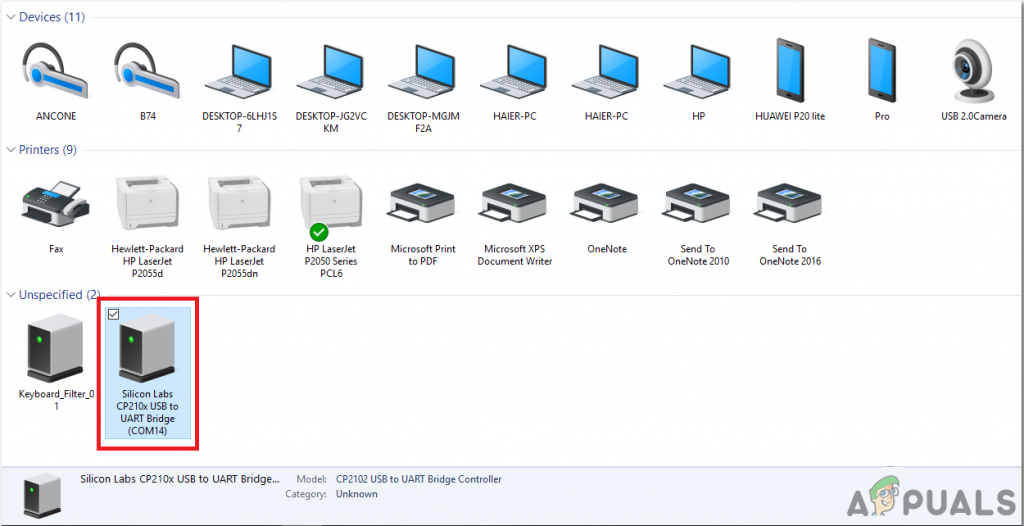
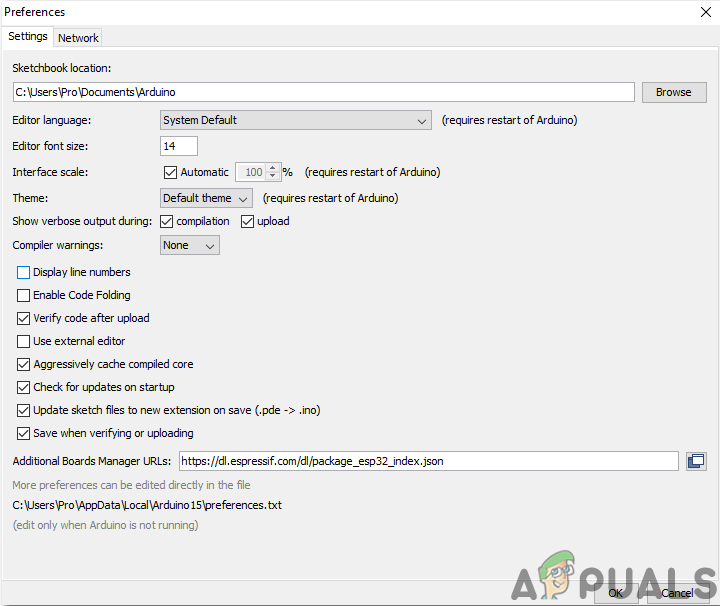
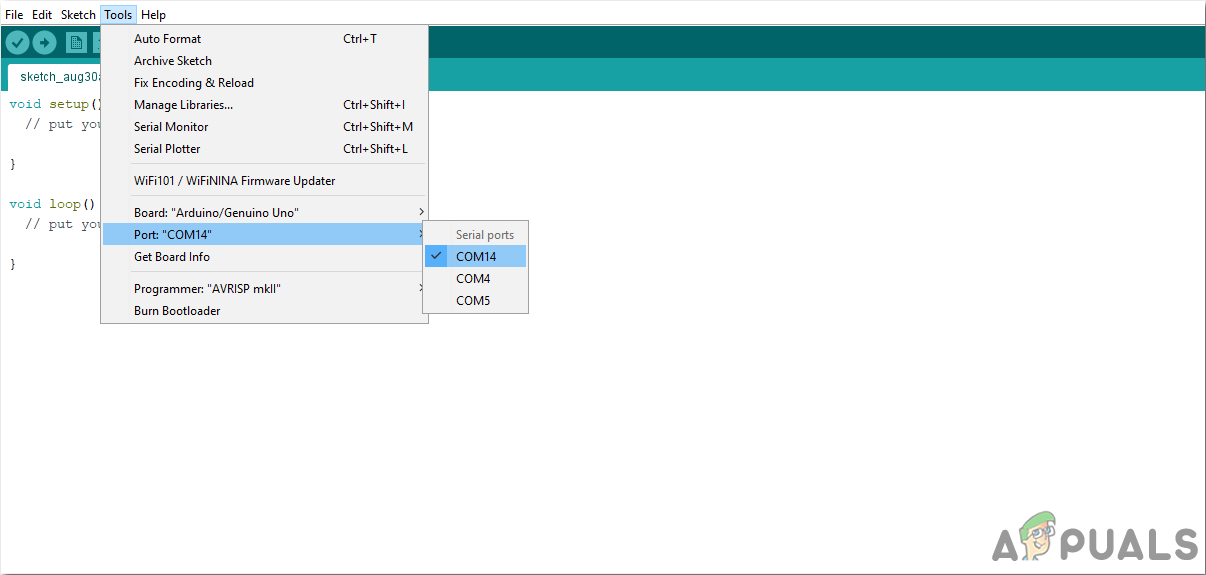
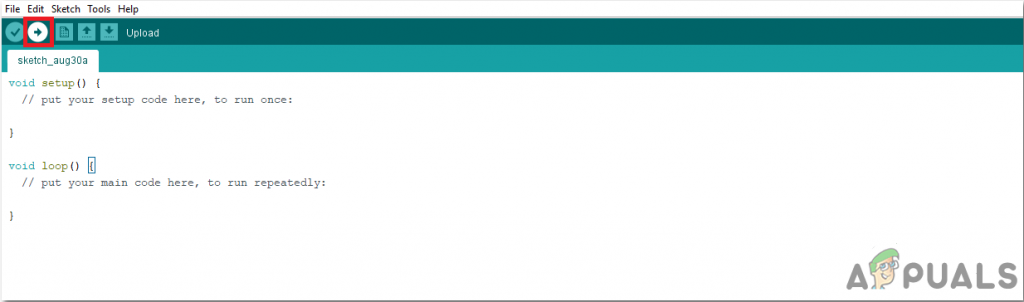
Step 6: Getting Started With ESP32
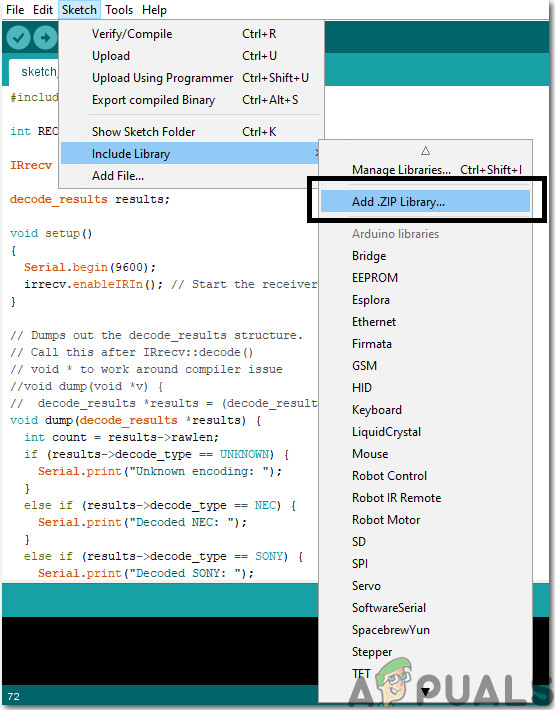
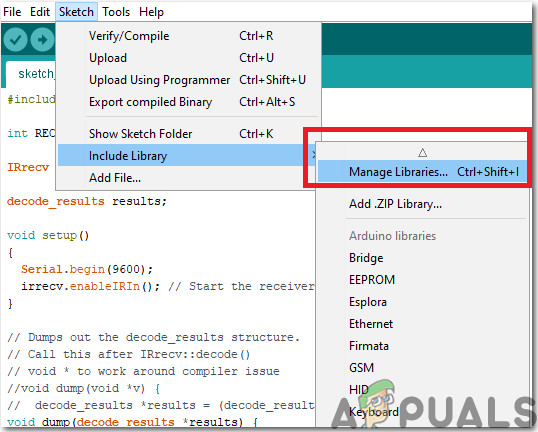
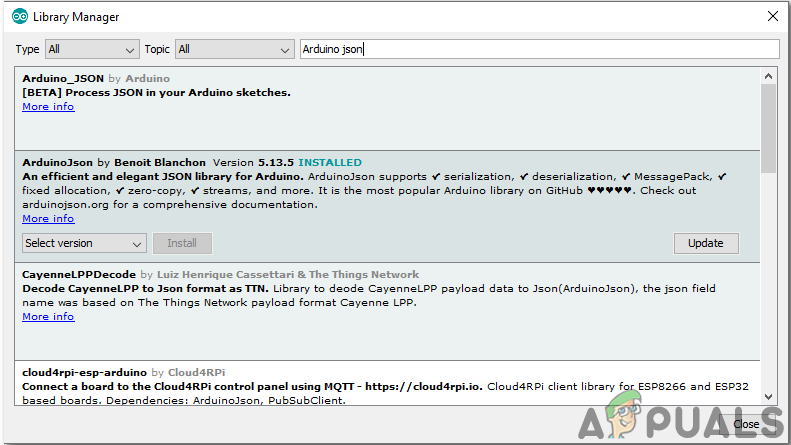
If you haven’t worked on Arduino IDE before, don’t worry because a step by step to set up Arduino IDE is shown below. So now when you will upload the code, an error may occur. This is the most common error that may occur if you are using a new version of the Arduino IDE and the Arduino JSON. The following are the errors that you may see on the screen. There is nothing to worry about because we can eliminate these errors by following some simple steps. These errors are arising because the new version of Arduino JSON has another class instead of StaticJsonBuffer. This is the class of JSON 5 actually. So we can simply eliminate this error by downgrading the version of Arduino JSON of our Arduino IDE. Simply go to Sketch > Include Library > Manage Libraries. Search for Arduino JSON by Benoit Blanchon that you have installed before. Uninstall it first and then set its version to 5.13.5. Now as we have set an old version of Arduino JSON, install it again and recompile the code. This time, your code will compile successfully.
Step 7: Understanding The Code
The code of this project is very simple and it is briefly explained below. Furthermore, the code with the necessary libraries can also be downloaded from Here.
- At the start, we need to include two libraries that will be used to connect our code to the Firebase database and the second one to use the IR sensor with our microcontroller. Then we will add the host and authentication of our firebase because after that our ESP32 would be able to find our database. Then we will provide the SSID and the password of our local internet connection. Then, we have to make an object so that we could push and pop data from our cloud. Then we will define the pin to which our sensor will be connected and we will also make an object to handle data coming from the IR sensor.
- void setup(), is the loop that runs when the enable button is pressed or when the microcontroller is powered on. Here we will start the receiver of our IR sensor and write the code to start connecting our microcontroller to the local internet connection.
- void loop() is a function that runs repeatedly in a loop. Here this code is checking if the values are coming from the sensor.
- void dump() is a function that is used to first identify the model of the remote that is sending the signal to the sensor. it also dumps out the decode_results structure.
Step 8: Preparing The Hardware
After burning the code into the ESP32, we need to prepare the hardware and attach it to the wall or any other suitable place near the air conditioner. Attach the components onto the breadboard by following the diagram presented at the top. After assembling the circuit power up the ESP module using the Android Charger. It is better to design the casing of the hardware at home or simply put the hardware inside the Raspberry Pi case.
Step 9: Giving Final Touches
After assembling the hardware we will test it. Connect the android charger to the ESP32 and power it on and make sure your phone has good strength of signals of your local internet connection. Open your application and press the button, you will see that you can now control your AC with your mobile application. That was all for today, I hope you would have enjoyed reading this article and after making your own prototype for controlling your air conditioner at home don’t forget to share your experience!
DIY: Control Your Water Geyser Temperature From Your SmartphoneHow to Control your TV with your Android SmartphoneFix: Windows 10 Shuts Down Instead of SleepHow to Fix Mouse Zooming Instead of Scrolling on Windows 10?