What is Hyper-V?
Hyper-V is a native virtual environment functionality developed by Microsoft that will allow you to run virtualized computer systems on top of a physical host. In this article, we’ll use Hyper-V to install Windows 11, but you can also use it to install Linux Distros, Windows Development versions, or any other PC operating system. Hyper-V virtualization will enable quick deployment of computer systems and a facile way of restoring systems to a previously good state. You can also use it to migrate systems between different physical hosts. Important: Hyper-V is ONLY natively available on 64-bit versions of Windows 10 PRO, Windows 10 Enterprise, and Windows 10 Education.
Requirements
First things first, you need to ensure that your current PC configuration meets the minimum requirements of Windows 11:
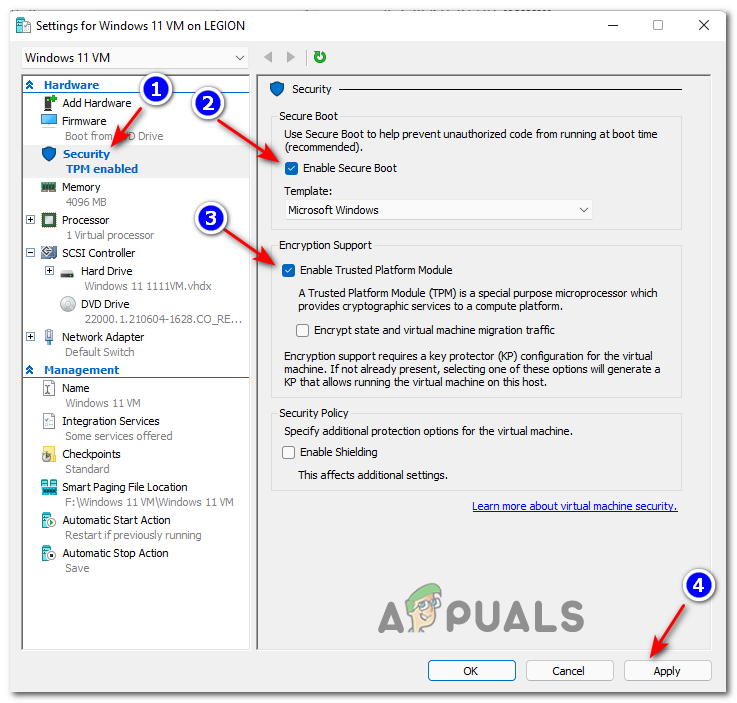
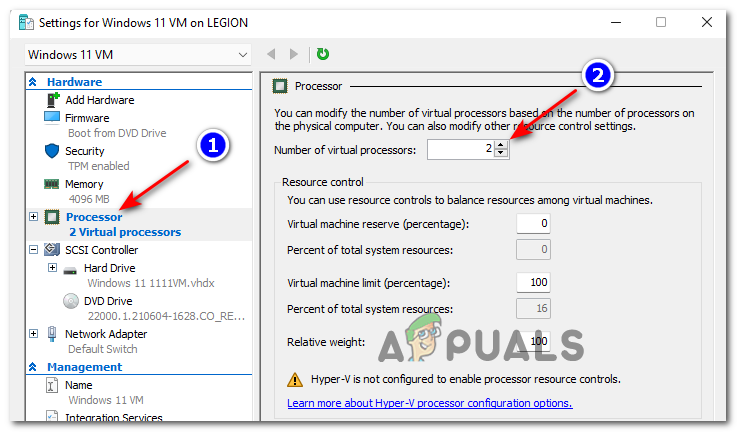
Processor: 2 (or more) core compatible 64-bit processor equipped with 1 GHz (or faster) or System on a Chip (SoC)RAM: 4 GB or higherStorage: 64 GB Minimum or a larger internal storage deviceSystem firmware needs to support UEFI and Secure BootSupport for Trusted Platform Module (TPM) version 2.0The Graphics card needs to be compatible with DirectX 12 or laterSupport for WDDM 2.0 driverDisplay that supports 720p HQ with a size greater than 9″ diagonally with an 8 Bits/color pannel
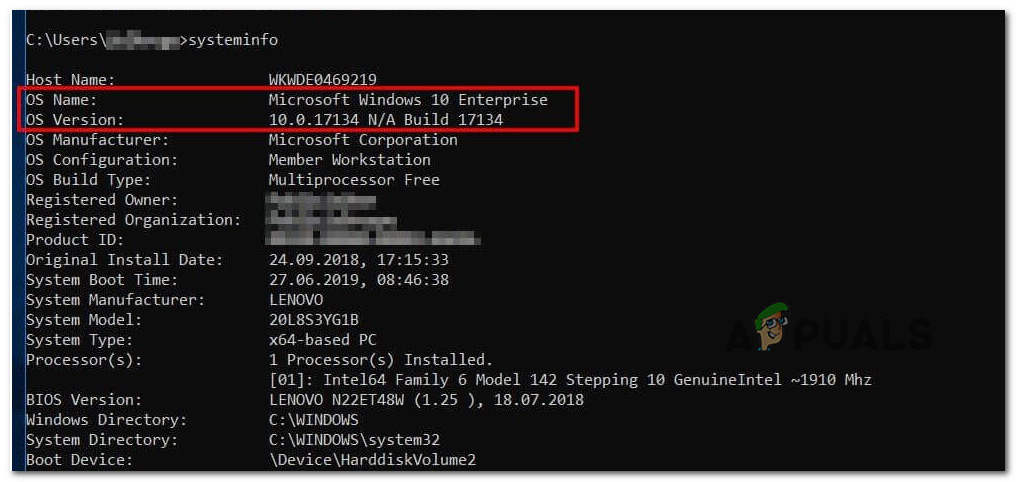
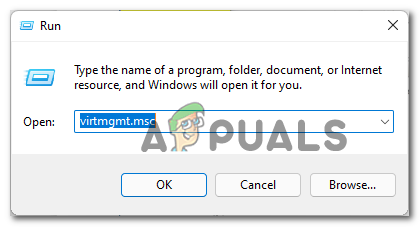
Also, you need to ensure that your Windows version supports Hyper-V. To check your current Windows version, press Windows key + R to open up a Run dialog box. Inside the new Run box, type ‘systeminfo’ and press Ctrl + Shift + Enter to open up an elevated CMD prompt. Wait until the information is gathered, then check under OS Name to see your Windows version. If it says Home, you’re out of luck. If it says, PRO, Enterprise, or Education, Hyper-V should be available for you. Once you’ve made sure that you meet all the requirements, you can start following the instructions below on setting up a Windows 11 Virtual Machine using Hyper-V.
How to Set up a Windows 11 Virtual machine via Hyper-V
First, we’ll need to get our hands on a window 11 ISO file (Step 1) that will later mount using the Hyper-V technology. If you already have the Windows 11 ISO copied locally and Hyper-V is already enabled on your computer, you can skip the first 2 steps and move directly to Step 3.
Create the Windows 11 ISO
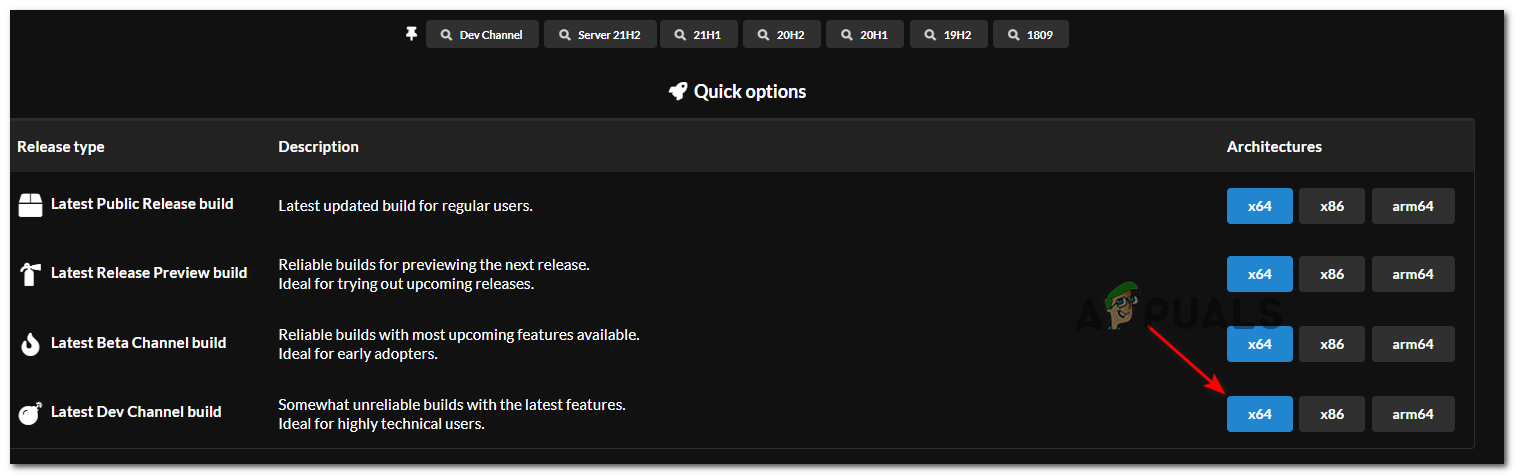
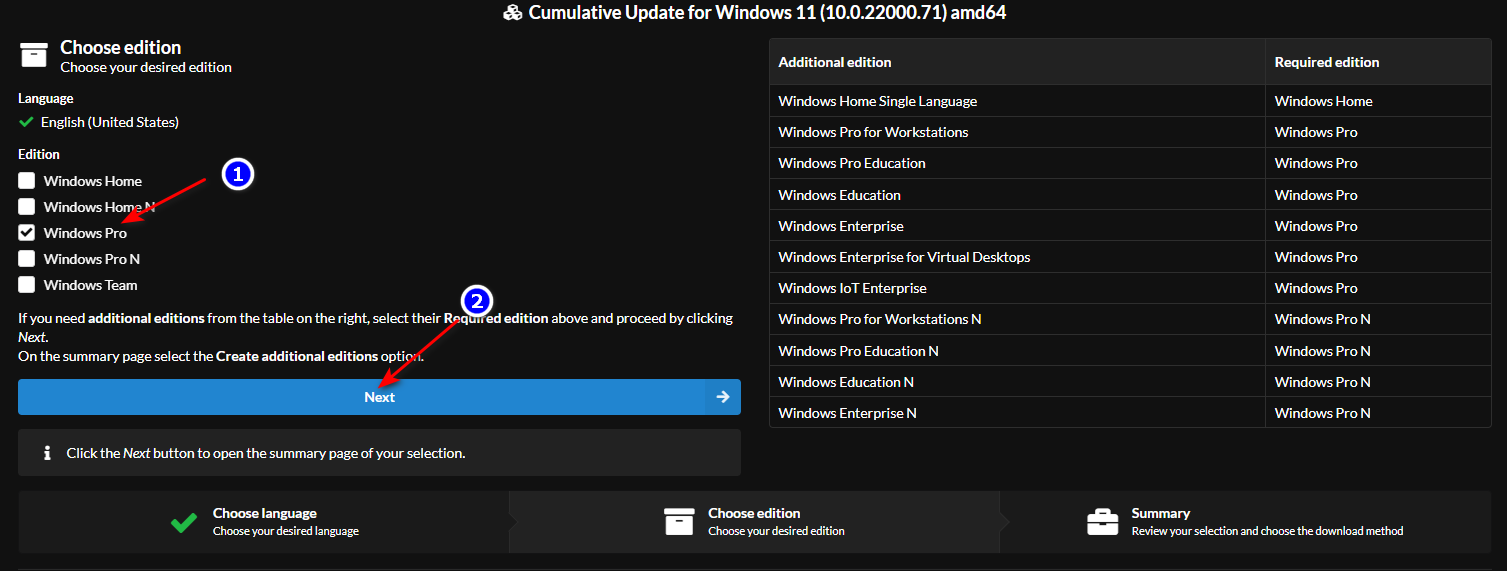
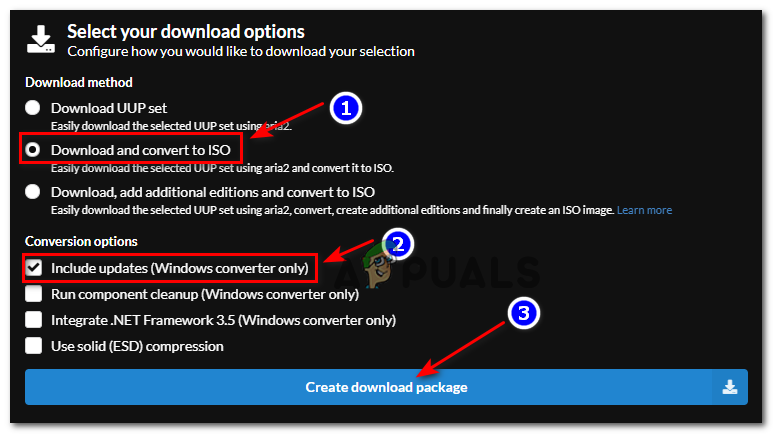
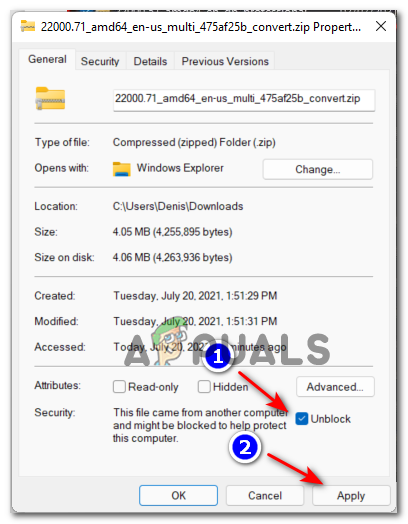
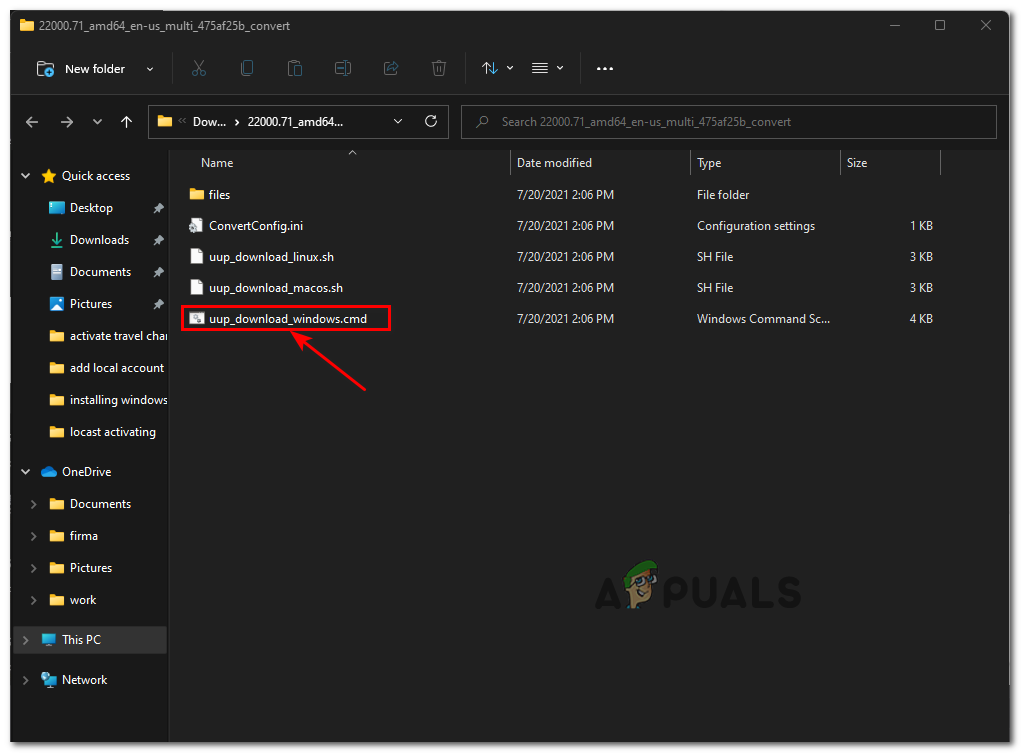
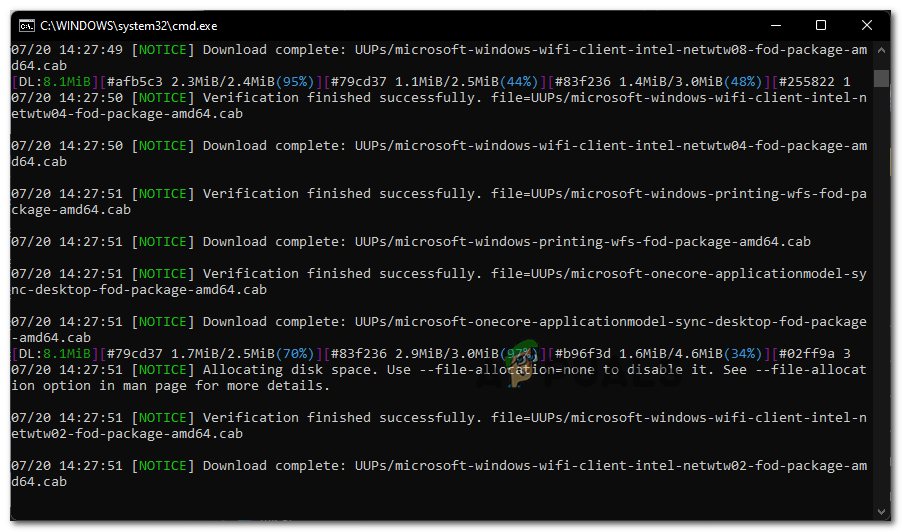
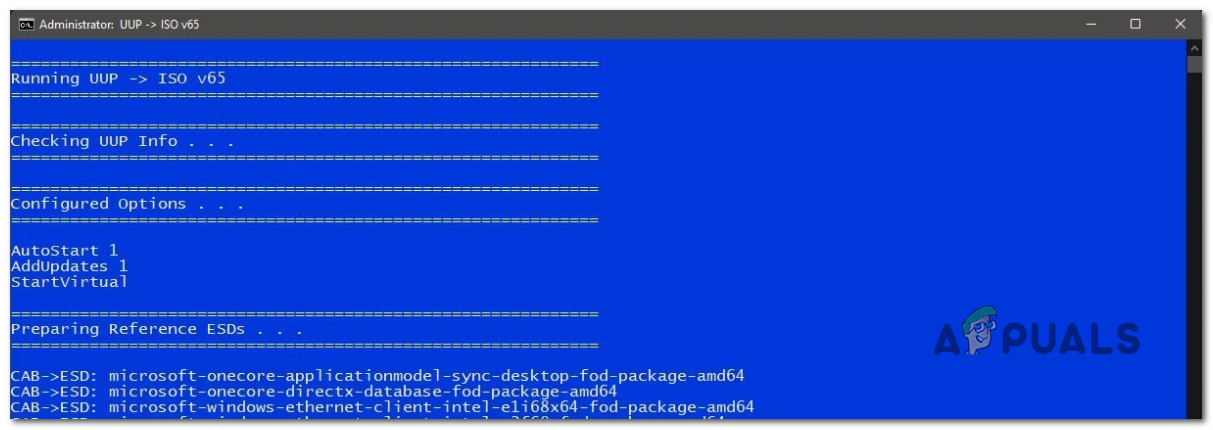
First things first, you need to ensure that you’re using a viable Windows 11 ISO file. Our recommendation is to get an official build from UUP Dump. This is the most practical and easiest way to get ISOs for any released Windows Insider to build directly from Microsoft servers. Note: You don’t have to join the Windows Insider Program to install and use Insider Builds. Follow the instructions below to download and prepare the Windows 11 ISO:
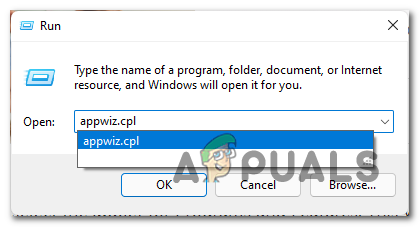
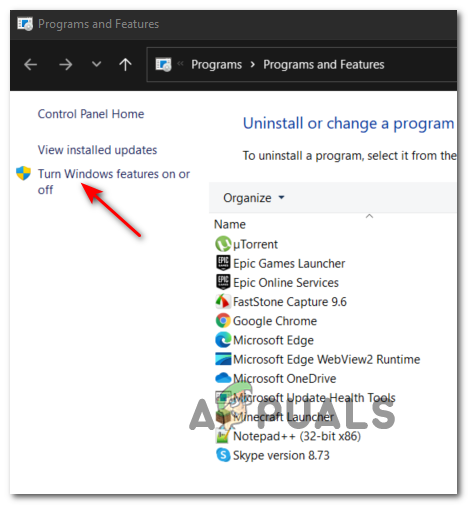
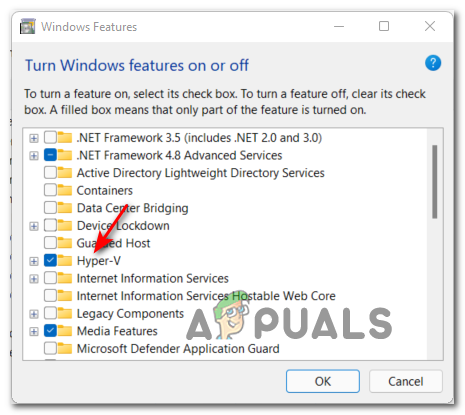
Enable Hyper-V
Create the Windows 11 Virtual Machine
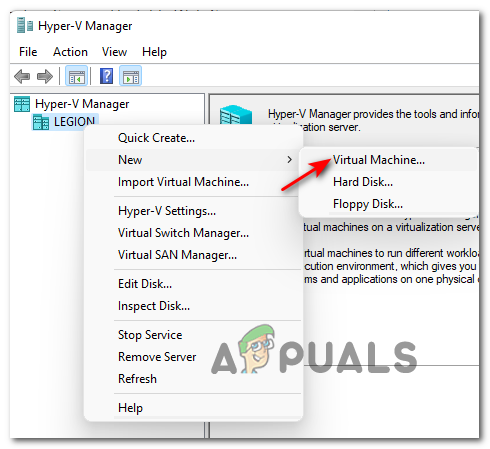
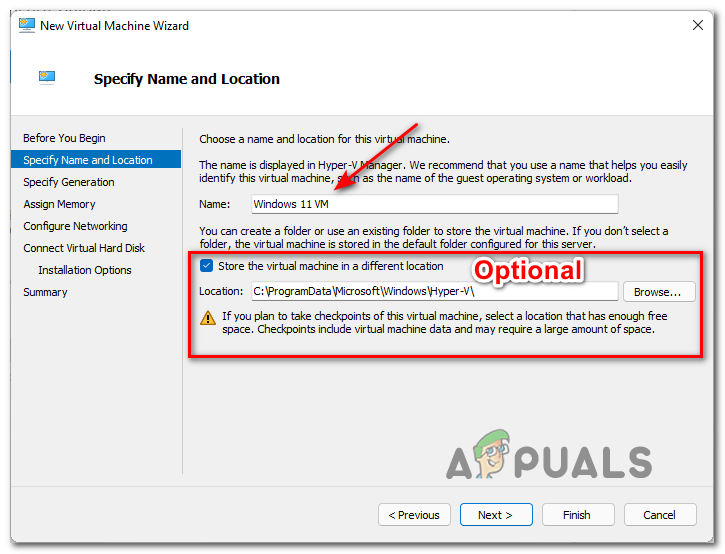
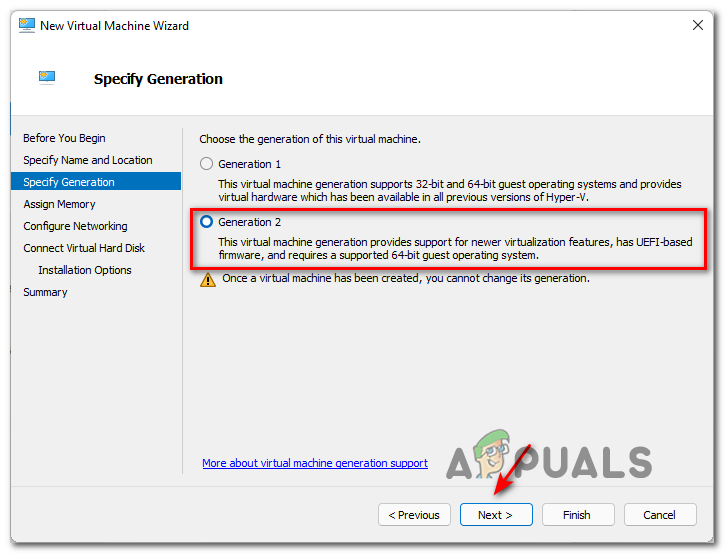
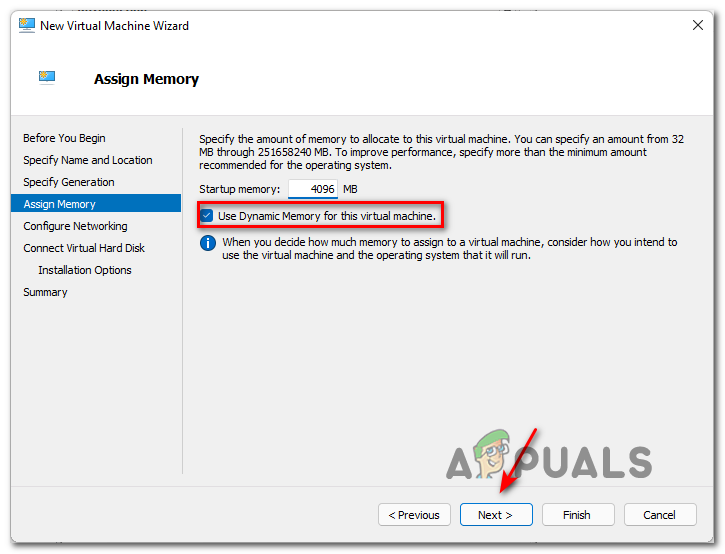
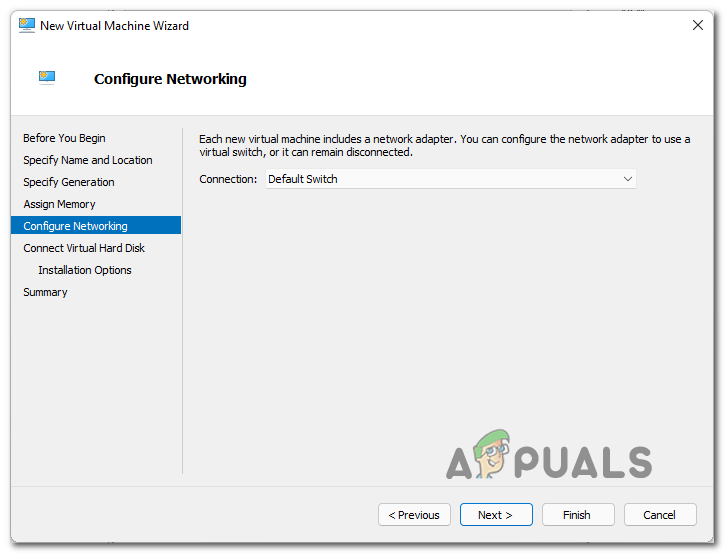
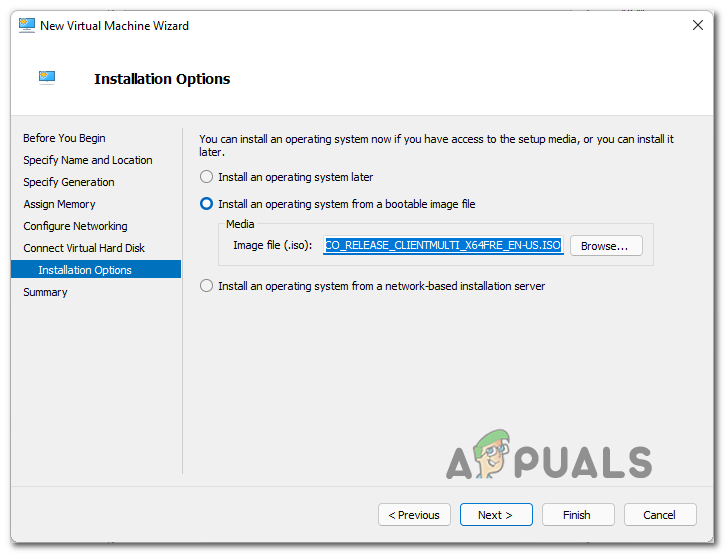
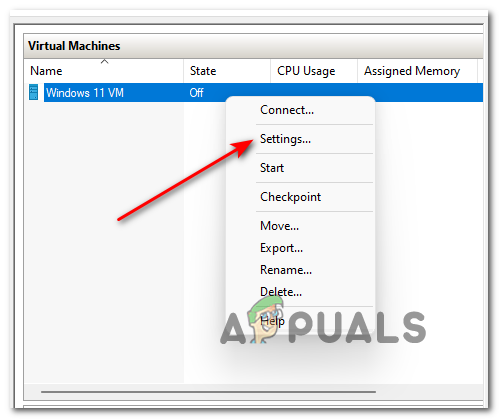
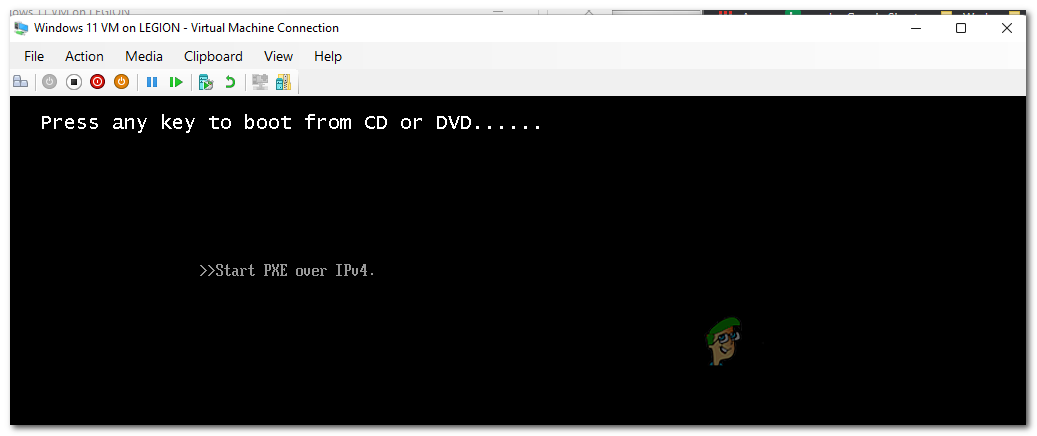
Now that you have your ISO created and you’ve enabled HyperV, you just need to put everything together using the Hyper-V Manager utility. Follow the step-by-step instructions below to mount your ISO on a Virtual Machine powered by Hyper-V:
Create Your First Virtual Machine in Hyper-V 2019How to Create and Run a Virtual Machine With Hyper-VFix: Hyper-V Virtual Machine Stuck in Saved StateHow to Fix Hyper-V Virtual Machine Stuck in Stopping State