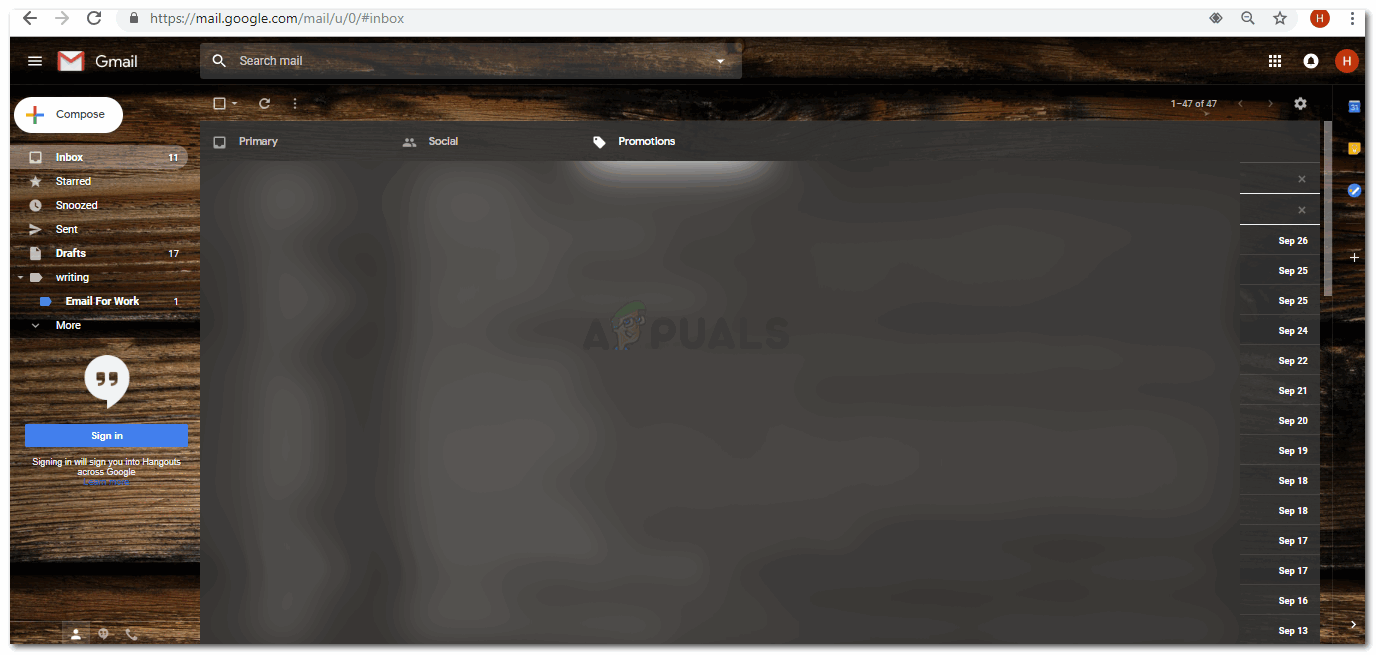
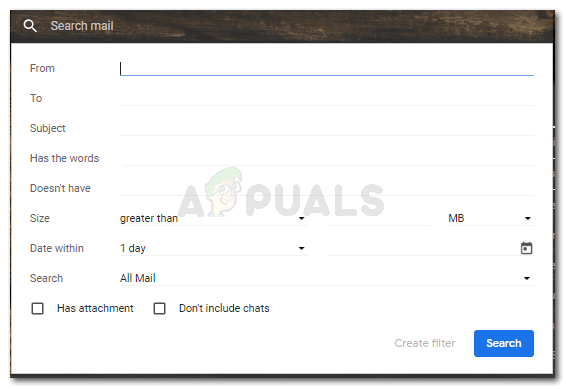
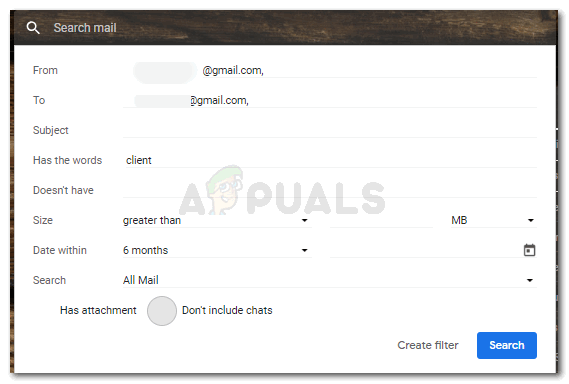
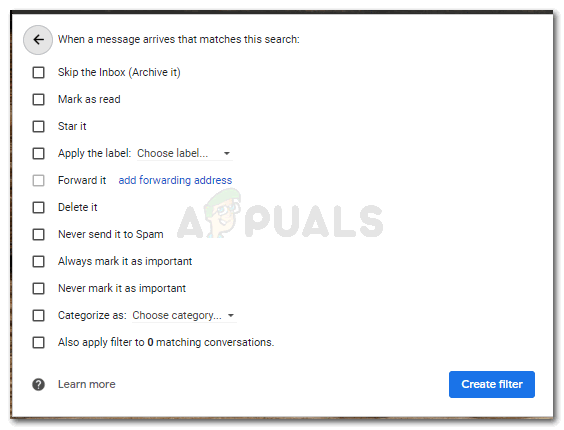
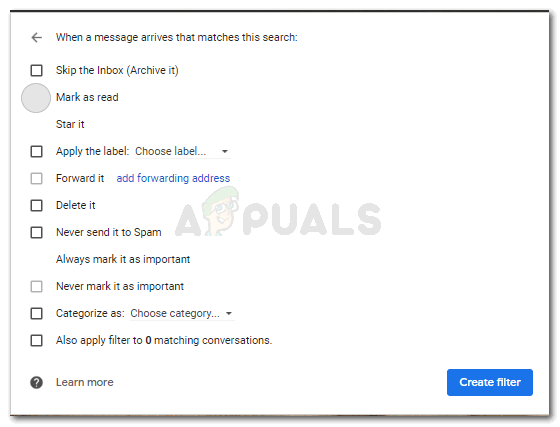
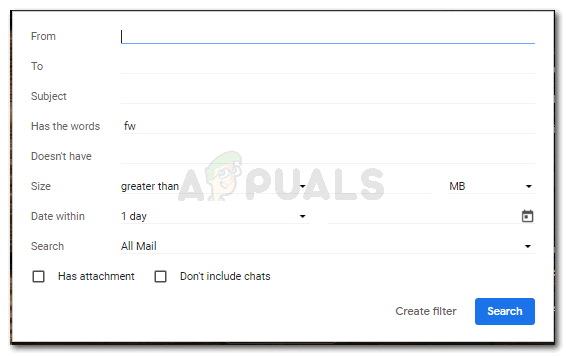
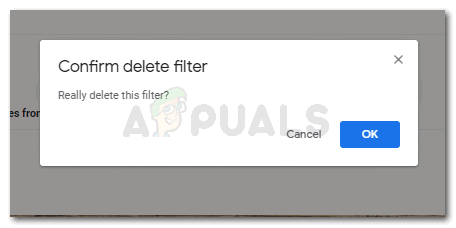
Here is how you can make a filter for your Gmail account. Now the steps above show how you can make a filter for a specific email ID. You can also make filters in a slightly different way. Where the steps are the same, but you only skip the the step where you add an email ID. Let’s say I want to create a filter for all the emails I send to myself. So I will: There is not limit for filters. You can make as many as you like. It helps you keep your Gmail less messy. If you are not happy with a filter, or have given the wrong criteria for a certain filter, you can delete it.
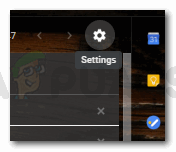
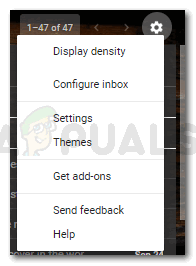
Go to the setting icon, and click on settings from the options that appear.The Settings IconClick on settings again.Click on the ‘Filters and Blocked Addresses’ as shown in the picture below. The filters that you created will appear here. You can edit it from the same place, you can delete it, you can also create new filters from the ‘create filter’ tab that has been highlighted in the following picture. By editing, you can change the functions of the filters that you have already created. This is a better idea than deleting the filter and creating it from the scratch all over again.Filters and Block Addresses : where you can edit, delete and create new filters.Deleting a filter for Gmail
So use as many filters as you like, and make these filter manage your Gmail account automatically saving you a lot of time.
