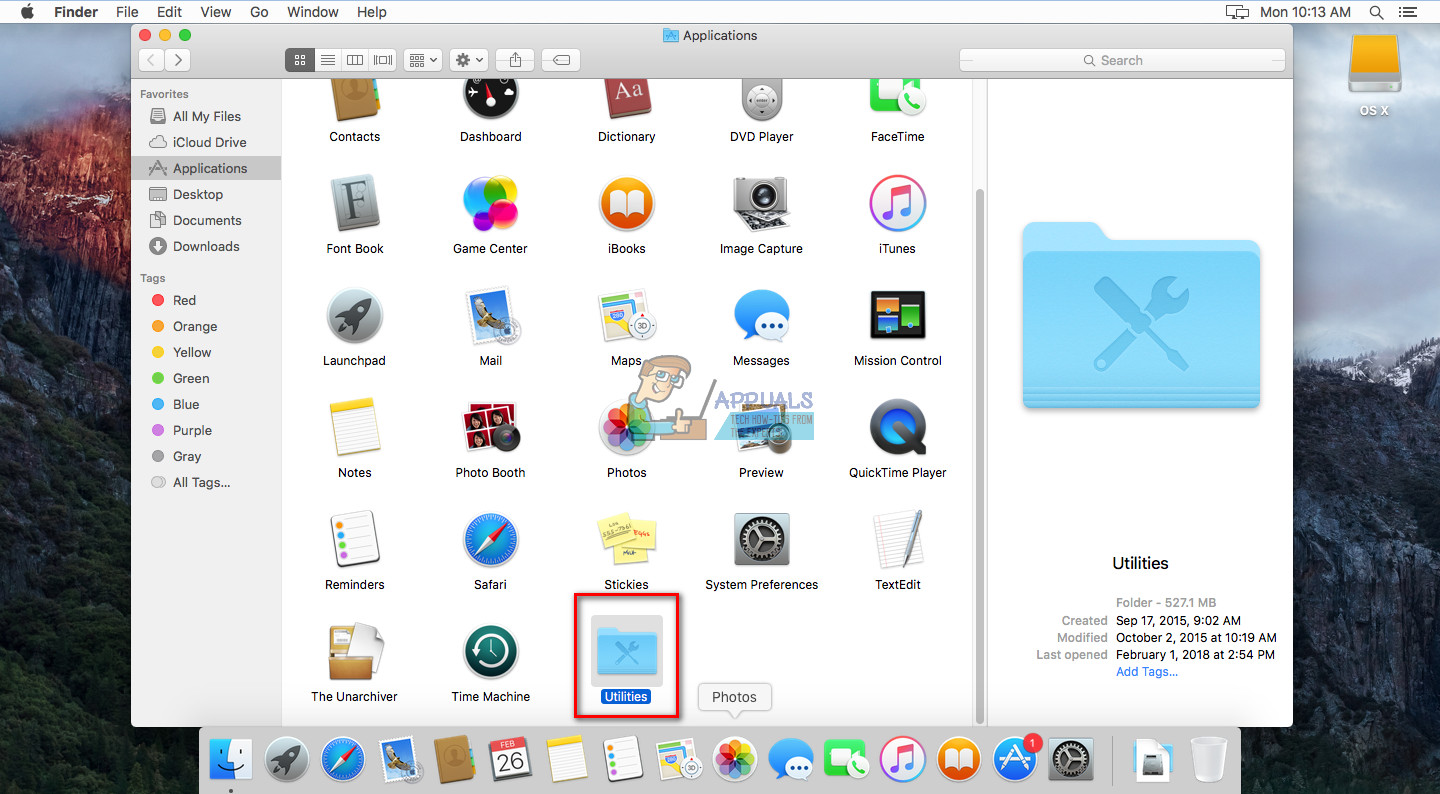
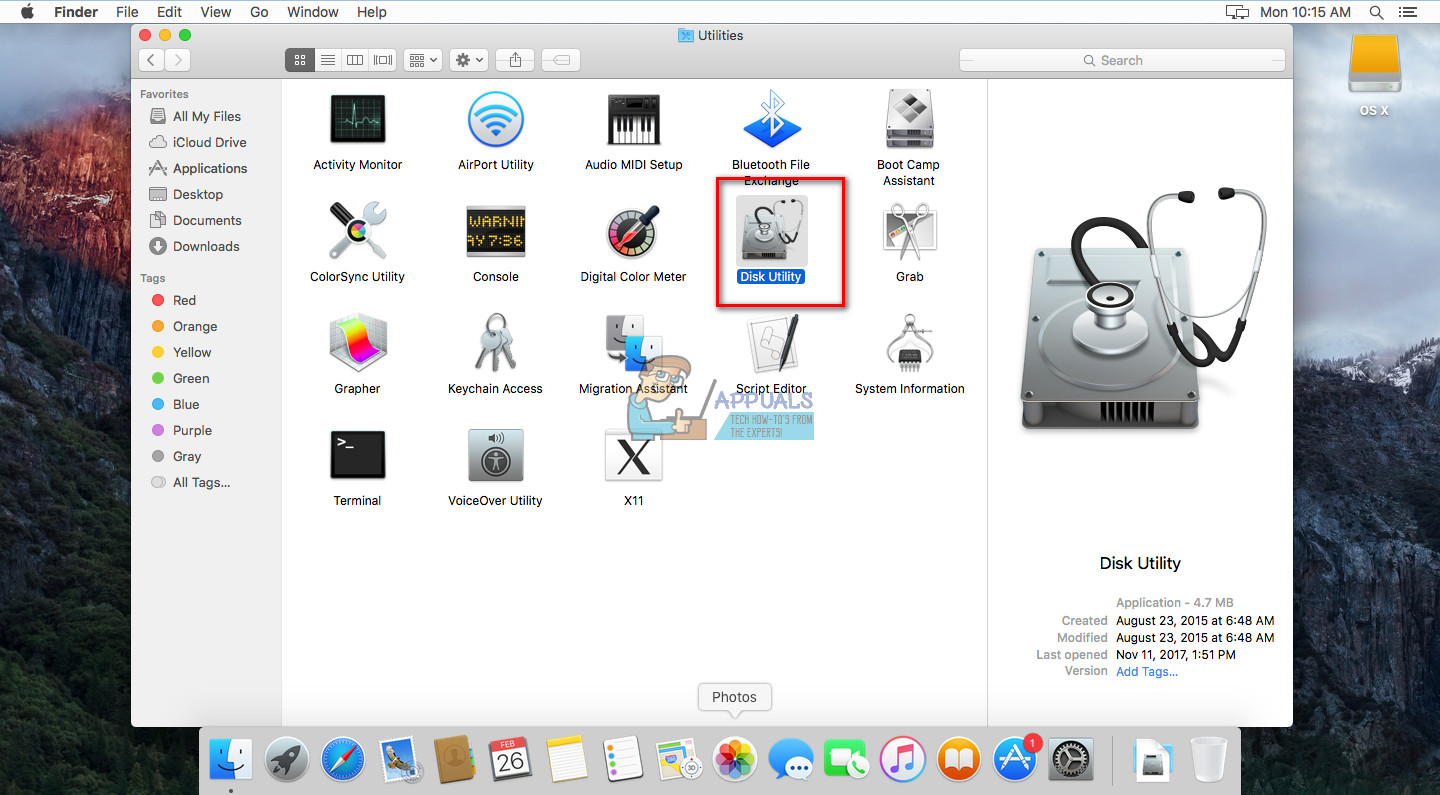
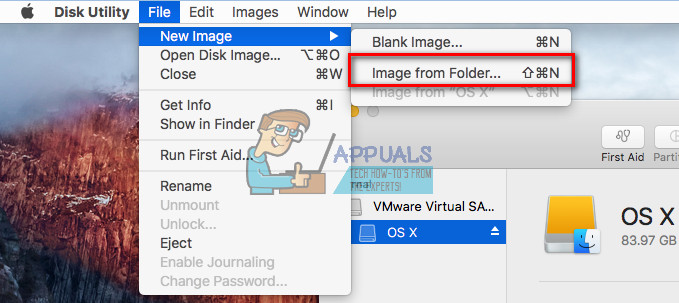
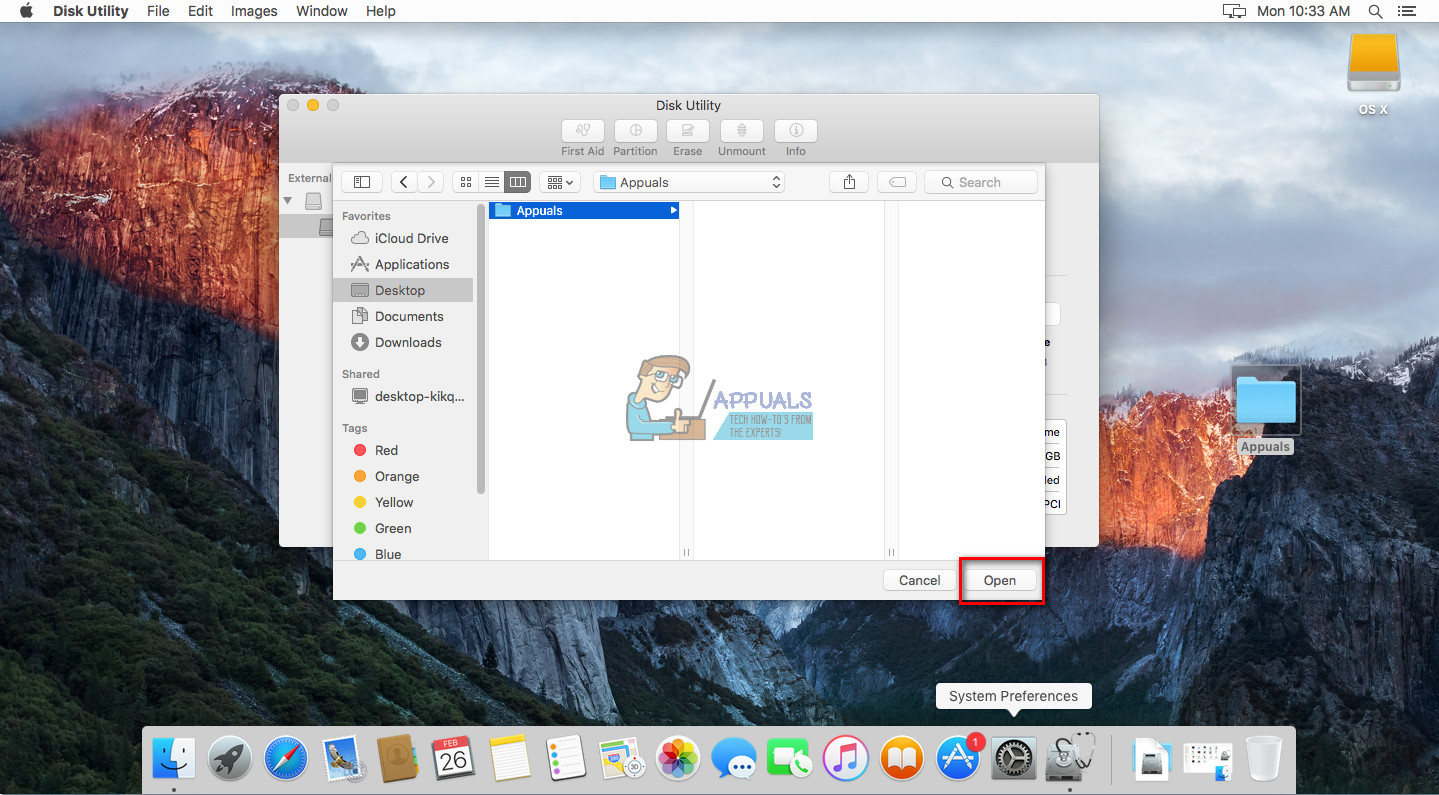
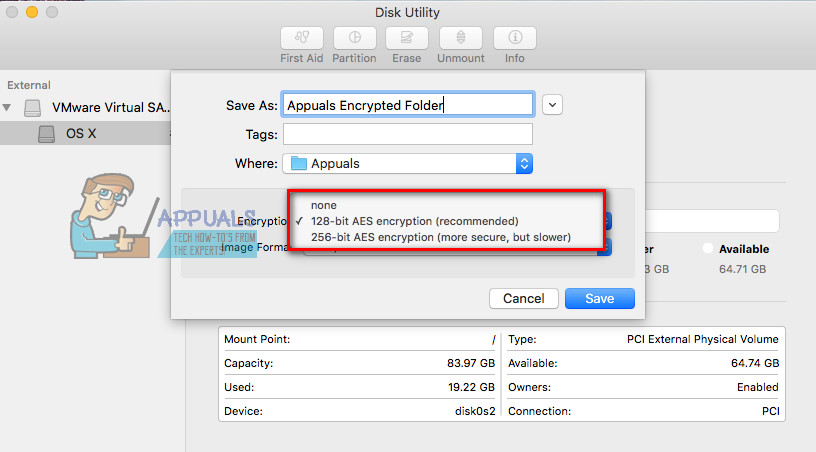
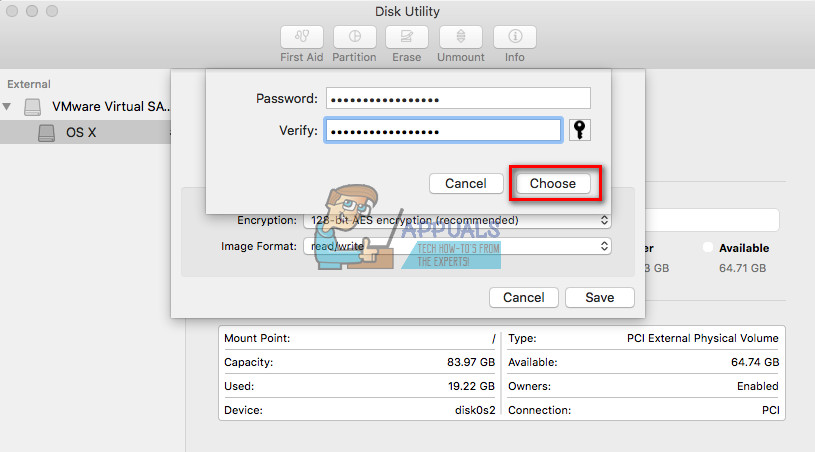
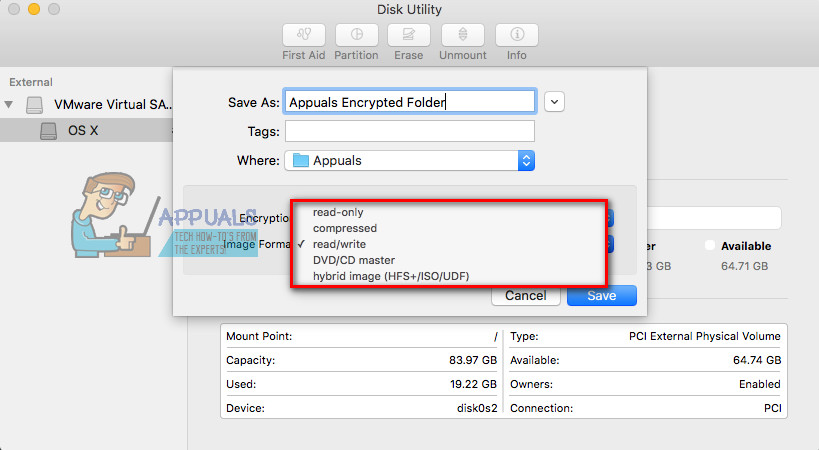
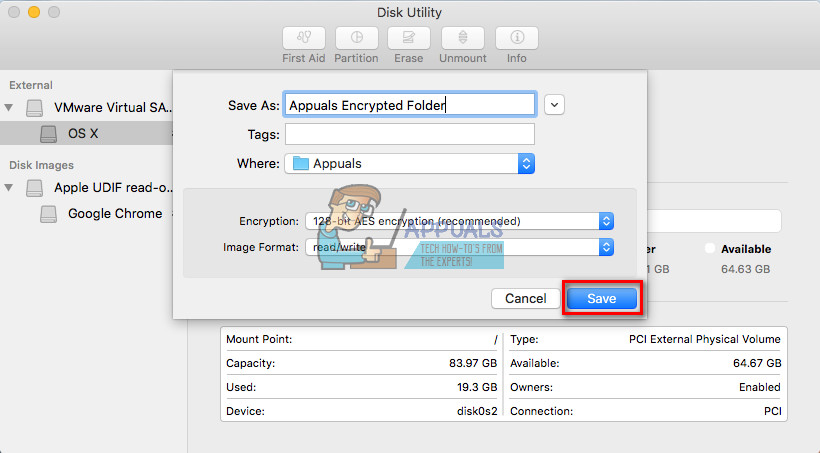
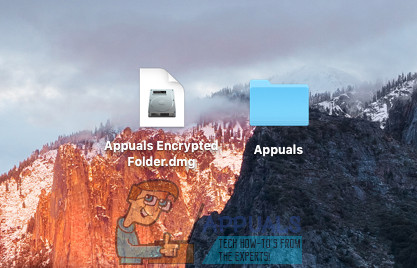
Create a Password-protected Image
Note: This method for locking folders on Mac works on macOS and OS X (back to OS X 10.6 Snow Leopard). To access your protected .dmg file, double-click on it to mount it in Finder. Now, type the password you’ve set. After the .dmg file is mounted, you can access its content as a regular folder. Just like in any folder you can add files to the password-protected image. Once you are done with it, eject it (right-click on it and choose Eject). Now, when you have your content secure in your password-protected image, you can delete the old folder. But make sure you DO NOT delete the .dmg file. To increase the protection for this file, you can prevent it from changing and deleting.
Prevent Files from Changes and Deletion
Note: Keep in mind that this method does NOT lock the content of the file or folder. It only prevents the locked folder from deleting. You can achieve that only using the previous method.
How to Password Protect Zip FileHow to Password Protect or Encrypt Excel FilesHow to Password Protect the Screensaver in Windows 10?Apple Announces New Password Manager Resources: Standardising The Rules of…
